Reference in · Stencil out
Photo to Tattoo Stencil
Lay a reference photo on the light table below. The AI traces it into bold, closed-line vector linework you can print on thermal paper and transfer the same session.
Loading converter…
Free preview, no signup. SVG + print-ready PNG.
Drag it. See the trace.
Wipe between the reference and the linework, then see the same lion printed purple and sitting on skin.
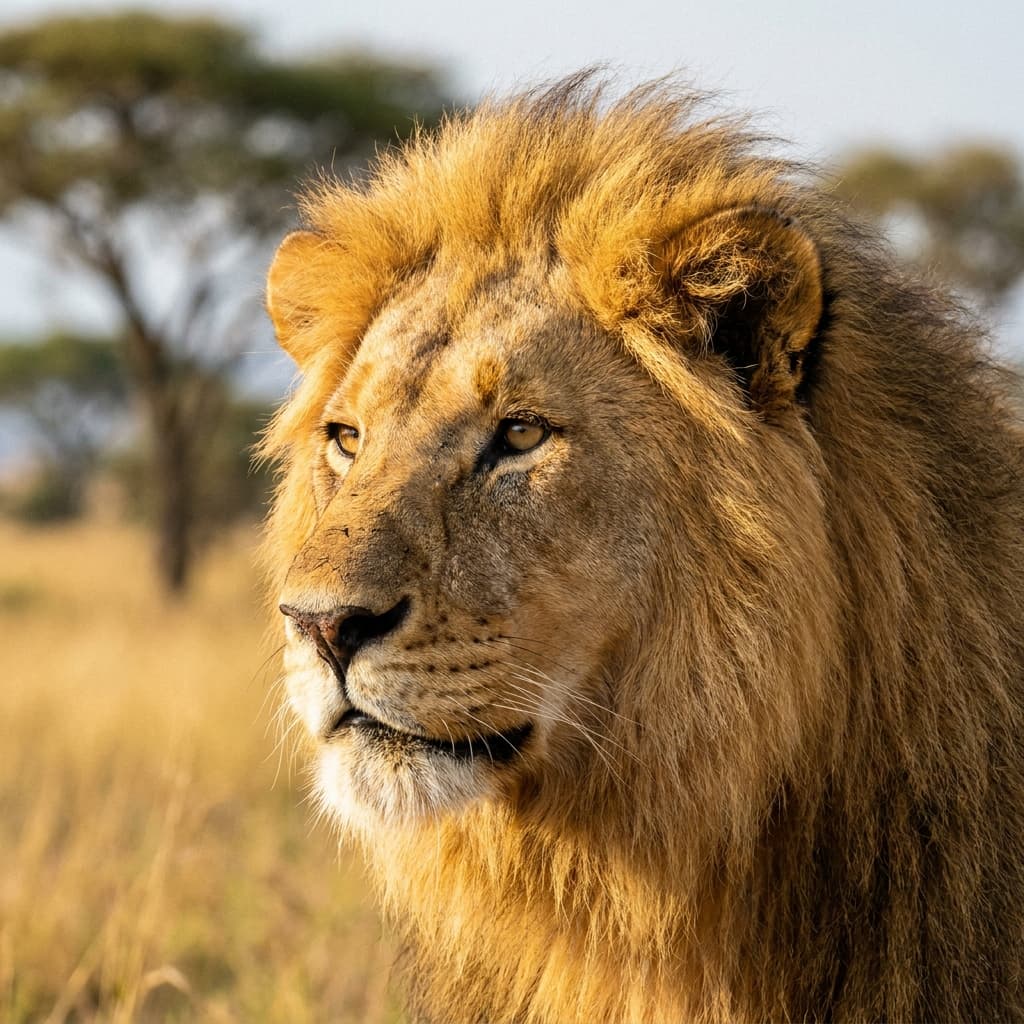
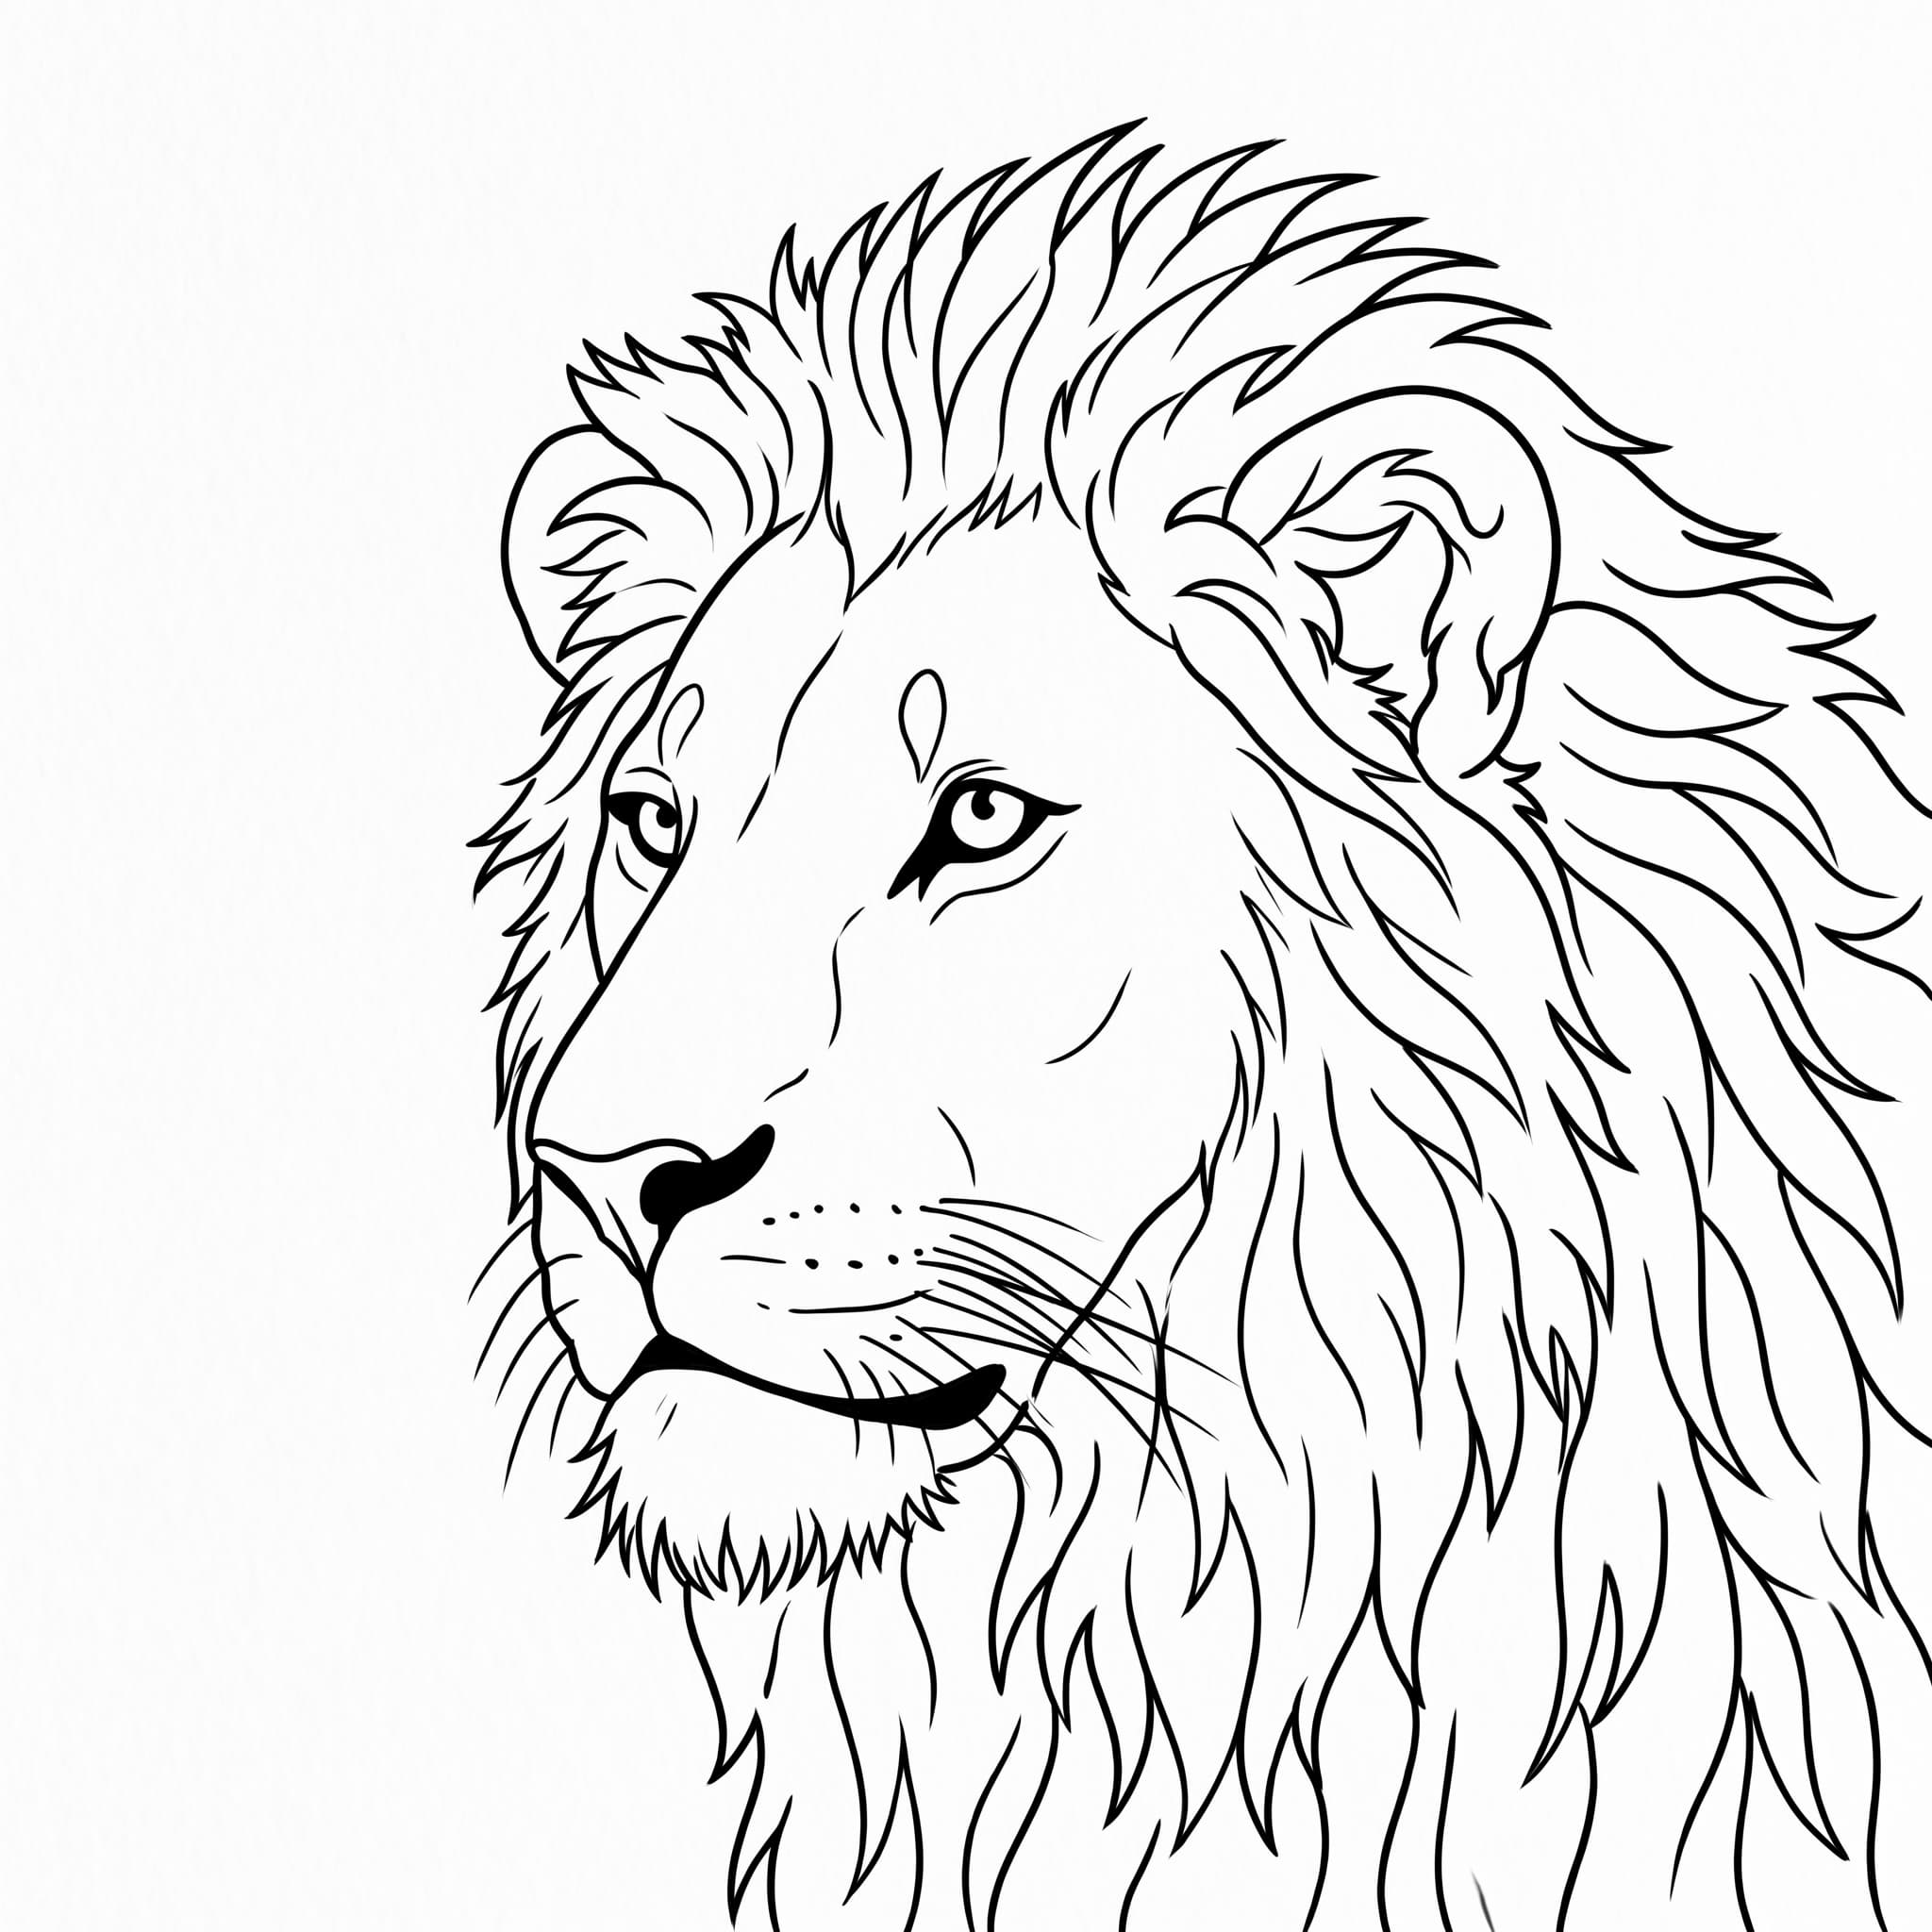
Drag the handle. Photo on the left, traced stencil linework on the right.
 On skin
The same linework printed on hectograph paper and transferred. Ready for the needle.
Dial the line density
The converter has three presets. Same reference, three very different stencils. Tap to compare.
Confident flash-weight lines. Detail where it matters, simplified where it does not.
The recommended starting point for most pieces and placements.
Print it right the first time
The SVG scales to any placement. Here is what that means in real sizes, and what to print it with.
| Placement | Inches | cm |
|---|---|---|
| Inner wrist, ankle | 2-3 in | 5-8 cm |
| Forearm | 4-6 in | 10-15 cm |
| Upper arm, shoulder | 6-8 in | 15-20 cm |
| Thigh, calf | 8-10 in | 20-25 cm |
| Back piece | 10-16 in | 25-40 cm |
| Printer | Paper |
|---|---|
| Phomemo M08F | Direct thermal A4 |
| Brother PocketJet 773 | Direct thermal A4 |
| Spirit Classic copier | 4-ply hectograph |
| Any inkjet or laser | Plain + carbon |
Print the PNG at 300 DPI with fit-to-page scaling OFF, or your placement sizing drifts.
Why stencils smudge, and how this one won't
Open, sketchy lines
Multi-stroke edges blur into mush on skin. Stencil Mode traces single closed contours that the transfer can actually hold.
Line weight too thin
Under roughly 2pt at print size, lines smear at the first wipe. Output keeps a bold minimum weight that survives stretching.
Gray zones and shading
Thermal printers are binary: line or nothing. Photo shading prints as speckle, then smudges. Output is pure black, zero gray.
Every line language
Fine line to old-school bold: the engine adapts the trace to the style of the reference.
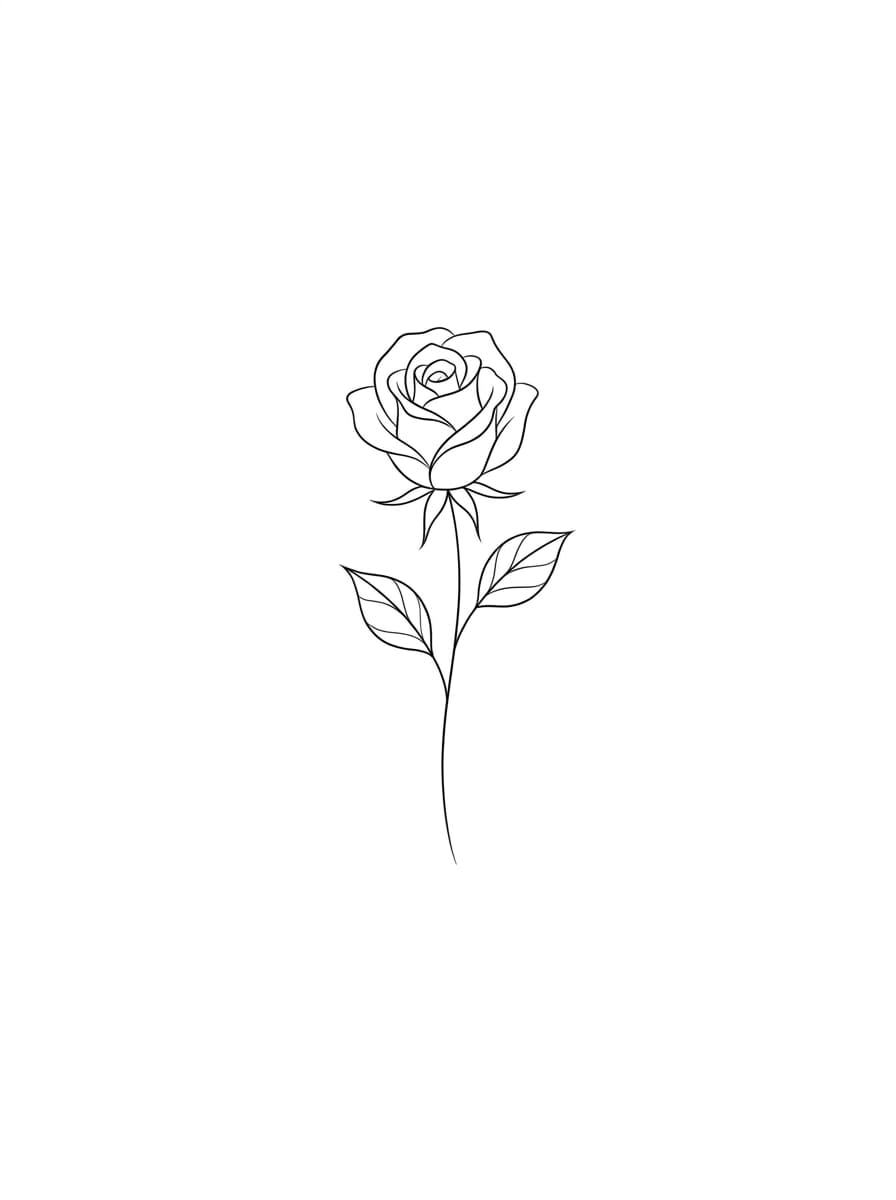
Fine line
Single-needle delicacy
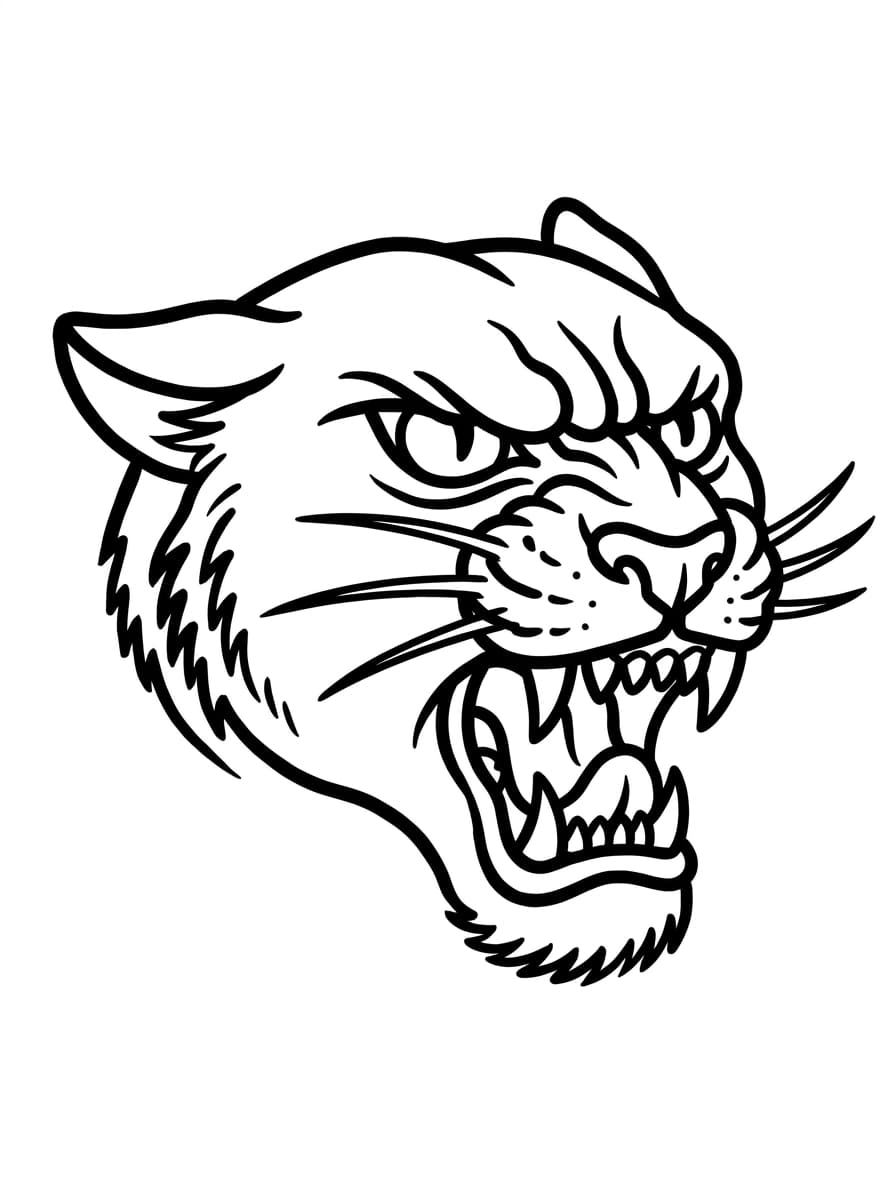
Traditional
Bold old-school flash
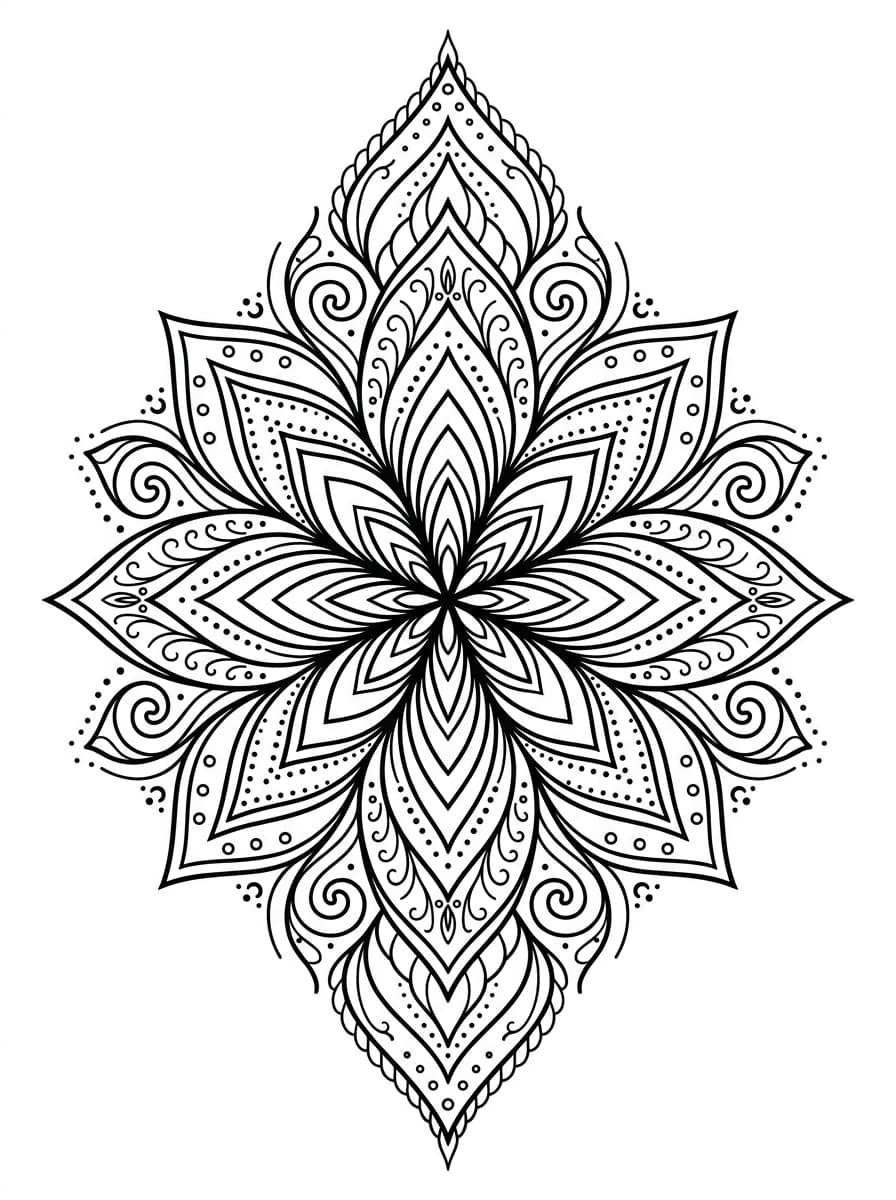
Ornamental
Mandala and dotwork
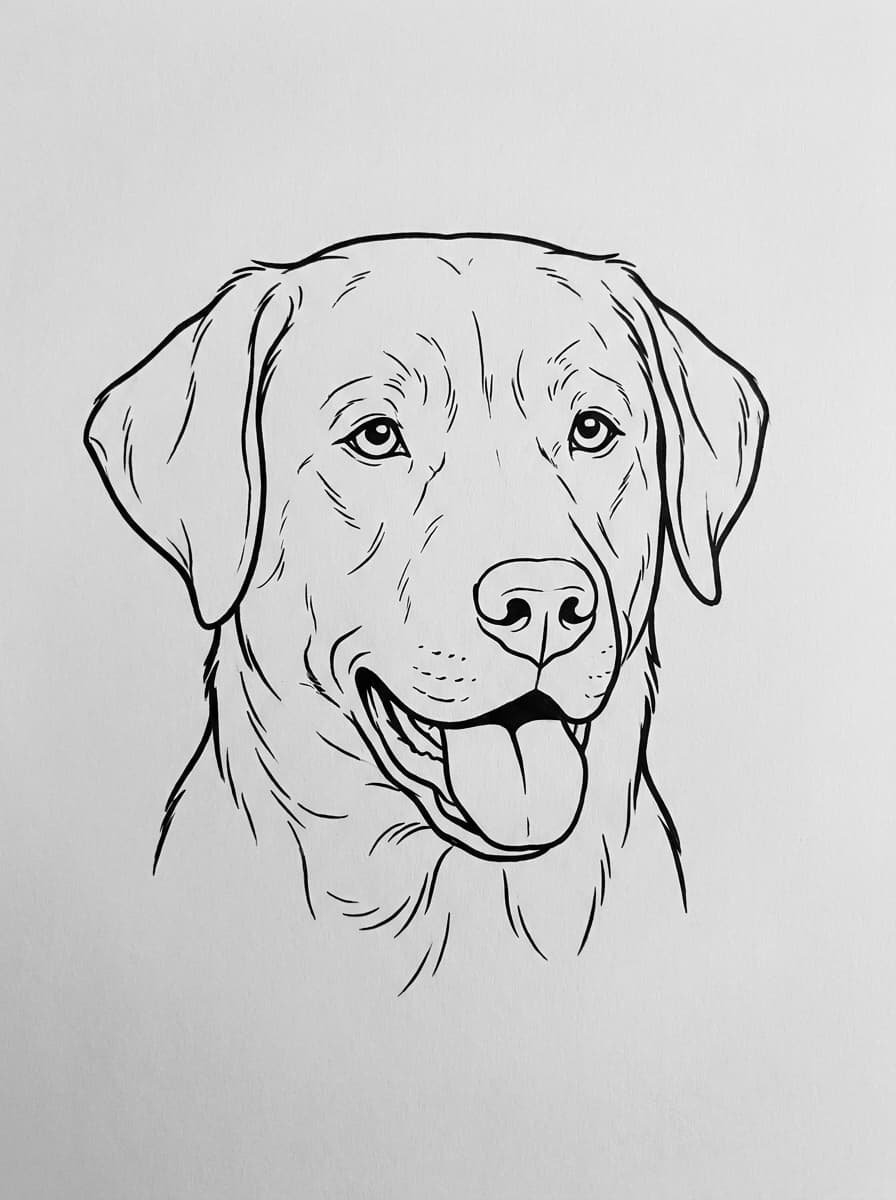
Pet portrait
The number one client ask
Straight talk: the AI gives you the linework base in seconds, not a finished custom design. Most artists pull the SVG into Procreate or Illustrator for final tweaks. It replaces the hour of tracing, not your eye.
Tattoo stencil FAQ
How do I make a tattoo stencil from a photo?
Is this tattoo stencil maker free?
What kind of photos work best for tattoo stencils?
Can AI really make good tattoo stencils?
What size should I print the tattoo stencil?
What thermal printer should I use for tattoo stencils?
How do I transfer the stencil to skin?
Why does my stencil smudge or fall apart?
Can I edit the stencil after conversion?
One plan unlocks the whole studio kit
Stencil Mode, every export format, and all the niche tools. One yearly plan.
- Stencil Mode presets: fine line to bold
- SVG + print-ready PNG on every conversion
- Scale from wrist to full back, same file
- Commercial-use license on every file
- 300 conversions / year · unused credits roll over
Skip the hour of tracing
Upload the reference, pick your line density, print it purple. Your first preview is free.
Make my stencilNo signup required. SVG + PNG output.
Working line by line? The centerline trace draws one smooth path down the middle of every stroke — the same geometry a stencil wants, with true curves instead of pixel steps.
Pick the right converter for your workflow
Stencils start from all kinds of sources. Pick yours.
If stencil and flash prep is your business, you are probably paying per file.
An outside art service charges 6 to 26 dollars a logo and comes back the next day. Redrawing it yourself costs half an hour you could bill. A year here is $49 for 25 conversions every month, every machine format included, which works out cheaper than two outsourced logos.
Everything on this page stays free. This is only worth it if you do volume.