Beginner's Guide to Image Vectorization: Everything You Need to Know
A complete beginner-friendly guide to understanding and mastering image vectorization. Learn what it is, why it matters, and how to do it yourself.
Founder of VectoSolve
Self-taught developer, founder and sole developer of VectoSolve since 2024. He builds the conversion engine and the cutting, embroidery and 3D printing exports.
How this article was made: drafted with AI assistance, then edited and fact-checked before publication. About the author
Try it on your own file
Free preview, no signup. Drop an image and see the vector before deciding anything.
Key Takeaways
- Vectorization converts pixel grids into mathematical curves that scale to any size
- Three main methods: automatic (AI), manual tracing, and hybrid
- Best for logos, icons, illustrations — not for photographs
- VectoSolve uses AI to vectorize in seconds what takes hours by hand
You have a logo. It looks perfect on your website. Then you try to print it on a banner and it turns into a blurry, pixelated mess.
Sound familiar? That blur happens because your image is made of tiny colored squares — pixels. Zoom in far enough on any JPEG or PNG and you will see them. Vectorization is the fix.
Pixels vs Vectors: The Core Difference
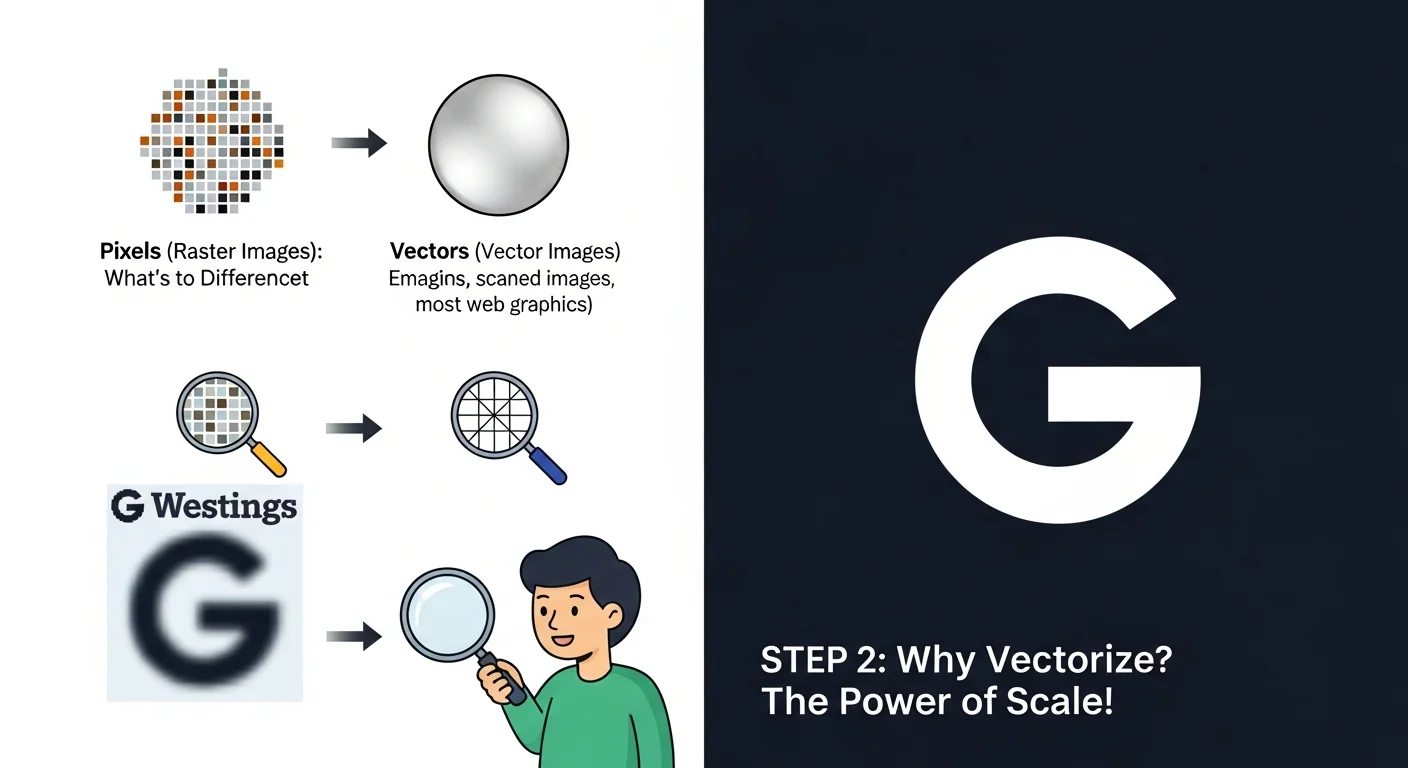
Think of it this way. A pixel image is like a mosaic — thousands of tiny colored tiles arranged in a grid. Get close enough and you see the tiles. A vector image is like a set of instructions: "draw a circle here, radius 50, fill with blue." No matter how big you make it, the instructions stay sharp.
Pixel images (JPEG, PNG, GIF, WebP):
- Fixed resolution — 1000x1000 pixels means exactly 1,000,000 color squares
- Get blurry when enlarged beyond their original size
- Great for photographs with millions of colors and subtle gradients
Vector images (SVG, AI, EPS, PDF):
- Resolution-independent — defined by math, not pixels
- Stay razor-sharp at business card size or billboard scale
- Best for logos, icons, illustrations, typography, diagrams
SVG stands for Scalable Vector Graphics. It is the web standard for vector images. Every modern browser supports it natively, and search engines can read the text inside SVG files — a real SEO advantage.
Why Vectorize? The Real-World Reasons
Printing Without Anxiety
Every print shop will ask for vector files. Business cards, t-shirts, banners, vehicle wraps, packaging — they all need vectors. A 72 DPI website logo will look terrible on a 300 DPI print. A vector file works at any DPI because it has no pixels to begin with.
One File, Every Platform
A single SVG logo file works on your website header, mobile app icon, email signature, social media profile, business card, and trade show banner. No more maintaining 15 different PNG sizes.
Smaller File Sizes for Web
A typical icon as PNG: 15-45 KB. The same icon as SVG: 1-5 KB. Across an entire website with dozens of icons and illustrations, the bandwidth savings are massive.
How Vectorization Actually Works
Step 1: Edge Detection
The algorithm scans your image pixel by pixel, looking for boundaries where colors change sharply. Think of it as finding the outlines in a coloring book.
Step 2: Path Tracing
Those detected edges get converted into mathematical paths. Instead of "pixel at position 45 is red, pixel at position 46 is blue," the algorithm says "draw a line from point A to point B."
Step 3: Curve Optimization
Raw traced paths have too many points — they are jagged and inefficient. The optimization step smooths the curves using Bezier mathematics, finding the fewest control points needed to accurately represent each shape.
Pro Tip: The quality of vectorization depends heavily on the input image. A clean, high-contrast PNG with solid colors produces much better vectors than a blurry photograph with complex gradients. When possible, start with the cleanest version of your image.
A Full Year of Conversions for $49
Starter Annual: 25 conversions every month, $49 for the whole year. That is about $4.08 a month · Cancel anytime
Get the Annual DealThree Approaches to Vectorization
1. Automatic AI Vectorization
How it works: Upload your image, AI processes it in seconds, download the SVG.
Best for: Logos, icons, simple illustrations, text, clipart.
Pros:
- Takes 5-30 seconds instead of 30-120 minutes
- Consistent quality
- No design software skills needed
Cons:
- Complex photographs may lose detail
- Very intricate illustrations may need manual touch-up
2. Manual Tracing
How it works: A designer opens the image in Illustrator or Inkscape and manually draws vector paths over it using the Pen tool.
Best for: Highly detailed artwork, photographs that need an artistic vector interpretation, complex multi-layered designs.
Pros:
- Total creative control
- Can interpret and improve the original
- Handles any complexity
Cons:
- Takes 30 minutes to several hours per image
- Requires professional design skills
- Expensive if outsourcing ($20-$100+ per image)
3. Hybrid Approach
How it works: Use AI vectorization for the bulk of the work, then manually refine specific areas in vector editing software.
Best for: Professional projects where 95% of the AI result is perfect but a few curves need adjustment.
What Vectorizes Well (and What Does Not)
| Image Type | Vectorization Quality | Notes |
|---|---|---|
| Logos | Excellent | Clean edges, solid colors — perfect candidates |
| Icons | Excellent | Simple shapes, limited colors |
| Text / Typography | Very Good | AI recognizes letter forms accurately |
| Line Art / Sketches | Very Good | Clear outlines convert well |
| Clipart | Good | Depends on complexity |
| Illustrations | Good | Multi-color illustrations work with more path detail |
| Photographs | Limited | Results in a posterized, artistic look — not photorealistic |
Warning: Vectorization is not a magic resolution enhancer. It converts your image into a different format. A blurry, low-resolution photo will produce a blurry-looking vector. For photos, consider AI upscaling instead — VectoSolve upscaler can enhance images up to 4x resolution.
Your First Vectorization: Step by Step
Here is how to vectorize an image using VectoSolve in under 60 seconds:
Step 1: Go to vectosolve.com and upload your PNG, JPG, or WebP image.
Step 2: Choose your mode:
- Standard (0.20 credits) — fast, right for most logos, icons and simple shapes
- HD (0.35 credits) — upscales the image first, for small or blurry sources
Step 3: Click "Vectorize" and wait 5-15 seconds.
Step 4: Download your SVG file. You can also download as PNG at higher resolutions.
Pro Tip: Start with the free preview to test. If the result looks great (it usually does for logos and icons), a standard conversion is all you need. Switch to HD only for small, blurry or detailed images.
Free SVG Tools for Crafters
Design Checker · Color Separator · Mat Preview · Offset Generator · Text to SVG
Check Your SVG FreeCommon Beginner Mistakes
Mistake 1: Vectorizing a photo expecting it to stay photorealistic.
Photos have millions of colors and subtle gradients. Vectorization simplifies them. For photos, use AI upscaling, not vectorization.
Mistake 2: Using a tiny, low-quality source image.
Garbage in, garbage out. Find the largest, cleanest version of the image before vectorizing. Even 500x500 pixels is better than 100x100.
Mistake 3: Not cleaning up the background first.
If your logo has a white background, vectorize it — but the white background will also become vector paths. Use background removal first for a transparent result.
Mistake 4: Over-optimizing the SVG.
Some developers aggressively minify SVG code. This is fine, but be careful not to remove viewBox attributes or round coordinates too aggressively, as this can distort shapes.
What Comes After Vectorization?
Once you have your SVG file, the possibilities open up:
- Edit it in Figma, Illustrator, Inkscape, or any vector editor
- Animate it with CSS or VectoSolve AI Animate for web graphics
- Print it at any size — business cards to billboards
- Use it on the web for faster loading and crisp display on all devices
- Cut it with Cricut or Silhouette machines for vinyl, paper, and more
Frequently Asked Questions
Can I vectorize a JPEG?
Yes. VectoSolve accepts JPEG, PNG, WebP, GIF, and BMP. JPEG compression artifacts may slightly affect quality, so use the highest-quality JPEG you have.
Is vectorization free?
VectoSolve offers a free watermarked preview, no signup. The clean file comes with a plan from $7.99 a month for 25 conversions — far cheaper than hiring a designer.
Will my vectorized image look exactly like the original?
For logos, icons, and illustrations with clean edges — yes, very close. For complex artwork, there may be minor simplification. You can always choose a higher quality tier for more detail.
What software can open SVG files?
All modern browsers, Figma, Adobe Illustrator, Inkscape (free), Canva, Cricut Design Space, Silhouette Studio, and many more.
Ready to try it? Upload your first image and see the result in seconds.
| Vectorization Method | Best For | Speed | Cost |
|---|---|---|---|
| AI-powered (VectoSolve) | All image types, beginners | 5–15 seconds | Free preview, then from $7.99/month |
| Manual tracing (Illustrator) | Complex custom artwork | 30–120 minutes | Subscription |
| Semi-auto (Inkscape Trace) | Simple logos, icons | 5–15 minutes | Free |
| Online auto-tracer | Quick one-off conversions | 10–30 seconds | Free + paid plans |