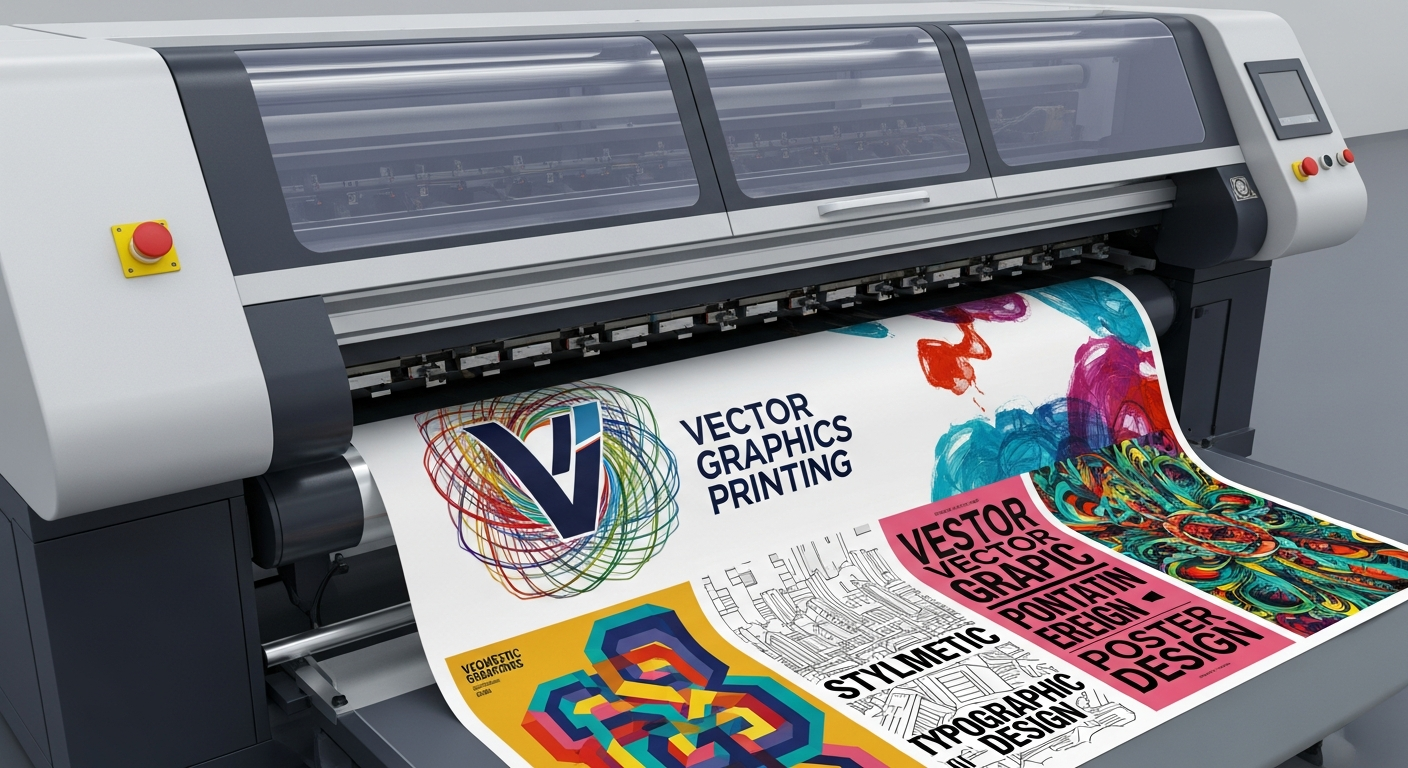
Creating Print-Ready Vectors: From Screen to Professional Print
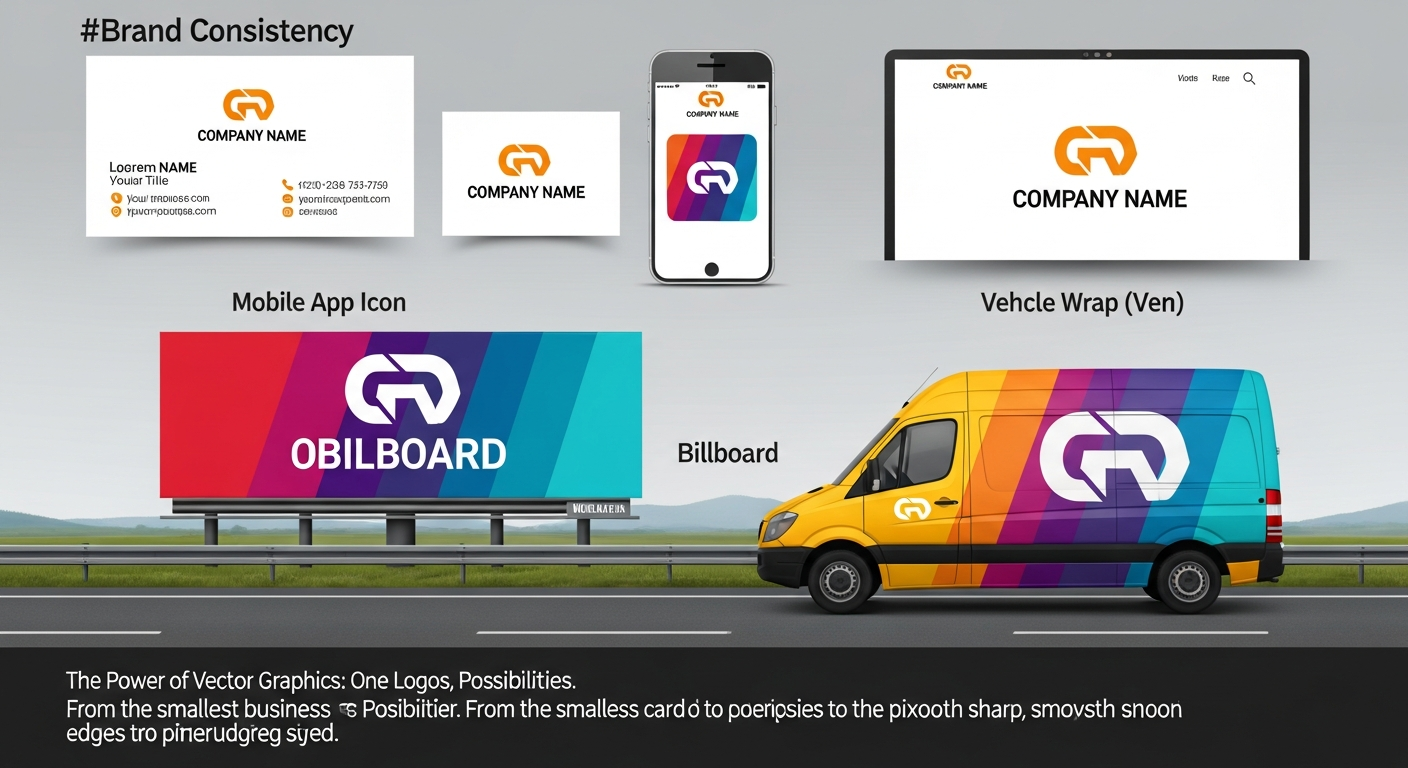
Master the art of preparing vector graphics for professional printing. Learn color management, bleed settings, and file formats.

Graphics & Design Experts
Our team of experienced designers and developers specializes in vector graphics, image conversion, and digital design optimization. With over 10 years of combined experience in graphic design and web development.
Getting your designs from screen to print requires careful preparation. This guide covers everything you need to know about creating print-ready vector files.
Understanding Print Requirements
Before sending your vectors to print, you need to understand the fundamentals:
Key Takeaways
- Convert RGB to CMYK for accurate color reproduction
- Add 3mm bleed for edge-to-edge printing
- Use 300 DPI minimum for any raster elements
- Outline all fonts to prevent substitution issues
- Export in PDF/X-1a or EPS format
"The difference between amateur and professional print output often comes down to proper file preparation. Get these fundamentals right, and your prints will shine.
Color Management for Print
The biggest surprise for digital designers is how different colors look in print. Here's why:
RGB (Screen): Uses light - can display 16.7 million colors CMYK (Print): Uses ink - limited to about 16,000 colors
Converting Colors Properly
Steps for accurate conversion:
Pantone and Spot Colors
For brand-critical colors, consider Pantone:
Setting Up Bleed and Margins
Bleed: Extends artwork 3mm past the trim line Trim Line: Where the paper is cut Safe Zone: Keep important content 5mm inside trim
|-------- Bleed (3mm) --------|
|  |---- Trim Line ----|      |
|  |  |-- Safe Zone --|  |    |
|  |  |   YOUR        |  |    |
|  |  |   CONTENT     |  |    |
|  |  |---------------|  |    |
|  |---------------------|    |
|-----------------------------|
File Format Best Practices
For Commercial Printing
Export Checklist
Common Print Problems and Solutions
Problem 1: Colors Look Different
Solution: Request a hard proof, adjust CMYK values, consider Pantone for critical colors.
Problem 2: White Lines at Edges
Solution: Add proper bleed, ensure overlapping elements have slight overlap.
Problem 3: Fuzzy Text
Solution: Outline all fonts, ensure vector text is used (not rasterized).
Conclusion
Creating print-ready vectors is a skill that separates professionals from amateurs. Master these fundamentals, and your printed materials will always look their best.
Need to prepare images for print? Convert them to vectors first with VectoSolve for the cleanest possible output.