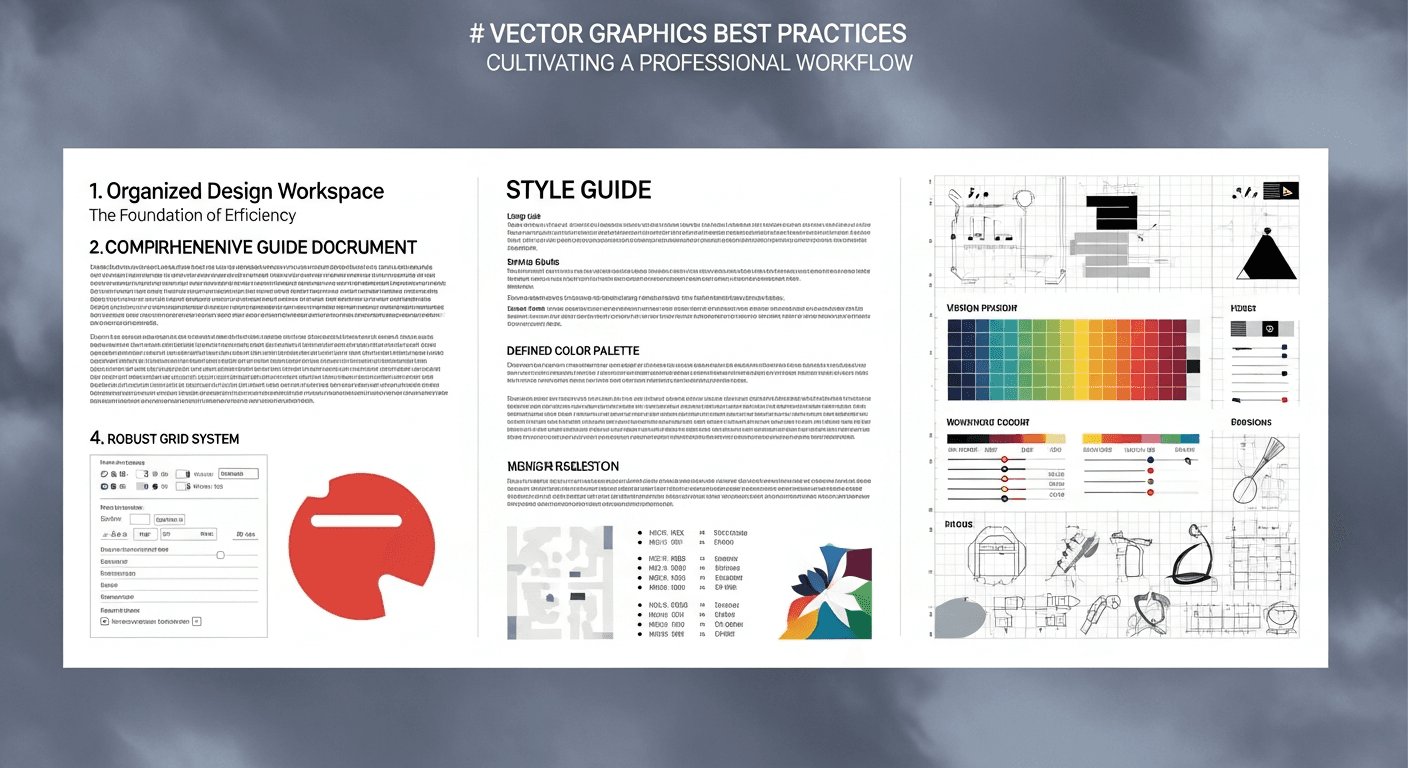
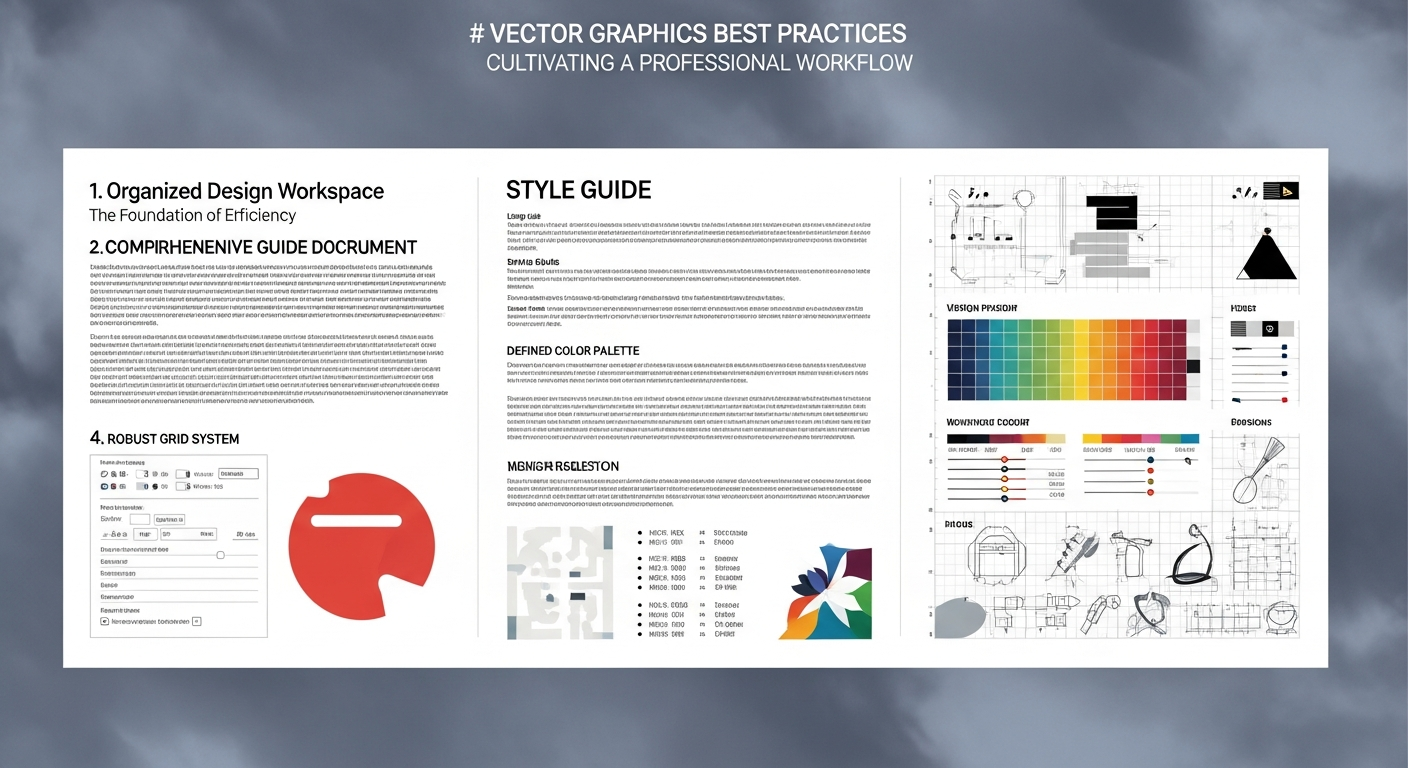
Best Practices for Successful Vectorization
Maximize the quality of your PNG to SVG conversions with these expert tips for preparing your images and optimizing results.
Graphics & Design Experts
Our team of experienced designers and developers specializes in vector graphics, image conversion, and digital design optimization. With over 10 years of combined experience in graphic design and web development.
Key Takeaways
- Source image quality is the single biggest factor in vectorization results — aim for 300 DPI minimum and 2000x2000 pixels
- High contrast with sharp edges produces dramatically better vectors than blurry or compressed originals
- Use PNG with transparent backgrounds over compressed JPGs to avoid artifacts being traced into your SVG
- Match detail level to your use case: low for web icons, medium for general use, high for complex illustrations
- Always test your vectorized output at 16x16, 200x200, and 1000+ pixels to verify quality at all scales
Introduction
The quality of your vectorization largely depends on preparing your source image. Follow these best practices to get optimal results with Vectosolve.
"Garbage in, garbage out. The best vectorization tool in the world can't fix a blurry, compressed source image.
---
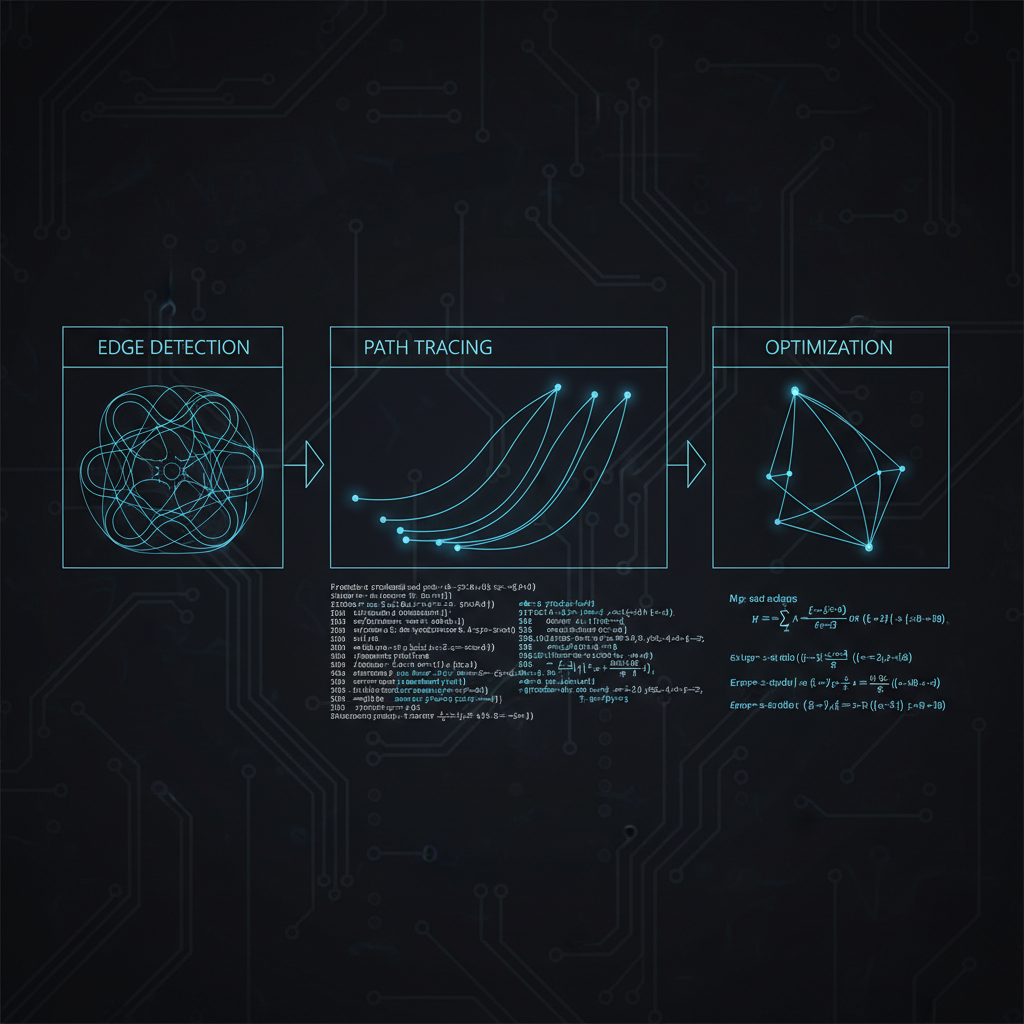
Preparing Your Source Image
1. Optimal Resolution
Recommendation: 300 DPI minimum
A high-resolution image provides more details for AI to create precise vectors.
Good: 2000x2000 pixels
Medium: 1000x1000 pixels
Avoid: less than 500x500 pixels
2. High Contrast
AI detects shapes better with good contrast:
3. Sharp Edges
Do:
Avoid:
4. Appropriate Background
Ideal: Transparent background (PNG) or solid white
Problematic:
---
Image Types and Expected Results
Excellent Candidates
#### Logos
#### Icons
#### Flat Design Illustrations
#### Text
Acceptable Candidates
#### Detailed Illustrations
#### Complex Graphics
Difficult Candidates
#### Realistic Photos
#### Highly Textured Images
---
Optimizing Conversion Parameters
Detail Level
High: For images with many small elements
Medium: Recommended general balance
Low: For simple shapes
Number of Colors
Adapt according to your image:
---
Recommended Post-Processing
1. Check Paths
After conversion, examine:
2. Clean SVG Code
Remove:
3. Optimize Colors
4. Test Scalability
Check your SVG at different sizes:
---
Practical Cases
Case 1: Old Company Logo
Problem: Pixelated logo in low-resolution JPEG
Solution:
Case 2: Application Icons
Objective: Consistent set of SVG icons
Approach:
Case 3: Complex Infographic
Challenge: Many elements and text
Strategy:
---
Common Mistakes to Avoid
1. Source Image Too Small
Problem: Blurry and imprecise result Solution: Always use the highest resolution available2. Excessive JPEG Compression
Problem: Artifacts reproduced in SVG Solution: Use PNG or maximum quality JPEG3. Expecting a Realistic Photo
Problem: Disappointment with the result Solution: Understand that vectorization naturally simplifies4. Ignoring Post-Processing
Problem: Non-optimized file Solution: Always clean and optimize the final SVG---
Recommended Workflow
---
Complementary Tools
Image Preparation
SVG Post-Processing
---
Conclusion
Successful vectorization is the result of good preparation, appropriate parameters, and careful post-processing. By following these best practices, you'll get high-quality SVGs optimized for all your needs. Vectosolve simplifies this process, but understanding these principles will help you maximize the quality of your results.
---
| Source Quality Factor | Poor Input | Ideal Input | Impact on Output |
|---|---|---|---|
| Resolution | Under 500px, 72 DPI | 2000px+, 300 DPI | 3–5x cleaner paths |
| Contrast | Low-contrast, gray tones | High-contrast, sharp edges | 50% fewer stray nodes |
| File format | Compressed JPG (quality <60) | PNG or lossless TIFF | Eliminates compression artifacts |
| Background | Busy, textured background | Transparent or solid white | Cleaner subject isolation |
| Color count | Gradients, 100+ colors | Flat color, 2–8 distinct colors | Simpler, more editable SVG |