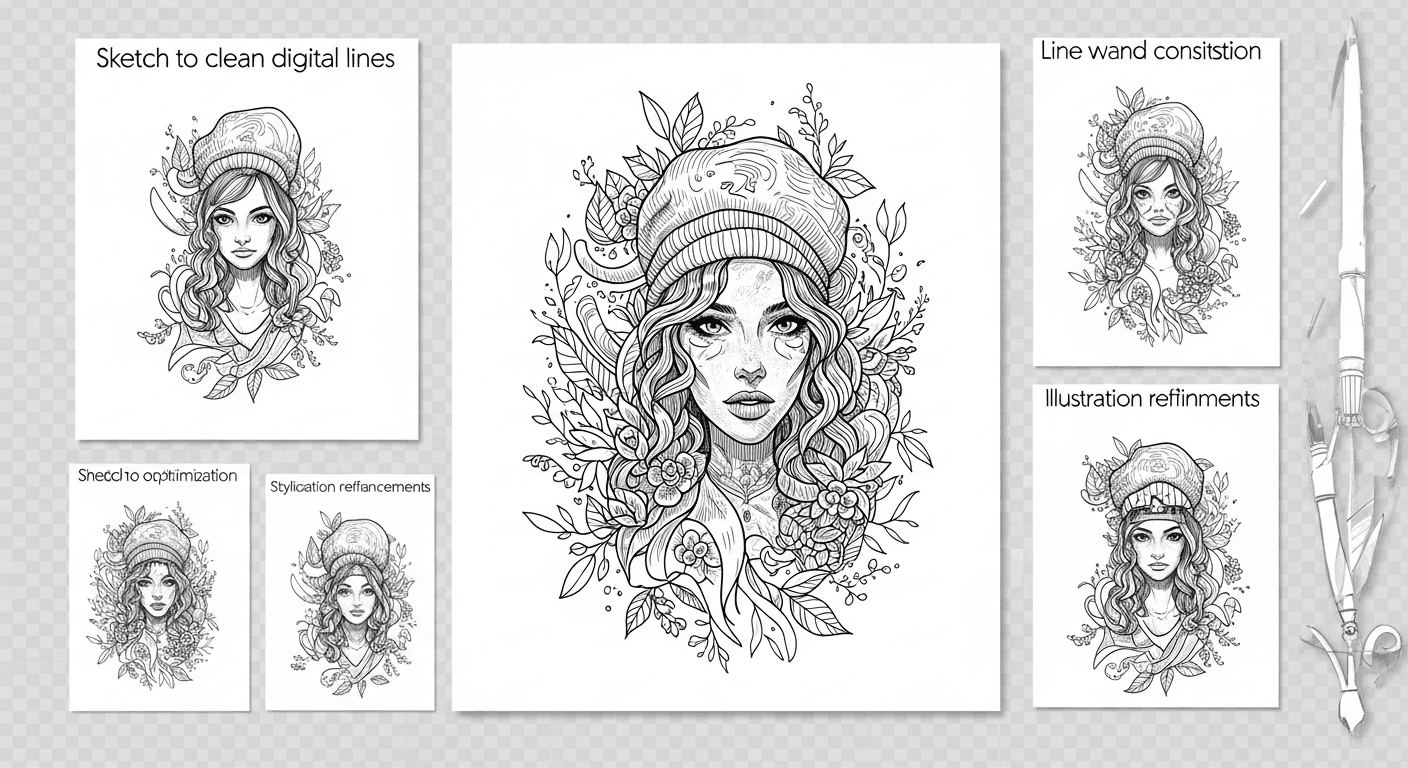
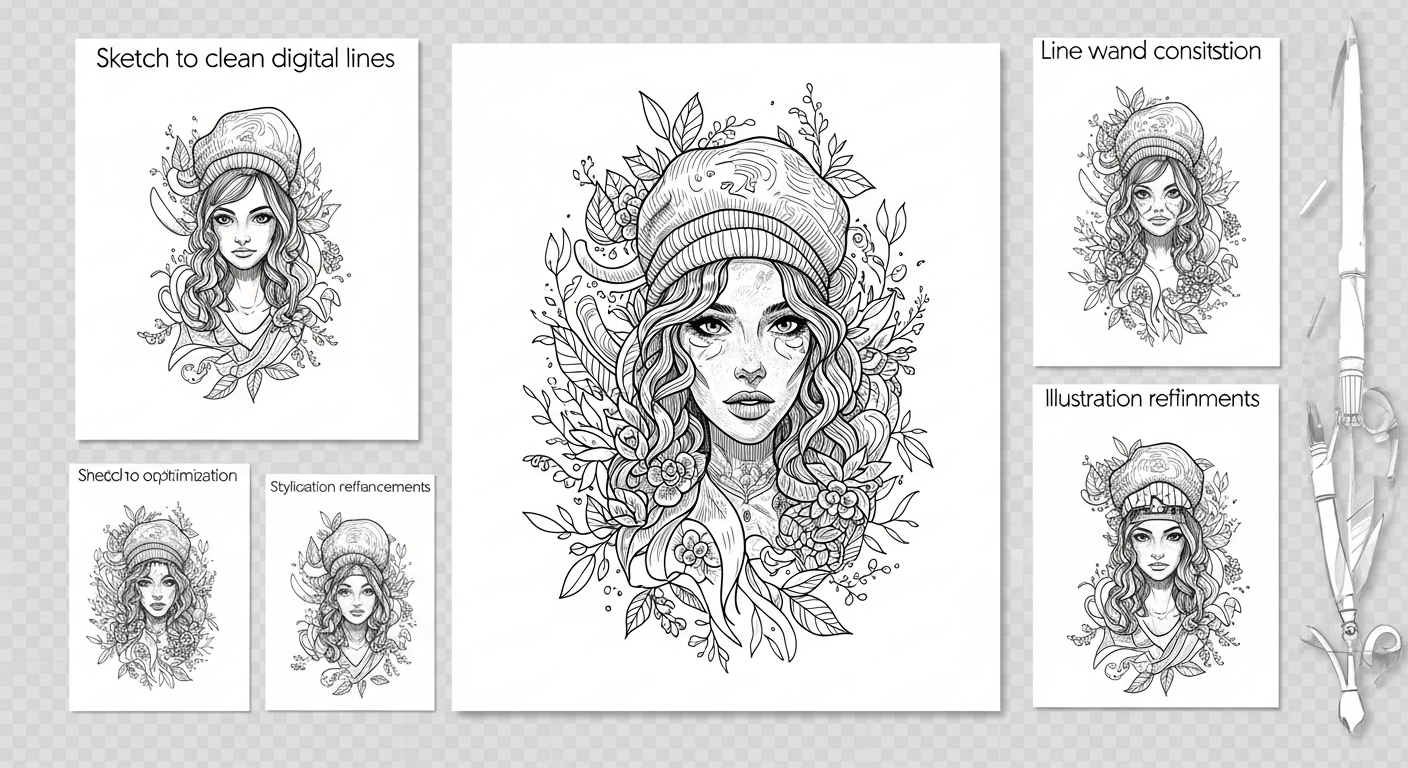
Converting Line Art to Vector: From Sketch to Digital Illustration
Transform your hand-drawn line art into clean, scalable vector illustrations. Perfect workflow for artists, illustrators, and designers.
Graphics & Design Experts
Our team of experienced designers and developers specializes in vector graphics, image conversion, and digital design optimization. With over 10 years of combined experience in graphic design and web development.
Line Art Is Design Distilled to Its Essence
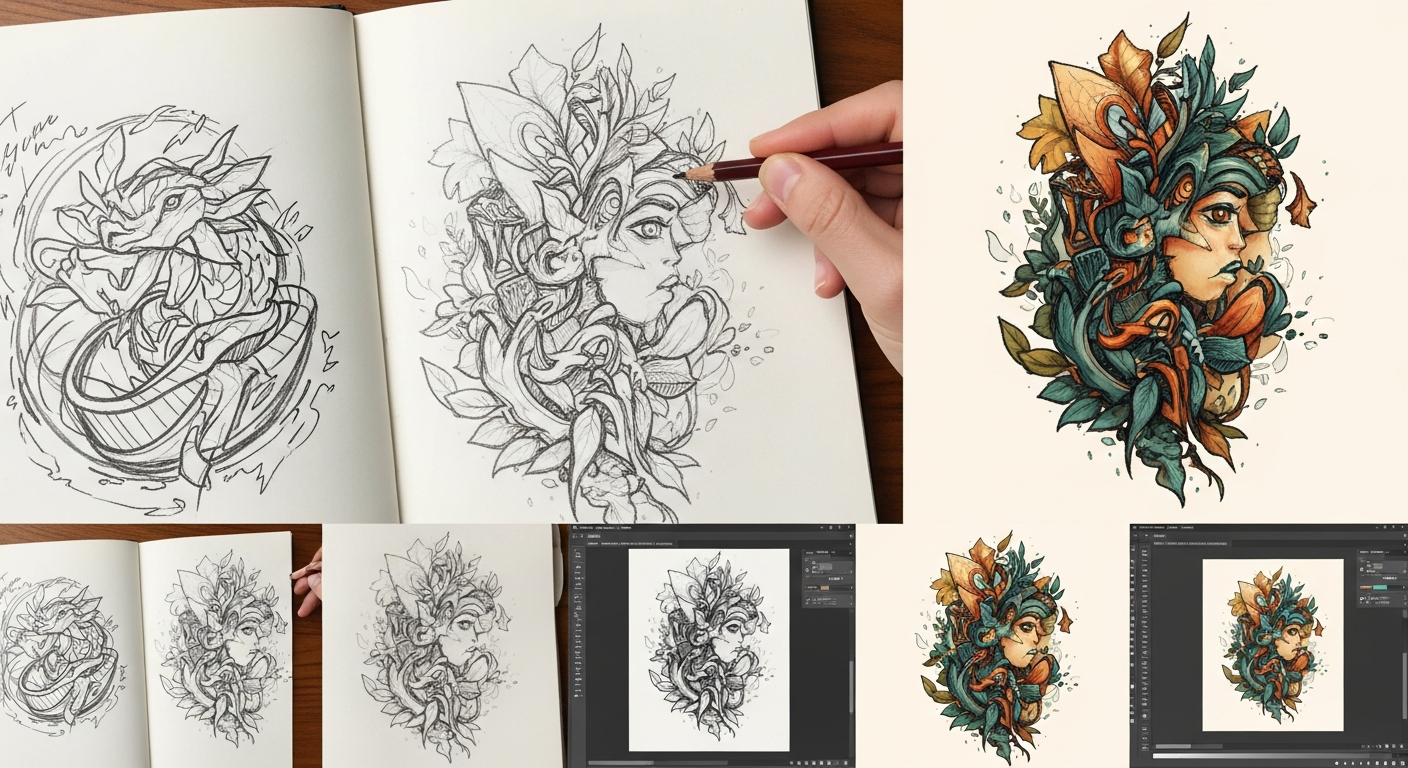
There's a reason tattoo apprentices start with line art before they ever touch a machine. Line art strips away everything that doesn't matter — no crutches of color, no hiding behind gradients — and leaves only the strength of your stroke. When you vectorize that work, you're taking something raw and personal and giving it the precision it needs to live on skin, on merch, on a book cover at any size.
I've spent years moving between sketchbooks and screens, inking flash sheets by hand and then converting them for clients who need files that actually scale. The workflow I'm sharing here is the one I use daily, whether I'm preparing tattoo stencils or packaging illustrations for print.
> "Line art is design distilled to its essence — every stroke has to earn its place on the page."
Key Takeaways
- Bold ink on smooth paper (0.5mm pens or thicker) produces the cleanest vector traces
- Different line art styles (continuous line, crosshatch, stipple) each need specific vectorization settings
- Scanning at 600 DPI in grayscale preserves stroke variation without introducing noise
- VectoSolve uses AI-powered tracing that respects hand-drawn character
- Vectorized line art unlocks tattoo stencils, merchandise, book illustration, and scalable prints
Five Styles of Line Art and How Each Vectorizes
Not all line art is created equal. The style you draw in directly affects how the vectorizer interprets your work:
| Style | Characteristics | Vectorization Approach | Watch Out For | |---|---|---|---| | Continuous line | Single unbroken stroke, no lifting | Centerline trace, moderate smoothing | Overlapping intersections can merge | | Crosshatch | Layered parallel lines for shading | High detail, low smoothing | Dense areas may fill in as solid black | | Stipple | Dots of varying density | Color quantization to 2 levels, then trace | Small dots may vanish below 600 DPI | | Contour | Lines following the subject's form | Standard outline trace, medium smoothing | Varying weights need path-based tracing | | Gesture | Loose, expressive, overlapping marks | Aggressive threshold, selective cleanup | Stray marks will be traced — clean first |
Understanding your style before you scan saves hours of cleanup later.
Scanning and Photographing Line Art
Scanning (The Gold Standard)
Photographing (Field Alternative)
Ready to convert your images?
Try VectoSolve FreeVectorization Settings for Different Line Weights
A single preset does not work for every piece. Here's how I adjust based on line character:
Thin, Uniform Lines (Tech Pens, Fineliners)
Thick, Variable Lines (Brush Pens, Markers)
Mixed Weight Illustration
Upload your scan to VectoSolve and the AI tracer handles the heavy lifting. For fine-tuning, open the SVG in the VectoSolve SVG Editor to adjust anchor points, smooth curves, or separate overlapping paths.
Coloring Your Vectorized Line Art
Clean vectors make coloring dramatically easier than raster art:
Flat Color Fills
Shading and Depth
Keep your line layer on top and locked. Don't let color compete with linework. Consider leaving some areas uncolored — negative space is powerful.
Real-World Applications
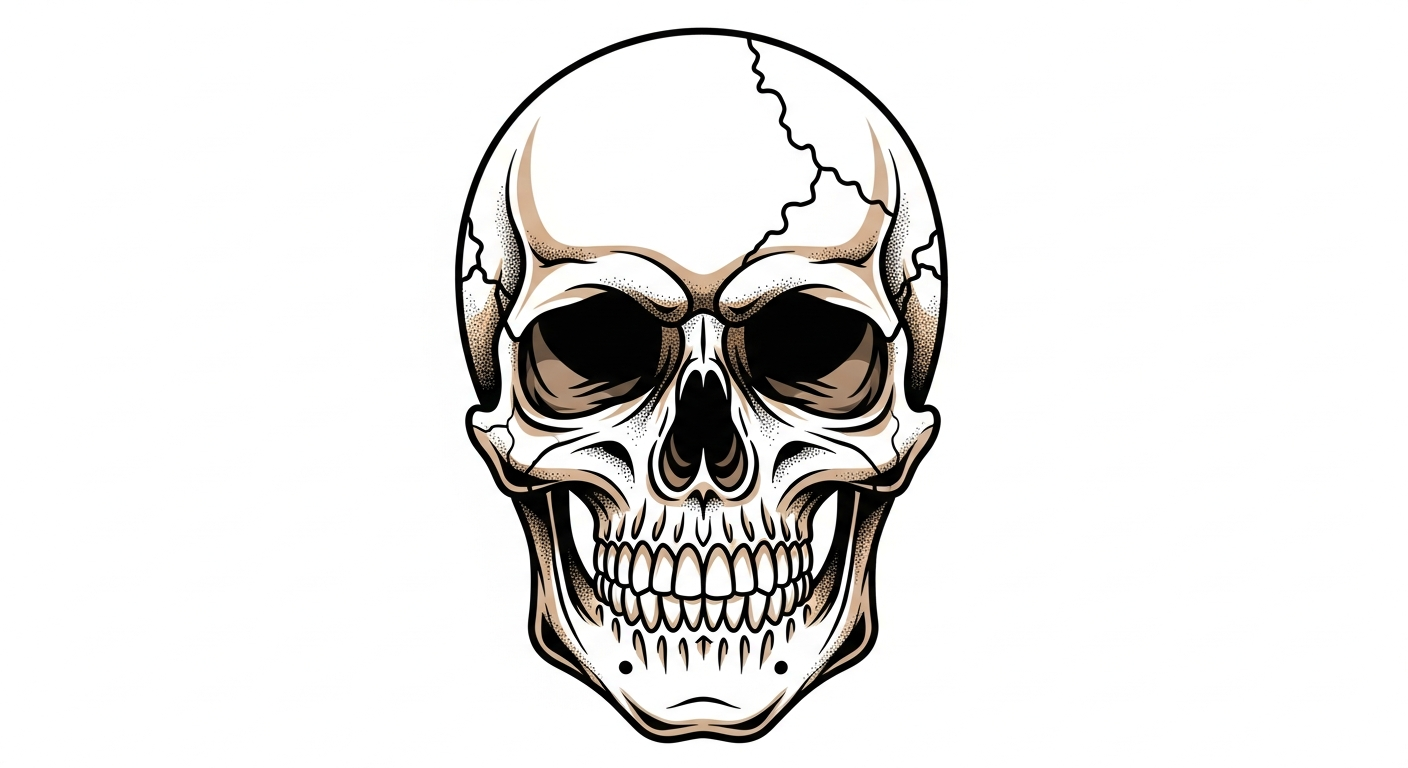
Tattoo Design and Stencils
Vectorized line art produces razor-sharp stencils at any body placement size. A back piece and a wrist version come from the same file — just scale and print. Flash sheets become infinitely reproducible, and clients can preview exact line weights on screen before committing to skin.Merchandise and Product Design
T-shirts, enamel pins, stickers, tote bags — all need vector art for production. Line art vectorized through VectoSolve gives you production-ready files that manufacturers actually want to receive.Book and Editorial Illustration
Publishers need art that works at chapter-header size and full-page spread from the same source file. Coloring book publishers especially benefit — every page needs to be clean, scalable, and press-ready.Animation and Motion Graphics
Vector line art is ideal for frame-by-frame animation or rigged character work. Each path is individually selectable, layers separate naturally, and files stay lightweight at broadcast resolution.Ready to convert your images?
Try VectoSolve FreeYour Line-to-Vector Workflow
---
Your sketchbook is full of work that deserves to live beyond the page. Whether you're building a flash sheet, illustrating a zine, or preparing merch, vectorizing your line art bridges the raw energy of your hand and the technical demands of production. Start converting your line art with VectoSolve and see how much hand-drawn character survives the jump to vector.
---
| Line Art Source | Recommended DPI | Best Vectorization Setting | Cleanup Time |
|---|---|---|---|
| Pencil sketch on paper | 300–600 DPI | High contrast, threshold mode | 10–30 min |
| Ink drawing on paper | 300 DPI | Line art / monochrome mode | 5–15 min |
| Digital tablet sketch | N/A (native digital) | Path simplification medium | 5–10 min |
| Photo of whiteboard | N/A (photo) | High threshold + cleanup | 15–45 min |