Logo Vectorization for Print: The Complete Guide
Preparing logos for print requires vector formats. Learn how to convert, prepare, and optimize logos for business cards, banners, merchandise, and more.
Graphics & Design Experts
Our team of experienced designers and developers specializes in vector graphics, image conversion, and digital design optimization. With over 10 years of combined experience in graphic design and web development.
Key Takeaways
- Vector files (SVG, EPS, AI, PDF) are mandatory for professional print — raster logos cause blurry, pixelated results at any scale
- Print uses CMYK color mode, not RGB — converting incorrectly shifts colors dramatically
- Resolution requirements vary: business cards need 300 DPI, large banners can use 150 DPI, but vectors eliminate DPI concerns entirely
- Always convert fonts to outlines and embed color profiles before sending to a print shop
- A proper pre-press checklist saves thousands of dollars in reprints and production delays
The $4,200 Print Disaster That Could Have Been Avoided
I still remember the call. A marketing director — let's call her Sarah — had just approved a run of 10,000 brochures for a national trade show. The files went to press on a Thursday. By Monday morning, she was staring at pallets of glossy paper where her company's logo looked like it had been photographed through a shower door.
The problem? Her designer had pulled the logo from the company website — a 200x80 pixel PNG — and dropped it into the InDesign layout. On screen at 72 DPI, it looked fine. Printed at 300 DPI on a Heidelberg offset press, it was an unmistakable disaster. The reprint cost $4,200, the trade show was in three days, and the rush delivery fee was another $800.
This happens more often than you think. In my fifteen years working in commercial print production, I've seen variations of this story play out hundreds of times. And the solution is always the same: the logo should have been a vector file from the start.
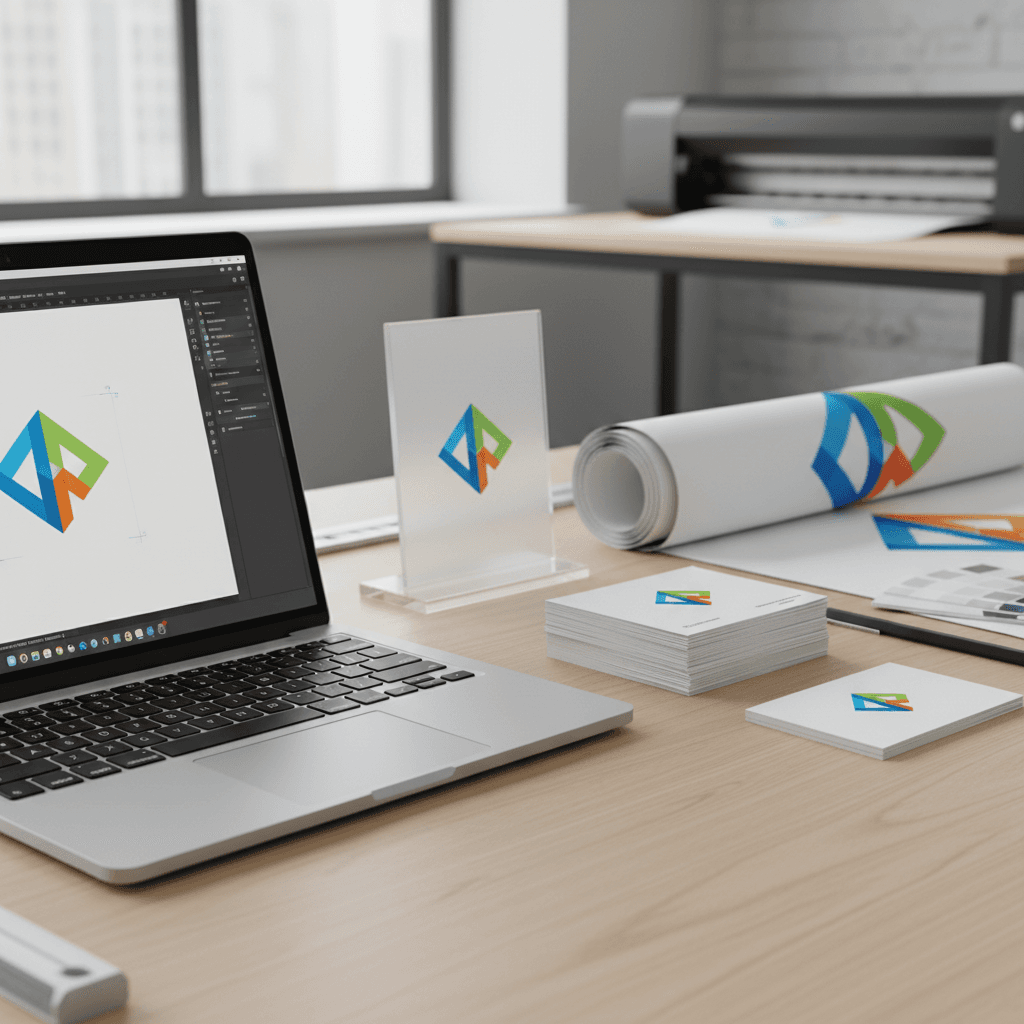
![]()
This guide is everything I wish I could hand to every client who walks through the door. Whether you're a designer preparing files for press, a business owner working with a print shop, or a marketing team managing brand assets — this is the complete roadmap to getting your logo print-ready with vector files.
---
Why Print Absolutely Demands Vector Files
Let's start with the fundamental physics of printing. When an offset press, a large-format inkjet, or even a high-end laser printer puts ink on paper, it's working with physical dots of ink. The precision of those dots is measured in DPI — dots per inch. A standard commercial offset press operates at 2400 DPI or higher for the actual ink placement.
When you send a raster image (PNG, JPG, GIF) to a printer, the software has to figure out how to map your pixels to those physical dots. If your image is 300 pixels per inch, that's a decent match — each pixel gets roughly 8 dots, and the result is sharp. But if your image is only 72 DPI (standard screen resolution), each pixel gets stretched across 33 dots. The printer can't invent detail that doesn't exist. The result is blur, pixelation, and visible jagged edges.
The Scale Problem
Here's a practical example. A standard business card is 3.5 × 2 inches. A trade show banner might be 8 × 3 feet. That's roughly a 16x increase in linear dimension. If your logo is a raster file designed for business card size at 300 DPI, scaling it to banner size drops the effective resolution to about 19 DPI. That's less than a quarter of what you'd need for a sharp result, even on a large-format banner where viewing distance is forgiving.
A vector file? It looks identical at both sizes. No quality loss. No recalculation. No compromise.
"In 25 years of running a commercial print shop, I have never once regretted asking a client for vector artwork. But I have regretted thousands of times not insisting on it.
---
Color Modes: RGB vs CMYK vs Pantone
This is where most designers who work primarily for screen make their biggest print mistakes. Let me break down the three color systems you need to understand.
![]()
RGB (Red, Green, Blue)
RGB is an additive color model used by screens. Mixing all colors at full intensity produces white. Your monitor, phone, and TV all use RGB. The gamut (range of possible colors) is enormous — roughly 16.7 million colors in 8-bit RGB.
CMYK (Cyan, Magenta, Yellow, Key/Black)
CMYK is a subtractive color model used by printers. Ink absorbs light rather than emitting it. Mixing all inks at full intensity theoretically produces black (in practice, it produces a muddy brown, which is why the K/black channel exists). The CMYK gamut is significantly smaller than RGB — especially in bright blues, vivid greens, and saturated oranges.
Pantone (Spot Colors)
Pantone colors are pre-mixed inks identified by number (e.g., Pantone 286 C for a specific blue). They're used when exact color matching is critical. Instead of building a color from CMYK dots, the printer uses a single, pre-mixed ink that's guaranteed to match the swatch book. Spot colors are more expensive but essential for brand consistency.
| Property | RGB | CMYK | Pantone |
|---|---|---|---|
| Type | Additive (light) | Subtractive (ink) | Pre-mixed ink |
| Used For | Screens, web, digital | Full-color printing | Brand-critical printing |
| Color Range | ~16.7 million colors | ~1 million colors | 2,161 solid colors |
| Cost Impact | N/A (digital) | Standard 4-color process | +$150–500 per color per run |
| Best For Logos | Website, app, social media | Brochures, packaging, flyers | Business cards, letterhead, signage |
| File Formats | PNG, JPG, SVG (screen) | PDF, EPS, TIFF | AI, PDF with spot channels |
---
DPI and Resolution: The Numbers That Matter
DPI stands for "dots per inch," and it's the metric that governs how sharp your printed output will be. But here's the nuance most people miss: the required DPI depends on the viewing distance.
A business card is viewed at arm's length — about 12–18 inches. At that distance, your eye can resolve extremely fine detail, so you need high DPI. A highway billboard is viewed from 50+ feet away, so you can get away with astonishingly low DPI. The key metric is angular resolution — the detail per degree of your visual field.
Why Vectors Eliminate the DPI Problem
When you send vector artwork to a print shop, the file doesn't contain pixels. It contains instructions like "draw a Bézier curve from point A to point B with this control handle." The RIP software at the printer interprets these instructions and rasterizes them at whatever resolution the output device requires. A vector EPS sent to a 2400 DPI imagesetter is rasterized at 2400 DPI. The same file sent to a 720 DPI large-format inkjet is rasterized at 720 DPI. The math is recalculated each time, producing optimal results every time.
This is why every print professional will tell you: vector is always the answer for logos.
---
Print Applications and Their Requirements
Different print products have different technical requirements. Here's a comprehensive reference table from my years of working with commercial printers.
| Application | Typical Size | Min. Resolution | Color Mode | Bleed Required | Vector Critical? |
|---|---|---|---|---|---|
| Business Cards | 3.5 × 2 in | 300 DPI | CMYK or Pantone | 0.125 in | YES |
| Letterhead | 8.5 × 11 in | 300 DPI | CMYK or Pantone | 0 (no bleed) | YES |
| Brochures | 8.5 × 11 in (folded) | 300 DPI | CMYK | 0.125 in | YES |
| Posters | 18 × 24 in to 24 × 36 in | 150–200 DPI | CMYK | 0.25 in | YES |
| Trade Show Banners | 33 × 81 in (retractable) | 100–150 DPI | CMYK | 0.5 in | YES |
| Vehicle Wraps | Custom (large) | 100 DPI | CMYK | Variable | ESSENTIAL |
| T-Shirts (Screen) | 12 × 16 in max print | 300 DPI | Pantone (spot) | N/A | ESSENTIAL |
| Embroidery | Varies | N/A (stitch file) | Thread colors | N/A | ESSENTIAL |
| Signage (Vinyl Cut) | Varies | N/A (cut path) | Vinyl colors | N/A | MANDATORY |
| Billboards | 14 × 48 ft | 15–30 DPI | CMYK | Varies | YES |
| Packaging | Custom (die-cut) | 300 DPI | CMYK + Pantone | Per die line | ESSENTIAL |
| Promotional Items | Small (pens, mugs) | 300 DPI | Pantone (1–4 spot) | Per template | ESSENTIAL |
---
Step-by-Step: Vectorizing a Logo for Print
Whether you're converting an existing raster logo or working with a vectorization tool, here's the process that produces print-ready results.
Step 1: Start With the Best Source Material
Find the highest resolution version of the logo you have. Check these locations in order:
Step 2: Clean Up the Source
Before vectorizing, clean your raster source:
Step 3: Vectorize with Precision
Use a dedicated vectorization tool that produces clean, optimized paths. You want:
Step 4: Set Up Color Correctly
For CMYK process printing:
For Pantone spot color printing:
Step 5: Convert Text to Outlines
This is non-negotiable for print files. Every text element must be converted to vector outlines (paths). If you don't:
Step 6: Export for Print
The ideal export formats for print, in order of preference:
Recommended formats:
---
The Pre-Press Checklist
I keep this checklist pinned to the wall above my workstation. Every file gets checked against it before going to press.
File Setup:
Logo and Vector Elements:
Color:
Final Export:
"Give me a clean vector file with proper CMYK values and I'll print you something beautiful. Give me a 72 DPI JPEG and we'll both be disappointed.
---
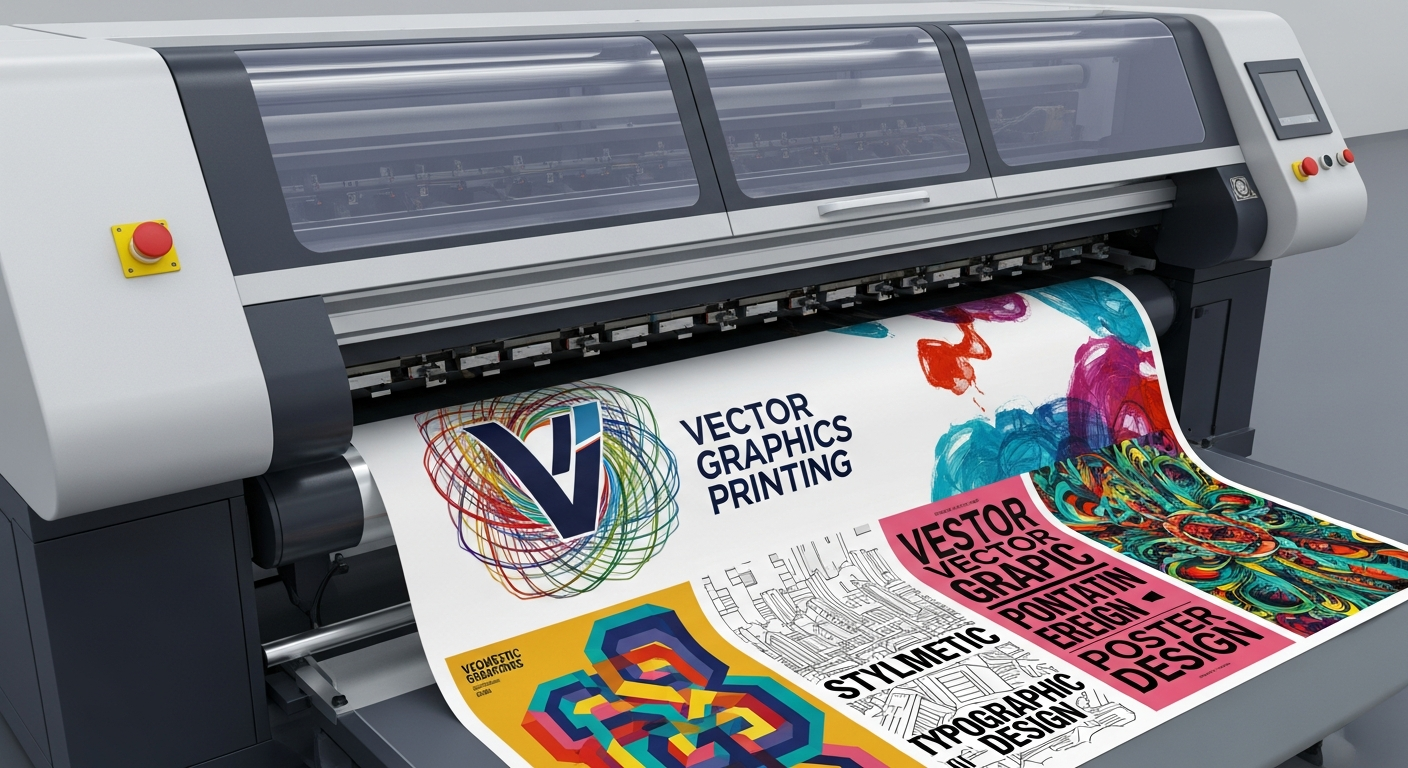
Common Mistakes That Cost Real Money
![]()
After fifteen years in this industry, I've compiled the mistakes I see most often:
1. Using the website logo for print. Website logos are optimized for screens — small file size, RGB color, 72 DPI. They are categorically unsuitable for print.
2. Upscaling a raster image and calling it "high res." Photoshop can make a 200px image into a 2000px image, but it's just inventing pixels. The detail doesn't exist. The result is a larger file that's still blurry.
3. Ignoring the CMYK conversion. That electric blue (#0066FF) in your RGB logo becomes a noticeably different and duller blue in CMYK. You need to see this on a proof before printing 50,000 pieces.
4. Forgetting to outline fonts. Your print shop doesn't have your $400 custom typeface. If the fonts aren't outlined, the RIP will substitute a default font — or worse, crash silently and produce garbled output.
5. Not including bleed. If your design has color extending to the edge of the paper, it needs bleed. Without it, you'll get thin white strips along the trim edges where the paper cutter wasn't perfectly aligned (it never is).
---
Making It Easy: Vectorize Your Logo Today
The barrier to getting a print-ready vector logo used to be high. You'd either need the original designer's source files (which many businesses have lost) or you'd need to hire a designer to manually recreate your logo in Illustrator. Manual vectorization for a moderately complex logo runs $50–$200, takes 2–5 business days, and the quality varies wildly depending on the designer's skill.
Today, AI-powered vectorization tools can produce print-quality vector files in seconds. The technology has advanced dramatically — modern tools produce clean paths with minimal anchor points, proper curve handling, and accurate color matching.
VectoSolve was built specifically for this use case. Upload your logo in any raster format, and our AI engine produces a clean, optimized SVG with:
Whether you're a designer preparing files for a client, a print shop receiving raster artwork from a customer, or a business owner who needs their logo on everything from a pen to a building wrap — vectorization is the first step to print perfection.
Stop gambling with raster logos. Convert your logo to a print-ready vector now at VectoSolve.com — it takes 30 seconds, and it can save you thousands.
---
| Print Method | Required Format | Color Mode | Min. Resolution |
|---|---|---|---|
| Offset Printing | EPS, AI, PDF (vector) | CMYK | 300 DPI (raster fallback) |
| Screen Printing | SVG, EPS, AI | Spot Colors (Pantone) | Vector required |
| Large Format / Signage | EPS, PDF, SVG | CMYK or Pantone | 150 DPI at full size |
| Embroidery | SVG (converted to DST) | Thread colors | Vector required |
| Promotional Products | EPS, AI, SVG | Pantone (1–3 colors) | Vector required |