
How to Convert a Hand-Drawn Logo to a Professional Vector File
Turn your napkin sketch or hand-lettered logo into a crisp, scalable vector. Covers scanning tips, cleanup techniques, and AI-powered conversion for brand-ready results.
Founder and developer of VectoSolve
Self-taught developer who founded VectoSolve in 2024. He builds the conversion engine and the cutting, embroidery and 3D printing exports, working with the VectoSolve team of graphic designers.
How this article was made: drafted with AI assistance, then edited and fact-checked before publication. About the author
Try it on your own file
Free preview, no signup. Drop an image and see the vector before deciding anything.
Key Takeaways
- Hand-drawn sketches need vector conversion for professional use: infinite scalability, clean edges, editable colors, and small file sizes
- Scan at 600+ DPI using black ink on smooth white paper and save as PNG -- this produces the highest-contrast input for vectorization
- AI-powered auto-trace (VectoSolve) analyzes artistic intent behind strokes, converting sketches to SVG in seconds vs. hours of manual Pen tool tracing
- The hybrid workflow (AI auto-trace + manual refinement) gives the best balance of speed and precision for professional output
- Preserve the hand-drawn character: don't over-smooth curves or remove intentional imperfections that give your art its organic warmth
Introduction
There's something special about hand-drawn designs. They carry authenticity, personality, and artistic flair that purely digital creations sometimes lack. But to use your sketches professionally -- on websites, merchandise, or large-format prints -- you need to convert them to vectors.
This comprehensive guide walks you through the entire process of transforming hand-drawn logos, illustrations, and sketches into clean, scalable vector graphics.

Why Convert Hand-Drawn Art to Vectors?
The Limitations of Scanned Artwork
Your beautiful sketch has problems when used digitally:
- Fixed resolution: Enlarging causes pixelation
- Background noise: Paper texture shows up
- Inconsistent lines: Natural variation becomes messy
- Large file sizes: High-resolution scans are heavy
- Limited editability: Can't easily change colors
Benefits of Vectorization
Converting to SVG or other vector formats gives you:
- Infinite scalability: Business card to billboard
- Clean edges: Professional, crisp appearance
- Editable: Adjust colors, modify elements
- Small files: Efficient for web use
- Versatility: Use anywhere, any size
Preparing Your Hand-Drawn Artwork
Best Drawing Practices for Vectorization
Paper Choice:
- Use smooth, white paper
- Avoid lined or textured paper
- Bristol board or marker paper works well
Drawing Tools:
- Black ink provides best contrast
- Fine-tip pens (0.3-0.8mm) for detailed work
- Brush pens for varied line weights
- Avoid pencil for final art (too faint)
Technique Tips:
- Make lines confident and deliberate
- Close all shapes completely
- Use solid fills where possible
- Keep adequate spacing between elements
Pro Tip: Close all your shapes completely before scanning. Even tiny gaps in outlines will cause fill areas to "leak" during vectorization, resulting in unwanted merged shapes. A quick check with a lightbox or by holding the paper up to a window can reveal gaps invisible to the naked eye.
Scanning Your Artwork
Scanner Settings:
Resolution: 600 DPI minimum (1200 DPI for detailed work)
Mode: Grayscale or Black & White
Format: PNG or TIFF (not JPEG)
Scanning Tips:
- Clean the scanner glass thoroughly
- Position artwork straight
- Use scanner's descreen function if available
- Scan larger than needed -- you can scale down later
Smartphone Photography Alternative
If you don't have a scanner:
Setup:
- Natural daylight, no direct sunlight
- Artwork flat on table
- Phone directly above, parallel to paper
- Use gridlines to align
Camera Settings:
- Highest resolution available
- Manual focus if possible
- Avoid flash (causes glare)
Apps That Help:
- Adobe Scan
- Microsoft Lens
- CamScanner
A Full Year of Conversions for $49
Starter Annual: 25 conversions every month, $49 for the whole year. That is about $4.08 a month · Cancel anytime
Get the Annual DealDigital Cleanup Before Vectorization
Basic Adjustments in Photo Software
Step 1: Straighten and Crop
- Correct any rotation
- Crop to artwork edges
- Remove unnecessary margins
Step 2: Adjust Levels
Black point: Ensure lines are truly black
White point: Make background pure white
Midtones: Adjust for optimal contrast
Step 3: Remove Background Noise
- Use threshold adjustment
- Apply light blur to paper texture
- Clean up stray marks manually
Tools for Cleanup
Free Options:
- GIMP
- Photopea (online)
- Paint.NET
Professional:
- Adobe Photoshop
- Affinity Photo
Converting to Vector with Vectosolve
Uploading Your Prepared Image
Best Practices:
- Save cleaned image as PNG
- Ensure transparent or white background
- Upload highest resolution version
- Verify image preview looks clean
Choosing the Right Settings
For Logo Sketches:
- Detail Level: High
- Color Palette: Limited (2-8 colors)
- Path Simplification: Medium
- Expected Result: Clean, smooth curves
For Detailed Illustrations:
- Detail Level: Maximum
- Color Palette: As needed
- Path Simplification: Low
- Expected Result: Faithful to original
For Simple Line Art:
- Detail Level: Medium
- Color Palette: 1-2 colors
- Path Simplification: High
- Expected Result: Stylized, clean
Understanding the Preview
Check your preview for:
- Line smoothness
- Detail preservation
- Color accuracy
- Overall faithfulness to original
Adjust settings if needed before final conversion.
Post-Processing Your Vector
Examining the Result
Open your SVG in vector software:
- Adobe Illustrator
- Inkscape (free)
- Affinity Designer
- Figma
What to Look For:
- Stray paths or artifacts
- Incomplete shapes
- Unwanted color variations
- Path complexity issues
Common Fixes
Removing Stray Elements:
- Zoom out to see everything
- Select and delete tiny isolated paths
- Use "Select Same" to find similar strays
Smoothing Rough Paths:
- Select path
- Use Simplify function
- Adjust tolerance for balance
Closing Open Shapes:
- Identify gaps in paths
- Use Pen tool to connect
- Or use Path > Join function
Unifying Colors:
- Select all elements of similar color
- Apply exact same color value
- Create swatches for consistency
Optimizing the SVG
Manual Optimization:
- Remove hidden elements
- Merge overlapping shapes
- Simplify gradients
- Delete unnecessary groups
Automated Optimization:
Use SVGO or similar tools:
Original: 45KB
Optimized: 12KB
Reduction: 73%
Free SVG Tools for Crafters
Design Checker · Color Separator · Mat Preview · Offset Generator · Text to SVG
Check Your SVG FreeStyle Variations from One Sketch
Single-Color Versions
Your vector can easily become:
- Black on white
- White on color
- Any brand color
- Grayscale
Outline vs. Filled
From one drawing, create:
- Solid filled version
- Outline only version
- Combination styles
Adding Effects
Vector software enables:
- Drop shadows
- Gradients
- Patterns
- Textures
Real-World Applications
Logo Development
From Sketch to Brand:
- Initial concept sketches
- Scan best design
- Convert to vector
- Refine and polish
- Create variations
- Build brand kit
T-Shirt and Merchandise
Print-Ready Graphics:
- Convert hand-drawn art
- Create color separations
- Export for screen printing
- Scale for different products
Website Graphics
Web-Optimized Use:
- Converted icons and illustrations
- Animated with CSS/JS
- Responsive across devices
- Fast loading times
Tattoo Design
From Paper to Skin:
- Clean vectorization preserves artistry
- Scale to different body placements
- Print transfer templates
- Maintain line integrity
Tattoo artists increasingly use vectorized sketches to create precise stencils. By converting hand-drawn designs to SVG, you can scale artwork to any body placement while maintaining exact line weight ratios -- something impossible with simple photocopier scaling.
Tips for Different Art Styles
Bold Line Art
Characteristics: Thick, confident strokes
Best Settings: Medium detail, path simplification
Tips: Works beautifully vectorized
Fine Detail Illustration
Characteristics: Intricate, many small elements
Best Settings: Maximum detail, minimal simplification
Tips: May need manual cleanup
Brush Calligraphy
Characteristics: Variable line width, flowing
Best Settings: High detail, preserve variations
Tips: Captures organic feel well
Geometric Patterns
Characteristics: Regular shapes, repeated elements
Best Settings: Medium detail, clean paths
Tips: Consider recreating in vector software for perfection
A Full Year of Conversions for $49
Starter Annual: 25 conversions every month, $49 for the whole year. That is about $4.08 a month · Cancel anytime
Get the Annual DealTroubleshooting Common Issues
Problem: Jagged Lines
Cause: Low source resolution or excessive simplification
Solution:
- Use higher resolution scan
- Reduce path simplification
- Manual smoothing in vector software
Problem: Lost Fine Details
Cause: Detail level too low or small elements filtered out
Solution:
- Increase detail settings
- Make source image larger
- Process detailed sections separately
Problem: Unwanted Background
Cause: Paper texture or uneven lighting
Solution:
- Better image preparation
- Use threshold adjustment
- Clean background before converting
Problem: Messy Intersections
Cause: Overlapping lines in original
Solution:
- Clean drawing before scanning
- Manual cleanup in vector software
- Use Pathfinder tools to merge
Building a Workflow
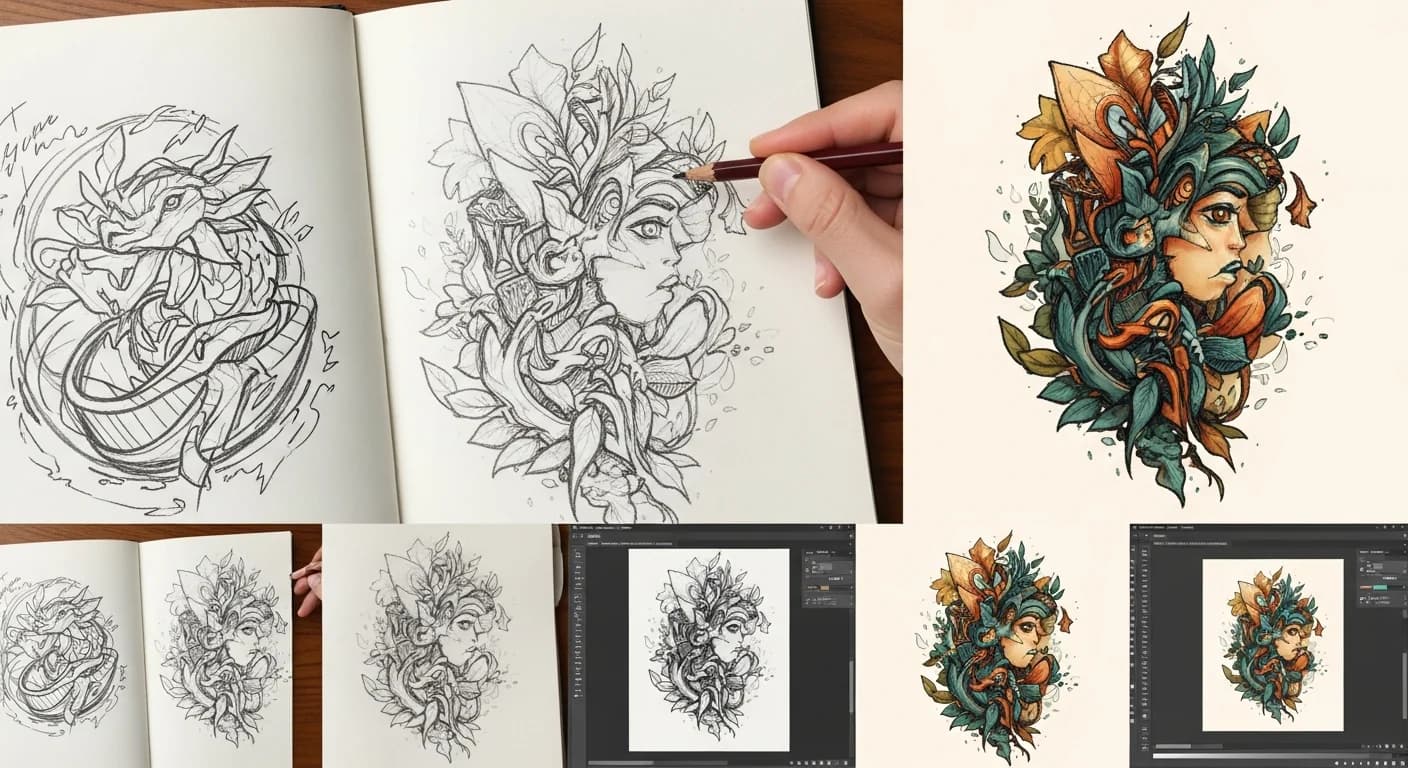
Recommended Process
1. CREATE: Draw on quality paper with ink
2. CAPTURE: Scan at 600+ DPI
3. CLEAN: Adjust levels, remove noise
4. CONVERT: Use Vectosolve with right settings
5. REFINE: Clean up in vector software
6. OPTIMIZE: Reduce file size
7. EXPORT: Save appropriate formats
Time Investment
Simple Logo:
- Drawing: 30 minutes
- Scanning/Cleanup: 15 minutes
- Conversion: 5 minutes
- Refinement: 20 minutes
- Total: ~1.5 hours
Complex Illustration:
- Drawing: 2-4 hours
- Scanning/Cleanup: 30 minutes
- Conversion: 10 minutes
- Refinement: 1-2 hours
- Total: 4-7 hours
Preserving Artistic Character
Keeping the Hand-Made Feel
Vectorization doesn't mean sterile:
- Preserve line weight variations
- Keep intentional imperfections
- Don't over-smooth curves
- Maintain organic quality
When to Keep vs. Polish
Keep Original Character:
- Artistic illustrations
- Vintage style logos
- Personal projects
- Character designs
Polish for Clean Look:
- Corporate logos
- Icon systems
- Technical illustrations
- Print production
Free SVG Tools for Crafters
Design Checker · Color Separator · Mat Preview · Offset Generator · Text to SVG
Check Your SVG FreeConclusion
Converting hand-drawn artwork to vectors bridges traditional artistry with digital utility. Your sketches can maintain their authentic character while gaining the flexibility and scalability that modern applications demand.
The key steps are: quality preparation, proper scanning, digital cleanup, intelligent vectorization with Vectosolve, and thoughtful post-processing. With practice, you'll develop an efficient workflow that preserves your artistic vision while creating production-ready vector graphics.
Start with a simple logo sketch, work through the process, and you'll soon be confidently converting all your hand-drawn creations into versatile vector assets.
| Vectorization Method | Time per Logo | Accuracy | Cost |
|---|---|---|---|
| AI auto-trace (VectoSolve) | 5–30 seconds | 85–95% | Free preview; $6.99/file or from $7.99/mo |
| Adobe Illustrator Image Trace | 2–10 minutes | 70–90% | Subscription |
| Manual pen tool tracing | 30–120 minutes | 99% | $50–$200 per logo |
| Fiverr / freelancer | 1–3 days turnaround | 90–99% | $10–$75 per logo |