
How to Vectorize a Logo: Complete Step-by-Step Guide (2026)
Learn how to convert any logo to vector format. This comprehensive guide covers manual tracing, AI-powered conversion, and best practices for professional results.
Founder and developer of VectoSolve
Self-taught developer who founded VectoSolve in 2024. He builds the conversion engine and the cutting, embroidery and 3D printing exports, working with the VectoSolve team of graphic designers.
How this article was made: drafted with AI assistance, then edited and fact-checked before publication. About the author
Try it on your own file
Free preview, no signup. Drop an image and see the vector before deciding anything.
Key Takeaways
- Logo vectorization converts pixel-based logos into infinitely scalable vector graphics that stay crisp at any size
- Source image quality directly impacts output quality — clean, high-contrast logos produce the best results
- VectoSolve's AI engine can vectorize most logos in under 60 seconds, while manual tracing in Illustrator can take 30+ minutes
- SVG is the best all-purpose vector format for logos; use AI/EPS for print workflows and PDF for universal sharing
- Always compare your vectorized logo at multiple zoom levels before finalizing
Whether you're rebranding, preparing assets for a large-format banner, or simply trying to rescue a blurry logo from an old website, vectorizing your logo is non-negotiable. A pixelated logo on a billboard or a fuzzy favicon on a Retina display can undermine even the strongest brand identity.
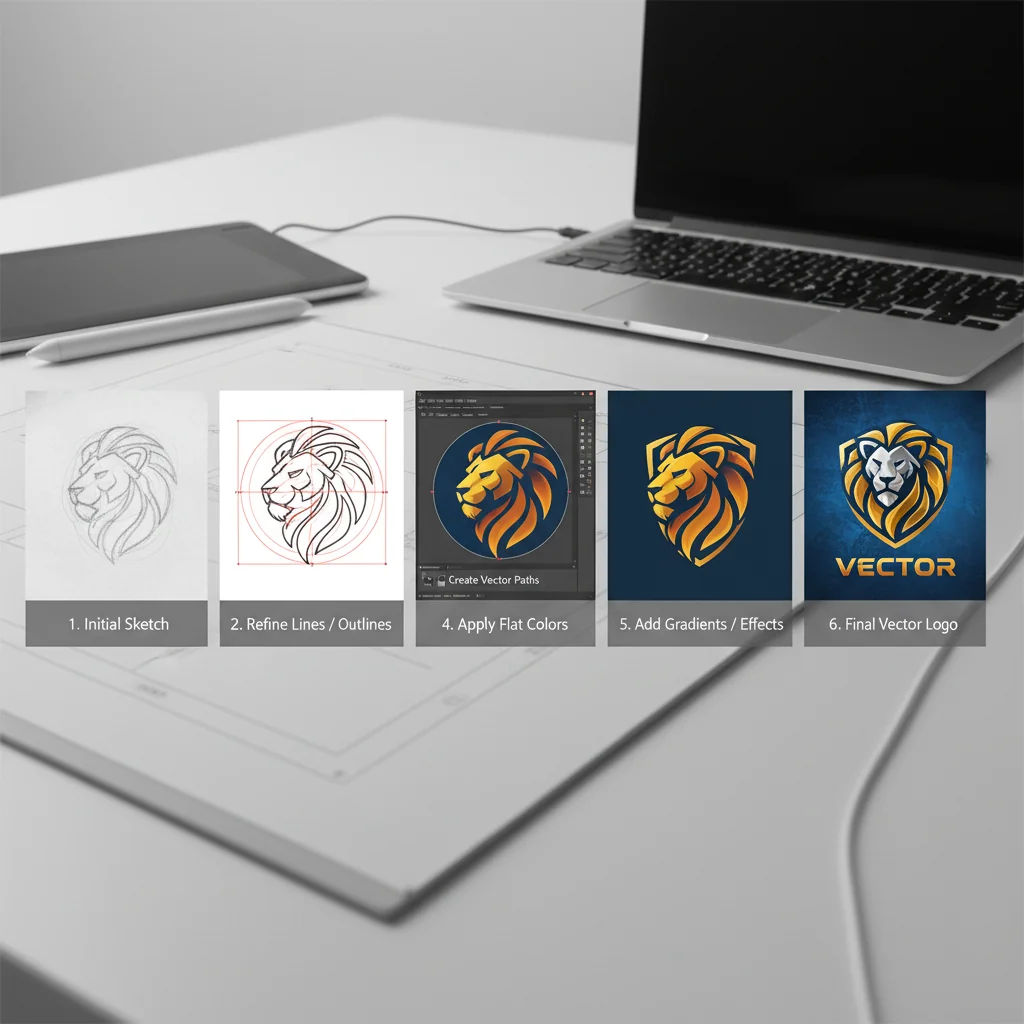
This guide walks you through the entire logo vectorization process — from preparing your source image to exporting production-ready files — using both VectoSolve's AI-powered converter and Adobe Illustrator's manual Image Trace workflow.
Why Logos Must Be Vector Graphics
Logos appear everywhere: business cards, app icons, vehicle wraps, stadium screens. Each context demands a different size, and raster images (PNG, JPG) lose quality when scaled up. Vector files use mathematical paths instead of pixels, which means:
- Infinite scalability — A vector logo looks identical at 16×16 pixels and 16×16 feet
- Smaller file sizes — SVG logos are often under 20 KB, ideal for web performance
- Easy color editing — Change brand colors in seconds without resampling artifacts
- Print-readiness — Commercial printers require vector artwork for sharp reproduction
Most professional brand guidelines require logos to be delivered in at least SVG and EPS formats. If you only have a raster version, vectorization is the first step toward building a proper brand asset library.
Step 1: Prepare Your Source Image
The quality of your vectorized logo depends heavily on the input. Before you open any conversion tool, spend a few minutes optimizing your source file.
Image Preparation Checklist
- Resolution: Use the highest-resolution version available. 300 DPI or above is ideal; avoid anything below 150 DPI.
- Contrast: Increase contrast so logo edges are sharp and distinct from the background.
- Background removal: If your logo sits on a busy background, remove it first. A transparent PNG or a solid white background works best.
- Crop tightly: Remove excess whitespace so the conversion algorithm focuses on the logo itself.
- Clean up artifacts: Remove any JPEG compression noise, watermarks, or stray marks around the logo edges.
Pro Tip: If you only have a tiny logo from a website, try checking the site's favicon in multiple sizes. Many sites serve a 512×512 PNG version at /android-chrome-512x512.png or /apple-touch-icon.png — these are often the cleanest raster versions available.
Step 2: Vectorize Your Logo with VectoSolve (Recommended)
VectoSolve's AI engine is purpose-built for converting raster images to vectors. For logos — which are typically clean, geometric shapes with limited colors — the results are exceptional.
The VectoSolve Workflow
1. Upload your logo — Drag and drop your prepared PNG, JPG, or BMP file onto the VectoSolve converter. The AI analyzer immediately scans the image for edges, color regions, and geometric patterns.
2. Select the "Logo / Icon" preset — This tells the engine to prioritize sharp corners, clean curves, and flat color regions over photographic detail. The preset automatically adjusts node density, curve smoothing, and color quantization for logo-type artwork.
3. Adjust color settings — For most logos, set the color count to match your brand palette. A two-color logo? Set it to 2–3 colors. A gradient logo mark? Allow 12–16 colors for smooth transitions. Fewer colors generally produce cleaner, more editable paths.
4. Preview and refine — VectoSolve generates a real-time preview. Zoom in to check corner sharpness, letter spacing in wordmarks, and the smoothness of curved elements. Use the detail slider to balance simplicity against fidelity.
5. Download your vector — Export as SVG for web use, or choose EPS/PDF for print workflows. VectoSolve provides all common formats in a single download package.
Pro Tip: For wordmark logos (text-based logos like Google or FedEx), enable VectoSolve's "Typography Enhancement" option if available. This applies specialized curve fitting that preserves the subtle characteristics of letterforms — stroke width consistency, serif details, and baseline alignment.
A Full Year of Conversions for $49
Starter Annual: 25 conversions every month, $49 for the whole year. That is about $4.08 a month · Cancel anytime
Get the Annual DealStep 3: Alternative Method — Adobe Illustrator Image Trace
If you prefer manual control or already work in the Adobe ecosystem, Illustrator's Image Trace is a solid alternative.
Illustrator Workflow
1. Place your image — Open Illustrator, create a new document, and go to File → Place to import your logo image.
2. Open Image Trace — Select the placed image and go to Window → Image Trace to open the panel. Choose the "Logo" or "3 Colors" preset as your starting point.
3. Configure trace settings:
- Set Mode to "Color" for multi-color logos or "Black and White" for single-color marks
- Adjust Threshold (for B&W) or Colors (for color mode) to match your logo palette
- Set Paths to "High" for detailed edges, or "Low" for simpler paths
- Set Corners to "More" if your logo has sharp geometric shapes
- Check "Ignore White" to drop the background
4. Expand the trace — Once satisfied with the preview, click Expand in the control bar. This converts the trace result into editable vector paths.
5. Clean up paths — Use the Direct Selection Tool (A) to adjust individual anchor points. Delete stray shapes, merge overlapping paths with Pathfinder, and smooth rough curves with the Smooth Tool.
6. Export — Save as .ai for native editing, then File → Export As for SVG, or File → Save As for EPS/PDF.
Warning: Illustrator's Image Trace often creates compound paths with excessive anchor points, especially on curved logo elements. After expanding, always run Object → Path → Simplify to reduce node count by 30–60% without visible quality loss. Fewer anchors mean smaller file sizes and easier future editing.
Quality Comparison: Source Image Quality vs. Output
Not all source images produce equal results. Here's what to expect based on your starting material:
| Source Quality | Resolution | Expected Output | Recommended Action |
|---|---|---|---|
| Excellent | 1000px+ / 300 DPI | Near-perfect vector with minimal cleanup needed | Use VectoSolve's Logo preset directly |
| Good | 500–1000px / 150+ DPI | Clean vector; minor touch-ups on fine details | Increase contrast before uploading; review small text |
| Fair | 200–500px / 72–150 DPI | Usable vector; curves may be slightly rough | Apply noise reduction first; manually refine key curves after |
| Poor | Under 200px / below 72 DPI | Approximate shapes; significant manual correction needed | Upscale with AI first (e.g., Topaz, waifu2x), then vectorize |
| JPEG Compressed | Any resolution with heavy artifacts | Artifacts may trace as extra paths and noise | Denoise and re-sharpen edges before vectorizing |
Common Logo Vectorization Problems and Fixes
Even with the best tools, certain logo types present challenges. Here's how to handle the most frequent issues:
Problem 1: Jagged Curves on Circular Elements
Cause: Insufficient resolution or overly aggressive path simplification.
Fix: In VectoSolve, increase the detail/smoothness slider. In Illustrator, use the Smooth Tool on affected curves, or redraw circles with the Ellipse Tool and align them to the traced paths.
Problem 2: Thin Lines Disappearing or Breaking
Cause: Hairline strokes in the original logo fall below the trace threshold.
Fix: Before vectorizing, thicken thin lines in a raster editor (1–2px stroke expansion in Photoshop). Alternatively, lower the trace threshold to capture finer detail.
Problem 3: Text Becomes Unreadable at Small Sizes
Cause: Complex letterforms lose clarity when simplified to paths.
Fix: For logos with text, consider tracing the icon portion separately and re-setting the text using the original font. This produces the cleanest typographic result. If the font is unknown, use a font identification tool like WhatTheFont.
Problem 4: Gradient Banding
Cause: Color count is set too low for logos with gradients.
Fix: Increase the color count to 16–32 for gradient logos. After vectorization, replace the stepped color regions with true SVG linear or radial gradients in a vector editor.
Problem 5: Unwanted Background Elements Traced
Cause: Background wasn't fully removed before vectorization.
Fix: Always remove or flatten the background to a solid color before tracing. In VectoSolve, use the background removal toggle. In Illustrator, check "Ignore White."
Free SVG Tools for Crafters
Design Checker · Color Separator · Mat Preview · Offset Generator · Text to SVG
Check Your SVG FreeOutput Format Guide: Which Vector Format to Use
After vectorizing your logo, choosing the right export format ensures compatibility across every use case.
| Format | Best For | Editability | Transparency | Web Support |
|---|---|---|---|---|
| SVG | Websites, apps, UI design | Excellent — editable in any text/code editor | Yes | Native browser support |
| AI | Adobe workflows, brand asset libraries | Full — native Illustrator format | Yes | No |
| EPS | Print production, legacy workflows | Good — widely supported by design tools | Limited | No |
| Universal sharing, print-ready files | Moderate — requires Illustrator/Inkscape to fully edit | Yes | Via embed/download |
Our recommendation for most teams: Export your vectorized logo in all four formats. Store the AI file as your editable master, use SVG for all digital applications, provide EPS to print vendors, and keep a PDF for quick sharing with stakeholders. VectoSolve's bulk download gives you all of these in one click.
Final Quality Checklist
Before marking your vectorized logo as final, run through this checklist:
- Zoom to 5000% — Check that all paths are smooth with no jagged edges or stray anchor points
- Scale down to 16×16px — Confirm the logo is still recognizable as a favicon
- Scale up to poster size — Verify no raster artifacts remain embedded in the file
- Test on dark and light backgrounds — Ensure transparency is working correctly and no white boxes remain
- Verify color accuracy — Compare hex/RGB values against your brand guidelines
- Check file size — A typical logo SVG should be 5–50 KB. If it's over 200 KB, simplify your paths
- Validate SVG code — Open in a text editor and confirm there are no embedded raster images (
<image>tags)
Wrapping Up
Vectorizing a logo is one of the highest-impact tasks in brand asset management. A clean vector version of your logo unlocks every use case — from embroidered merchandise to responsive web favicons — without ever worrying about resolution.
For most logos, VectoSolve delivers production-ready results in under a minute, saving you the 30–60 minutes of manual tracing and cleanup that Illustrator demands. For designers who need granular control, combining VectoSolve's AI output with manual refinement in Illustrator gives you the best of both worlds.
Ready to vectorize your logo? Try VectoSolve free → and see the difference AI-powered tracing makes.
| Logo Complexity | AI Vectorization Time | Manual Tracing Time | Recommended Approach |
|---|---|---|---|
| Simple text logo | 3–5 sec | 15–30 min | AI auto-trace |
| Icon + text | 5–10 sec | 30–60 min | AI auto-trace + minor cleanup |
| Detailed illustration | 10–15 sec | 1–3 hours | AI trace + manual refinement |
| Gradient-heavy logo | 10–20 sec | 2–4 hours | AI trace with gradient settings |
| Hand-drawn / watercolor | 15–30 sec | 3–8 hours | AI trace + artistic cleanup |