
How to Convert a Photo to Line Art (Vector Illustration Effect)
Transform any photograph into stylized line art. Create unique illustrations from portraits, pets, or any image.
Founder and developer of VectoSolve
Self-taught developer who founded VectoSolve in 2024. He builds the conversion engine and the cutting, embroidery and 3D printing exports, working with the VectoSolve team of graphic designers.
How this article was made: drafted with AI assistance, then edited and fact-checked before publication. About the author
Try it on your own file
Free preview, no signup. Drop an image and see the vector before deciding anything.
Key Takeaways
- Photo-to-line-art conversion creates a vector illustration effect from any photograph
- Works best on portraits, product photos, and architectural images with clear edges
- The process: adjust contrast, vectorize with VectoSolve, refine paths in a vector editor
- Popular for custom portraits, coloring pages, t-shirt designs, and social media content
Take any photograph. Strip away the color, the shadows, the gradients. What remains is the essence of the image — its contours, its shapes, its structure. That is line art.
Converting photos to line art vectors is one of the most popular creative uses of vectorization. The results work as minimalist wall art, coloring pages for kids, custom t-shirt designs, wedding portraits, pet illustrations, and social media profile pictures.
What Photo-to-Line-Art Actually Produces
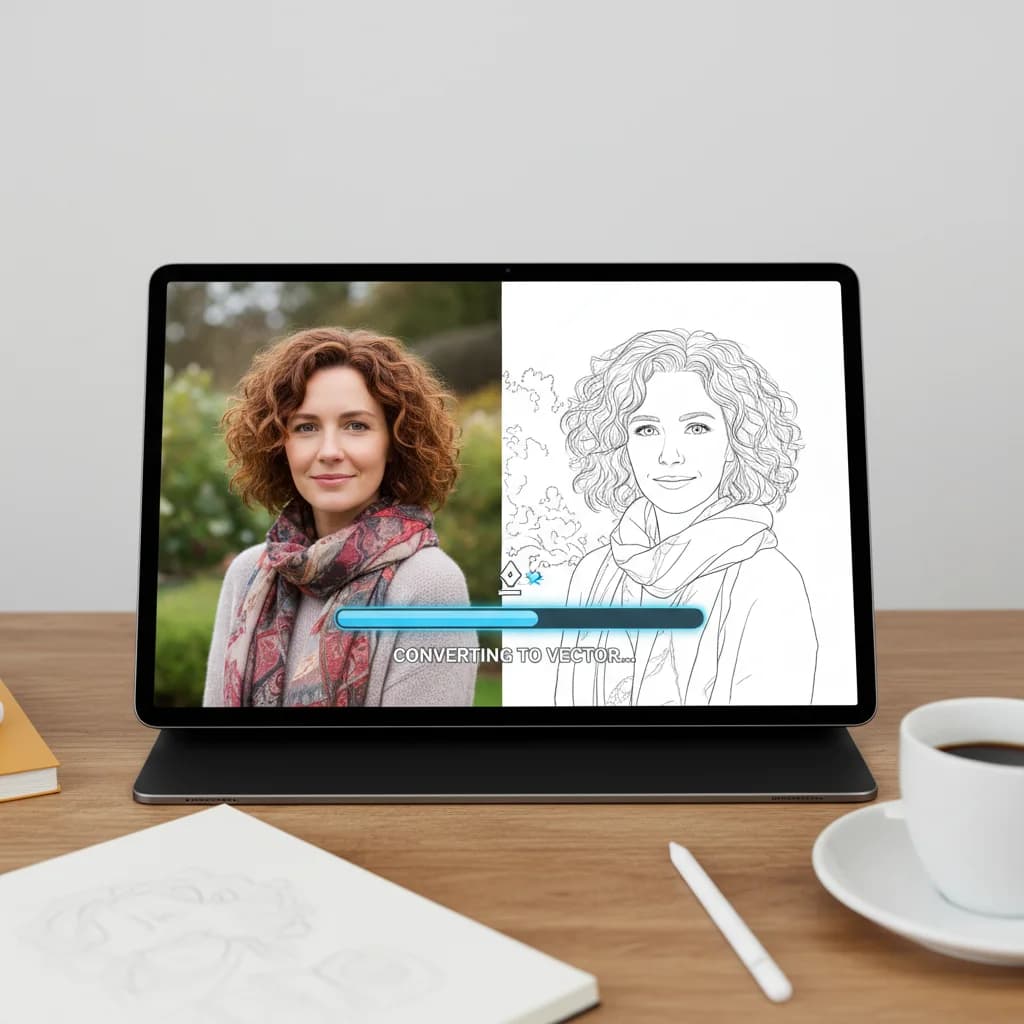
The conversion extracts edges and contours from a photograph and renders them as clean vector paths. The output looks like a skilled artist traced the photo by hand with a fine pen.
Different styles are possible depending on your settings and source photo:
Minimal line art: Only the strongest edges. Clean, modern look with lots of white space. Popular for logos and social media.
Detailed line art: More contours captured, including subtle features. Creates a realistic illustration effect. Great for portraits and architectural subjects.
Sketch effect: Intentionally imperfect lines with varying weight. Mimics a hand-drawn pencil sketch. Popular for artistic and bohemian aesthetics.
Best Source Photos for Line Art
Not every photo converts equally well. The best candidates have:
Strong Contrast
Photos with clear separation between subject and background produce the cleanest lines. A portrait against a plain wall works better than one in a busy environment.
Clear Edges
Sharp focus is essential. Blurry photos produce wobbly, uncertain lines. If you are taking a photo specifically for line art conversion, use the smallest aperture your lighting allows.
Simple Backgrounds
Busy backgrounds create distracting line work around the subject. For the cleanest results, use a solid-color background — or remove the background first with VectoSolve's background remover.
Pro Tip: Portrait photos work best when the subject is well-lit from the front or side. Overhead lighting creates shadows under the eyes and nose that produce unflattering lines. Ring lights are ideal.
Step-by-Step: Photo to Line Art Vector
Step 1: Prepare the Photo
Open your photo in any image editor and:
- Convert to grayscale — removes color distractions
- Increase contrast significantly — makes edges more defined
- Adjust brightness — push highlights toward pure white
- Crop tightly around the subject
For portraits, also consider:
- Remove background for a floating subject effect
- Crop to head-and-shoulders for the most impactful result
Step 2: Apply Edge Enhancement
This step is optional but improves results noticeably:
- Sharpen the image — enhances edge detection accuracy
- Apply a high-pass filter if available — isolates edges from flat areas
- Some photo editors have a "Find Edges" filter that previews how the line art will look
Step 3: Vectorize
Upload the prepared image to VectoSolve.
For minimal line art: Eco tier works well — it captures the major contours
For detailed line art: Standard or Pro tier preserves finer features like eyelashes, hair texture, and subtle expressions
Step 4: Refine in a Vector Editor
Open the SVG in Figma, Illustrator, or Inkscape:
- Delete unwanted paths (background noise, minor artifacts)
- Adjust stroke width for consistent line weight
- Add color fills if desired
- Scale to your target size
The vector output is infinitely scalable. A line art portrait vectorized from a phone photo can be printed as a 24x36 inch poster with perfect sharpness.
A Full Year of Conversions for $49
Starter Annual: 25 conversions every month, $49 for the whole year. That is about $4.08 a month · Cancel anytime
Get the Annual DealPopular Use Cases
Custom Portraits
Turn photos of people, pets, or couples into line art portraits. Popular as:
- Personalized gifts (framed prints, mugs, phone cases)
- Wedding guest books with a line art portrait of the couple
- Memorial tributes
- Social media profile pictures
Coloring Pages
Convert any photo into a coloring page for kids or adult coloring books:
- Vectorize the photo
- Ensure lines are connected (no gaps)
- Set line color to light gray or black
- Print on standard paper
T-Shirt and Merchandise Design
Line art on apparel has a clean, artistic look:
- Works with single-color screen printing (cheapest method)
- Scales perfectly from pocket-size to full-front print
- Popular on Etsy, Redbubble, Society6, and Merch by Amazon
Architectural Illustration
Buildings, bridges, and cityscapes make stunning line art:
- Real estate marketing materials
- Architectural firm branding
- City souvenir designs
- Restaurant and venue illustrations
Pro Tips for Better Results
Tip 1: Multiple passes. Vectorize the same photo at different quality tiers and compare. Sometimes Eco produces a cleaner, more minimal result that is more appealing than the detail-heavy Pro version.
Tip 2: Background removal first. For portraits, remove the background before vectorizing. This eliminates background noise and produces a clean floating subject.
Tip 3: Combine with color. After vectorizing, add selective color fills in your vector editor. A black line art portrait with a single accent color (red lips, blue eyes) creates a striking effect.
Tip 4: Line weight consistency. The raw vectorization may have varying line weights. In your vector editor, select all paths and set a uniform stroke width for a polished look.
Warning: Vectorizing photos of real people creates an artistic interpretation, not a photographic reproduction. The line art will capture the person's likeness but not every detail. This is a feature, not a bug — the simplification is what makes line art appealing.
Line Art Styles Comparison
| Style | Detail Level | Best For | Processing |
|---|---|---|---|
| Minimal | Low — major contours only | Logos, icons, social media | Eco tier, high contrast input |
| Standard | Medium — main features clear | Portraits, merchandise, prints | Standard tier, moderate contrast |
| Detailed | High — fine details preserved | Architectural, technical, realistic art | Pro tier, sharp source image |
| Sketch | Variable — artistic imperfection | Bohemian aesthetic, organic feel | Standard tier, textured paper source |
Ready to turn your photos into art? Upload a photo and see the line art result in seconds.
| Photo Subject | Line Art Quality | Recommended Style | Popular Use |
|---|---|---|---|
| Portrait (face) | Excellent | Contour / minimal | Custom gifts, social media avatars |
| Pet photo | Very good | Bold outline | Pet memorial art, merch |
| Architecture | Excellent | Detailed line work | Real estate prints, wall art |
| Product photo | Good | Clean outline | E-commerce illustrations, manuals |
| Landscape / nature | Moderate | Simplified contour | Travel posters, coloring pages |