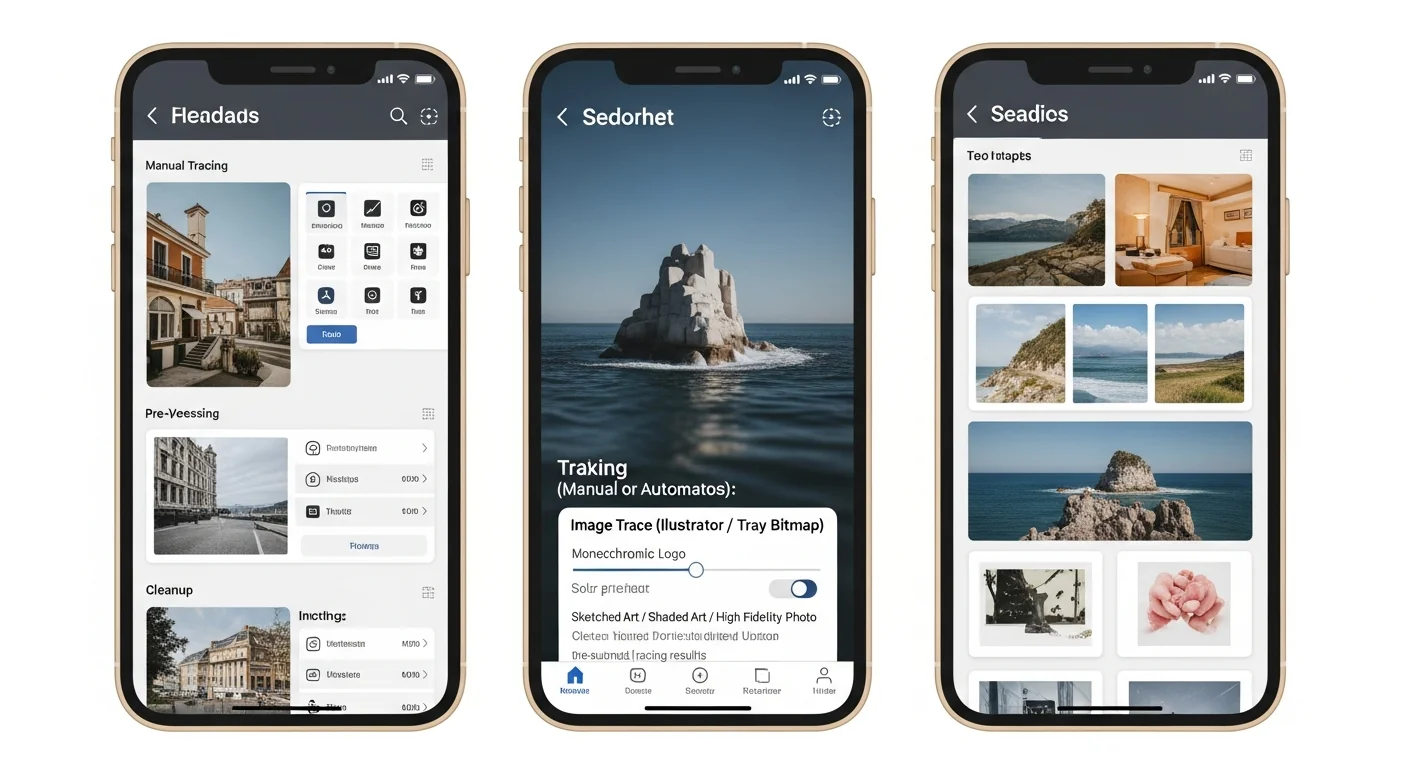
Converting Screenshots to Vector: UI Mockups and App Redesigns
Transform app screenshots into editable vector mockups. Perfect for redesign proposals, presentations, and UI/UX portfolios.
Founder and developer of VectoSolve
Self-taught developer who founded VectoSolve in 2024. He builds the conversion engine and the cutting, embroidery and 3D printing exports, working with the VectoSolve team of graphic designers.
How this article was made: drafted with AI assistance, then edited and fact-checked before publication. About the author
Try it on your own file
Free preview, no signup. Drop an image and see the vector before deciding anything.
Key Takeaways
- Retina/HiDPI screenshots produce dramatically better vectorization than standard-DPI captures
- The workflow is screenshot → crop → upscale → vectorize → import to Figma
- Vectorized UI screenshots are invaluable for pitch decks, competitive analysis, redesign proposals, and style guides
- Always distinguish between tracing a UI for reference and rebuilding functional components
- Copyright applies to UI designs — use vectorized screenshots responsibly
Why UI/UX Designers Vectorize Screenshots
Every designer has a folder of screenshots — apps they admire, UI patterns worth studying. The problem: screenshots are frozen pixels. You can't pick apart spacing, swap palettes, or drop elements into your own compositions.
When you vectorize a screenshot, you transform a flat raster capture into editable, scalable geometry. That card layout from a competitor's app becomes something you can measure and deconstruct inside Figma.
Inspiration boards that work. Vectorized captures let you extract individual components — a nav pattern here, a button style there — and remix them into new concepts.
Competitive analysis with teeth. Vectorized UI side-by-side with your proposed designs looks infinitely more polished than pasting blurry screenshots into a deck.
Redesign proposals without source files. You rarely get a client's Figma files before winning the project. Vectorizing their current UI gives you a working starting point.
Step-by-Step Workflow: Screenshot to Editable Vector
Step 1: Capture at the Highest Resolution
On macOS, use Cmd+Shift+4 on a Retina display for a 2x capture. On Windows, set display scaling to 100% and use ShareX configured for uncompressed PNG.
Pro Tip: Always capture on a Retina/HiDPI display. A 2x screenshot gives the vectorizer four times the pixel data for edge detection. If you only have a standard display, upscale first — it makes a measurable difference.
Step 2: Crop to the Relevant Area
Don't vectorize the entire screen for one component. Cropping focuses the AI on elements that matter and produces cleaner SVG output.
Step 3: Upscale if Needed
Screenshots below 1440px wide or at standard DPI benefit from an AI upscaler pass first. This reconstructs detail for cleaner edge tracing.
Step 4: Vectorize
Upload to VectoSolve. The AI recognizes buttons, containers, text blocks, and nav elements. Download the SVG.
Step 5: Import to Figma and Refine
Drag the SVG into Figma, ungroup paths, organize into frames matching the UI hierarchy, and replace traced text with actual text layers.
Source Type Comparison
| Source Type | Best Approach | Expected Quality | Post-Processing |
|---|---|---|---|
| Flat/Material UI | Direct vectorize | Excellent — clean shapes | Minimal: regroup, fix text |
| iOS/macOS native | Upscale first | Very good | Moderate: rebuild shadows |
| Glassmorphism | Vectorize + manual work | Fair — effects lost | Heavy: recreate blur/transparency |
| Dashboard/data-heavy | Crop sections individually | Good for layout | Moderate: rebuild charts |
| Photography-heavy | Vectorize layout, mask photos | Layout only | Heavy: replace photo areas |
| Icon-heavy interfaces | Direct vectorize | Excellent | Light: organize and name layers |
A Full Year of Conversions for $49
Starter Annual: 25 conversions every month, $49 for the whole year. That is about $4.08 a month · Cancel anytime
Get the Annual DealQuality at Different Resolutions
1x (standard DPI, ~72-96 PPI): Edges appear stairstepped, so the vectorizer guesses where curves fall. Large shapes are acceptable; small icons and thin borders are rough.
2x (Retina/HiDPI, ~144-192 PPI): The sweet spot. Edge detection is accurate, curves are smooth, even 16px icons produce usable paths.
3x+ (ultra-high or upscaled): Diminishing returns but beneficial for detailed interfaces. More anchor points mean larger files, but fidelity is outstanding.
"The fastest way to prototype a redesign isn't starting from a blank canvas — it's vectorizing what exists and reshaping it. You inherit the proportions and rhythm of the original layout, then make it yours.
Figma Import Workflow
Once you have your SVG from VectoSolve:
- Drag SVG into Figma — imports as a single group
- Ungroup (Cmd+Shift+G) to access individual paths
- Create a frame matching original screenshot dimensions
- Organize layers: Header, Nav, Content, Cards, Footer
- Replace traced text with Text layers using correct fonts
- Rebuild gradients/shadows with Figma's native effects
- Create components from repeated elements
Figma layer structure:
├── Frame: App Screen (375×812)
│   ├── Header
│   │   ├── Status Bar
│   │   └── Nav Bar
│   ├── Hero Section
│   ├── Card Grid
│   │   ├── Card 1 (Component)
│   │   ├── Card 2 (Instance)
│   │   └── Card 3 (Instance)
│   └── Tab Bar
Use Cases
Pitch Decks and Client Proposals
Showing a client's current UI as clean vector art next to your proposed improvements demonstrates you've done homework — not just abstract ideas.
Case Studies and Portfolio
Vectorized "before" states look dramatically more professional than raster screenshots. They scale perfectly for Behance, print portfolios, and conference slides.
Redesign Proposals
Vectorize the current state, duplicate the artboard, modify. Because you started from actual proportions, your redesign maintains a believable relationship to reality.
Style Guide Documentation
Vectorizing several screens and comparing extracted components is one of the fastest ways to audit what's actually shipping versus what's in the design system.
Tracing UI vs. rebuilding components. Vectorizing gives you a visual trace — shapes that look like the original. Perfect for mockups, presentations, and spatial reference. But traced shapes aren't functional components with constraints, auto-layout, or responsive behavior. For production, use the trace as a visual guide while rebuilding with proper Figma components and design tokens. The trace saves you from measuring manually — it's a blueprint, not the building.
Warning: Copyright applies to UI designs. Vectorizing screenshots doesn't change ownership. You're generally safe for personal learning, internal competitive analysis, editorial commentary, and transformative redesign proposals. You're not safe passing off others' UI as your own, using trademarked elements commercially, or distributing vectorized copies of proprietary interfaces. Treat vectorized UI like any design reference: study it, learn from it, create something original for anything that ships.
Free SVG Tools for Crafters
Design Checker · Color Separator · Mat Preview · Offset Generator · Text to SVG
Check Your SVG FreeBuild Your Reference Library
The real power isn't vectorizing one screen — it's building a reference library. Every vectorized UI pattern adds to a personal component archive that speeds up future work. Start with apps you reference most, organize extracted elements by pattern type, and keep them in a shared Figma library.
Start vectorizing your UI screenshots and turn your reference collection into an editable design resource.