
How to Use SVG Files with Cricut Design Space: Beginner Tutorial
Step-by-step tutorial for uploading and using SVG files in Cricut Design Space. Learn to import, resize, and cut SVGs with your Cricut machine.
Founder and developer of VectoSolve
Self-taught developer who founded VectoSolve in 2024. He builds the conversion engine and the cutting, embroidery and 3D printing exports, working with the VectoSolve team of graphic designers.
How this article was made: drafted with AI assistance, then edited and fact-checked before publication. About the author
Try it on your own file, in Cricut mode
Free preview, no signup. Drop an image and see the vector before deciding anything.
Key Takeaways
- What Cricut Design Space is and what SVG files are
- Step-by-step SVG upload process with every click described
- Troubleshooting the most common beginner mistakes
- Attach vs Weld vs Flatten — when to use each
- Material settings for vinyl, HTV, cardstock, and sticker paper
- How to convert any image to a cut-ready SVG with VectoSolve
Welcome, New Cricut Crafter!
Whether you unboxed your Cricut five minutes ago or it's been sitting in the corner for a month, this tutorial walks you through everything about using SVG files in Cricut Design Space. We'll go slow, explain every click, and by the end you'll have cut your first project.
What Is Cricut Design Space?
Cricut Design Space is the free software that talks to your Cricut machine. Instead of printing on paper, it tells your Cricut where to cut, draw, or score on your chosen material. Use it in your browser at design.cricut.com, as a desktop app, or on the mobile app. You'll need a free Cricut account to log in.
What Are SVG Files?
SVG stands for Scalable Vector Graphics. In plain English:
- Scalable — resize without ever getting blurry
- Vector — made of mathematical lines and curves, not pixels
- Graphics — they're images your Cricut reads as cut paths
| File Type | Made Of | Resizable? | Cricut Cuts It? |
|---|---|---|---|
| JPG / PNG | Pixels | Blurs when enlarged | Only after conversion |
| SVG | Paths | Perfect at any size | Yes — natively |
Analogy: A JPG is like a printed photo — zoom in and you see fuzzy dots. An SVG is like driving directions — no matter how big the map, the route stays perfectly clear.
Step-by-Step: Upload an SVG to Design Space
Let's walk through this together. Each step describes exactly what you'll see on screen.
Step 1: Start a New Project
- Open Cricut Design Space and log in
- Click the green "New Project" button — you'll see a blank canvas with a grid representing your cutting mat
Step 2: Click Upload
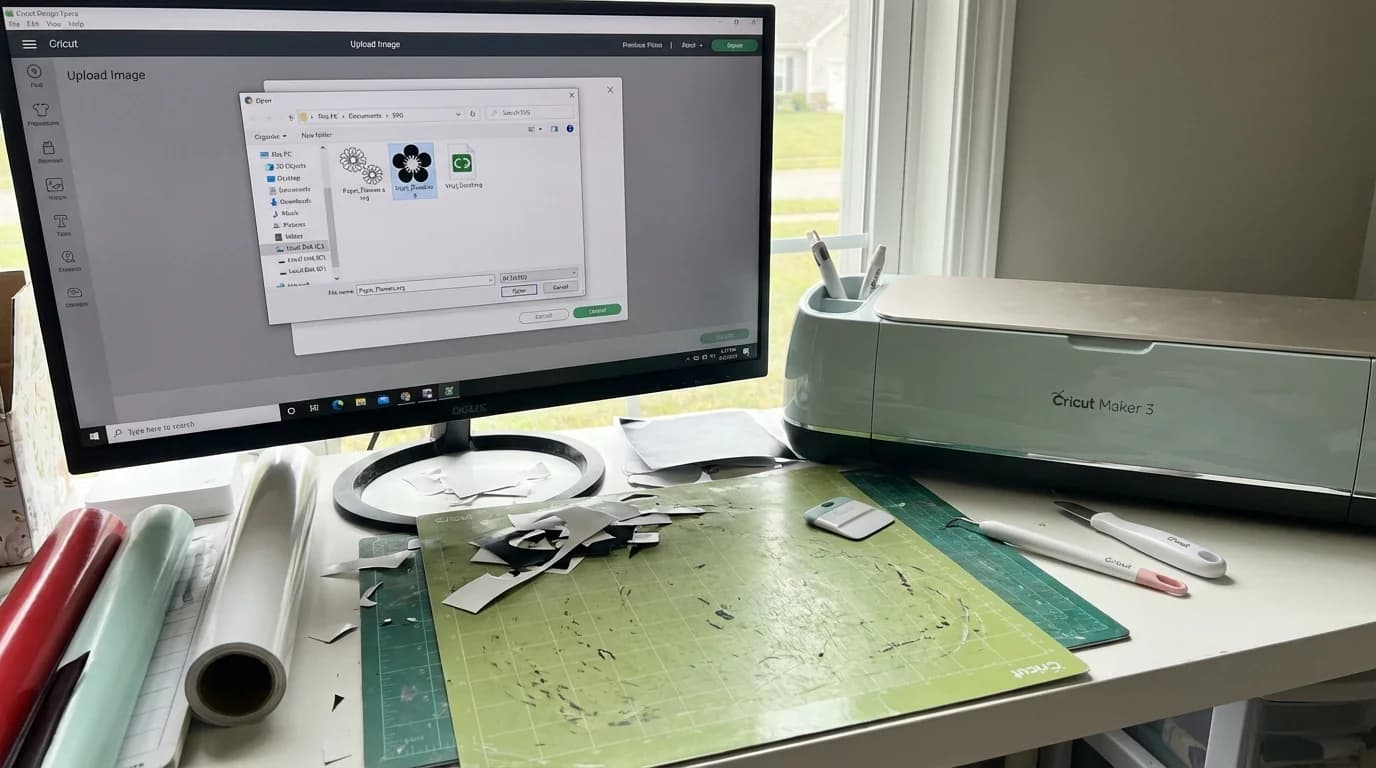
- In the left sidebar, click Upload
- Click the green "Upload Image" button
Step 3: Select Your SVG File
- Click "Browse" and select your
.svgfile - Design Space shows a preview tagged as "Cut Image" — that's correct
- Click the green Upload button
Step 4: Add to Canvas
- Find your design in Recently Uploaded
- Click it, then click "Add to Canvas"
- Your SVG appears on the canvas with dashed cut lines visible. You did it!
Pro Tip: Layers tip: Your SVG may split into separate colored pieces in the Layers panel. Don't panic! Each color is its own layer. Select multiple layers, right-click, and choose Group to move them together. Right-click and Ungroup to edit individual pieces. Mastering group/ungroup is one of the most useful Design Space skills.
Step 5: Resize Without Distortion
- Click your design — handles appear on corners and sides
- Always drag from a corner handle to keep proportions locked
- Check the lock icon between Width and Height in the toolbar — keep it locked
- Type exact dimensions and the other adjusts automatically
Pro tip: Measure your blank first! Lay a ruler on your shirt, mug, or sign before you resize.
Step 6: Color Layers and Multi-Material Cuts
If your SVG has multiple colors, each color is a separate layer. During Make It, each layer gets its own cutting mat so you cut each color from different material, then layer the pieces together.
Manage layers in the Layers panel on the right: eye icon to hide/show, color square to recolor, drag to reorder.
Step 7: Make It!
- Click the green Make It button
- Choose your machine (Maker, Explore, or Joy)
- Mirror your design if using iron-on/HTV
- Select your material and load your mat
- Press the flashing Cricut button to start cutting
A Full Year of Conversions for $49
Starter Annual: 25 conversions every month, $49 for the whole year. That is about $4.08 a month · Cancel anytime
Get the Annual DealAttach vs Weld vs Flatten
These three tools confuse everyone at first. Here's the simplest breakdown:
Attach — Locks pieces in position so they cut in the right spot on the mat. Use when text or shapes must stay where you placed them.
Weld — Merges overlapping shapes into one. The overlap disappears. Use for connected script text or combining shapes into a silhouette.
Flatten — Turns multi-layer designs into a single Print Then Cut image. Use for stickers or printable vinyl.
| Tool | Keeps Layers? | Best For |
|---|---|---|
| Attach | Yes | Vinyl decals, multi-layer positioning |
| Weld | No — merges | Script text, merged silhouettes |
| Flatten | No — one print layer | Stickers, Print Then Cut |
Troubleshooting Table
| Problem | Cause | Fix |
|---|---|---|
| Upload fails | Not a true SVG or corrupted | Re-download; convert PNG/JPG at VectoSolve |
| "Not a cut image" | Uploaded raster instead of SVG | Convert to SVG at VectoSolve |
| Design looks wrong | Hidden layers in the SVG | Check Layers panel eye icons |
| Cuts off-center | Design moved on canvas or mat misaligned | Reposition to top-left; press material firmly onto mat |
| Too many tiny cuts | Source image too complex | Simplify with VectoSolve SVG Editor |
| Cuts outside design | Stray nodes or invisible paths | Clean up in VectoSolve SVG Editor |
| Material tears | Wrong setting or dull blade | Verify material; try "More" pressure; replace blade |
Warning: File size and complexity limits: Design Space struggles with SVGs over 25 MB or files with 50,000+ nodes. If uploads hang or the app freezes, your file is too complex. Use VectoSolve to optimize your SVG — it reduces node count automatically while keeping your design sharp.
Material Settings Quick Reference
| Material | Blade | Pressure | Mirror? | Notes |
|---|---|---|---|---|
| Permanent vinyl (Oracal 651) | Fine-point | Default | No | Tumblers, signs, car decals |
| Removable vinyl (Oracal 631) | Fine-point | Default | No | Wall decals, rental-friendly |
| Iron-on / HTV | Fine-point | Default | Yes — always! | Shiny carrier sheet side DOWN |
| Glitter iron-on | Fine-point | Default | Yes | May need "More" pressure |
| Cardstock (65 lb) | Fine-point | More | No | Cards, cake toppers |
| Sticker paper | Fine-point | Less | No | Use with Print Then Cut + Flatten |
What does "Mirror" mean? When cutting iron-on/HTV, you place material face-down on the mat. The design must be flipped so it reads correctly when pressed onto your shirt. Forgetting to mirror is the number one HTV mistake!
Free SVG Tools for Crafters
Design Checker · Color Separator · Mat Preview · Offset Generator · Text to SVG
Check Your SVG FreeConvert Your Own Images to SVG with VectoSolve
Have a photo, sketch, or logo saved as PNG or JPG? Your Cricut can't cut those directly — but you can convert them in seconds:
- Go to VectoSolve
- Upload your PNG, JPG, or other raster image
- VectoSolve's AI converts it into clean vector paths
- Download the SVG and upload to Design Space
Need to tweak the result? Use the VectoSolve SVG Editor to adjust paths or simplify curves. Want ready-made designs? Browse the VectoSolve Templates library for free, Cricut-ready SVGs.
What to Make Next
Your first project is the hardest. Every one after gets easier:
- First: A one-color vinyl decal
- Second: A two-color layered design
- Third: An iron-on HTV shirt (practice mirroring!)
- Fourth: A Print Then Cut sticker using Flatten
- Fifth: A multi-layer cardstock shadow box
Always start with a clean SVG — VectoSolve handles optimization automatically. Do a test cut before using your good material. And join a community — Cricut crafters are the most generous people on the internet.
Happy crafting — you've got this!
| Cricut Design Space Operation | When to Use | What It Does |
|---|---|---|
| Attach | Multi-layer cuts | Keeps elements in position on the cutting mat |
| Weld | Overlapping shapes | Fuses shapes into a single cut path permanently |
| Flatten | Print Then Cut | Converts layers to a single printable image |
| Slice | Custom cutouts | Splits overlapping shapes into separate pieces |
| Contour | Hiding elements | Shows/hides individual cut lines within a layer |