LED Neon Sign Design Files: Single-Stroke Paths, Bend Limits, and What Fabricators Actually Need
LED neon flex follows a line, not a filled shape. Here is what a fabrication-ready neon design file actually contains: centerline paths, real bend radius limits (15mm micro flex to 60mm sign-trade product), letter jump planning, and the DXF backing panel layer.
Founder of VectoSolve
Self-taught developer, founder and sole developer of VectoSolve since 2024. He builds the conversion engine and the cutting, embroidery and 3D printing exports.
How this article was made: drafted with AI assistance, then edited and fact-checked before publication. About the author
Try it on your own file, in Signs mode
Free preview, no signup. Drop an image and see the vector before deciding anything.
Search "led neon sign design file" and you are usually in one of two positions. Either you are a customer with a logo, trying to produce a file a fabricator will accept without a redraw fee, or you are a sign shop explaining, again, why the client's PNG is not a production file. LED neon has one property that makes its files unlike almost every other sign format: the light source is a continuous flexible tube that follows a line. Every requirement in this guide flows from that single fact.
For the backing panel files this guide describes, the image to DXF converter produces the CNC-ready outlines.
How an LED neon sign is actually built
LED neon flex is an LED strip encased in a silicone or PVC body that diffuses the light into an even glow, imitating bent glass. The sign trade has largely adopted it: according to Signs of the Times, the industry's trade magazine, shops specify faux-neon LED over glass for its "low-voltage input, programmable and color-changing patterns, light maintenance loads and more," and long-established fabricators like Signs by Crannie and Signs by Van now build these projects on trade products such as SloanLED FlexiBRITE and GLLS Vivid Contour. So the files described here are not a niche request; they are what a growing share of the sign industry works from.
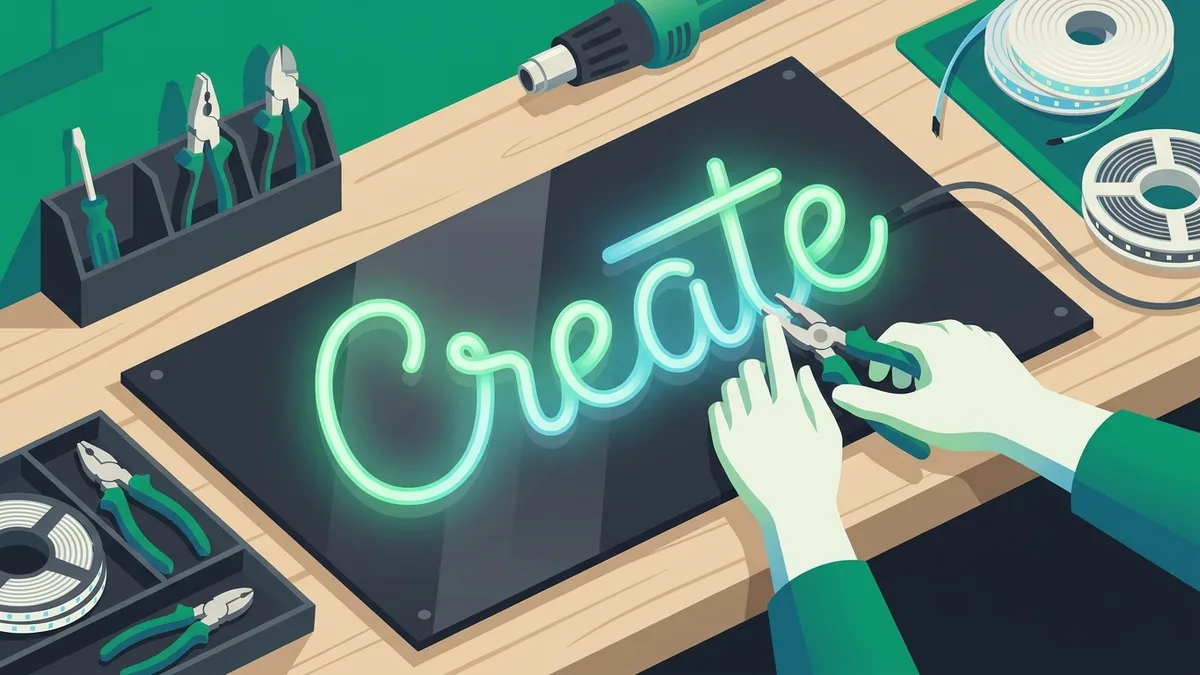
Fabrication is physical work along a drawn path. The technician prints or projects the design at full size, bends the flex along the lines by hand or around a jig, cuts it at the product's marked cut points wherever a run ends, and fixes each run to a backing panel, usually acrylic, either seated in a routed channel or held with adhesive and clips. Wiring passes through small holes and runs behind the panel from segment to segment back to a single power feed.
The design file therefore drives three physical objects:
- The tube routing path. The line the flex follows, drawn at final scale.
- The backing panel. A contour or simple shape cut on a CNC router or laser.
- The holes. Mounting standoffs, cable pass-throughs, and wiring exits at letter ends.
A file that only contains a picture of glowing letters gives the fabricator none of these. They will rebuild it, and quote you for the rebuild.
Why the file must be centerline, single-stroke paths
This is the point most submitted files fail on, so it is worth being precise.
A normal font glyph, and any traced logo, is a filled shape. Its vector data describes the boundary of the shape: the outside edge of the stroke and the inside edge. Trace the letter "I" from a standard font and you get a closed rectangle: two long parallel lines plus the caps. On screen that looks fine because the fill hides the geometry. To a neon fabricator it is unusable, because the tube cannot follow two parallel lines. One physical tube produces one stroke, and the path it follows is the single line running down the middle of that stroke: the centerline.
A neon-ready file therefore uses open, single-stroke paths, with the stroke width in the mockup set to the actual face width of the flex product. Profile faces run from about 4 mm on micro flex up to 16 mm on the chunkier bodies, like Environmental Lights' 16x16mm EcoFlex, so ask which product the shop stocks before you set the stroke weight. The stroke preview shows the client roughly what the lit sign will look like, while the underlying path is what the fabricator bends against.
The corollary: any automatic conversion of a filled logo, ours included, produces outline paths, not centerlines. That output is genuinely useful, because it is exactly what the backing panel needs and it is accurate artwork to draw centerlines over, but it is not the tube path by itself. More on the honest workflow below.
Bend limits: what the tube physically tolerates
The flex is a physical object with a spine of LEDs and a solid body. It does not care about your kerning. Four constraints matter.
Minimum bend radius. Product-specific, and the spread is wider than most design guides admit. At the small end, ATOM LED, a UK supplier, publishes per-profile figures for its micro and mini flex: a 15–20mm radius on a 4.5x4.5mm profile, a flat 20mm on 4x8mm, 20–25mm on 4x10mm, 25–30mm on a 6x12mm mini, and 30–35mm on a 10x6mm profile. Tagra Lighting rates its 4x10mm micro horizontal-bend flex, its smallest and most flexible product, at a 30mm radius. Larger bodies need more room: Environmental Lights specifies a 40mm minimum vertical bend radius on its 16x16mm EcoFlex, which it pitches as bending "same as standard LED strip light," and Principal Sloan's Street Wrap Flex Side-Bend, a US sign-trade product, wants a 2.36in (~60mm) minimum. So "how tight can it bend" runs from roughly 15mm to roughly 60mm depending on what is on the bench, and the datasheet for the specific product is the only real authority. Cheating it does not fail on day one, which is the trap: according to ATOM LED, over-bending micro-cracks the PCB inside the flex, and the cracks propagate over days or weeks of thermal cycling before showing up as intermittent flicker or dimming, after the sign has shipped.
One bend plane. Most flex bends in a single plane, and which plane is a construction fact, not a preference. GLLS, a sign-trade LED neon manufacturer, spells out the geometry in its bending guide: in side-bend product the PCB sits perpendicular to the light face, so the flex curves left and right like a ribbon lying flat; in top-bend product the PCB sits parallel to the light face, so it curves up and down. Bend it against its plane and you are folding a circuit board across its width. GLLS adds three handling rules worth copying into any brief: its minimum bend figures are tested values, and bending tighter is physically possible but voids the warranty; "continuous bending weakens the PCB," so the flex should not be repeatedly shaped and unshaped while fitting; and it should never be bent more than 15 degrees at the point where it enters a mounting channel. Neon designs are flat 2D drawings for a reason: the tube cannot corkscrew.
No true sharp corners. A tube cannot fold. A 90° corner in the artwork becomes either a small visible radius or a cut-and-butt joint between two straight runs, which leaves a seam and usually a small dark spot. Rounding your corners in the file is more honest than letting the fabricator surprise the client later.
Cut points and minimum segments. LED flex can only be cut at marked intervals, and the interval is a product spec worth checking before you design, because it varies enormously: Tagra's 4x10mm micro flex cuts every 17mm, while Principal Sloan's Street Wrap only cuts every 3.937in (~100mm). On the second product, a run shorter than 10cm is not just awkward, it is impossible. Very short runs between bends are also difficult to seat and wire. Tiny isolated marks, like the dot on an "i" or an apostrophe, each cost a separate cut, a wiring jump, and a hole in the panel.
None of this is theoretical griping. When Signs of the Times surveyed the faux-neon wave in June 2021, the fabrication constraints its sources kept naming were exactly these: "accommodating a tight radius with a flex product can be a challenge — and there are limits," and on long runs, "with a flex product, long runs can lead to sagging and loss of a tight line."
The consequence for lettering is pure arithmetic. An enclosed counter, the loop inside an "e" or "a", must have an interior diameter of at least twice the minimum bend radius. With a 30mm-radius micro flex that loop spans 6cm before you add the tube width on either side; with a ~60mm sign-trade side-bend product it spans 12cm, and the full letter is taller still. This is why real neon lettering is either large or simplified, and why script faces with open, generous loops dominate the medium. It is also why Principal Sloan lists "cursive letters and design" among the headline applications for its side-bend product: script is what the geometry rewards.
| Design element | Physical reality | What to do in the file |
|---|---|---|
| Curves | Bend radius bottoms out ~15mm on micro flex, ~60mm on sign-trade side-bend | Check interior radii at final scale against the flex datasheet |
| Sharp corners | Tube cannot fold; corner becomes a radius or a butt joint | Round corners deliberately, or accept a visible joint |
| Letter counters | Loop diameter ≥ 2× minimum bend radius, plus tube width | Scale lettering up or choose open letterforms |
| Dots, accents, punctuation | Each needs its own cut and wire jump | Remove, merge into a stroke, or budget the extra labor |
| Stroke width | Fixed by the flex face, roughly 4–16 mm across products | Set the mockup stroke to the real tube width |
| Crossing strokes | Two tubes cannot occupy the same point in one plane | Break one line visually, or let one tube pass over with a bump |
A Full Year of Conversions for $49
Starter Annual: 25 conversions every month, $49 for the whole year. That is about $4.08 a month · Cancel anytime
Get the Annual DealWhere letters connect: planning the jumps
The light stops between letters, but the circuit must continue. LED flex handles this differently from glass. Glass benders run continuous tube and paint out the connecting sections; LED fabricators usually cut the flex at the end of a letter and jump to the next with low-voltage wire hidden behind the panel, passed through a small hole at each letter's endpoint.
This is why connected script works so well in neon: the baseline links between letters are lit on purpose, and each word can be a small number of long runs. Detached block capitals are legitimate too, but every letter becomes its own run, or several, which means more cuts, more holes, more wiring, and more labor. And per the cut-interval table above, on a coarse-cut product some short letter segments cannot exist at all.
Your file does not need the wiring drawn in. But the fabricator will read your artwork and decide the run sequence, where the power feed enters, and which strokes share a segment. That plan, the bend plan, is their judgment, informed by the exact flex product they stock. No conversion tool produces it, and you should distrust any that claims to.
The backing panel: the second layer, and why it is DXF
Behind every LED neon sign is a panel, most often clear or colored acrylic. The numbers here are usefully standardized. Custom Neon, one of the largest LED sign makers, states on its product page: "The standard thickness of our acrylic backboards is 0.19in (5mm), with sizes between 0.11in (3mm) and 0.31in (8mm) available." The same page confirms the sizing rule of thumb: the backboard adds a margin of approximately 0.8in (2cm) around the design, so about 4cm to the sign's overall length and height, which matters when the client has an exact wall slot to fill. Panel styles are what you would expect: a simple rectangle, a contour cut around the design, a cut close to the letters, open boxes, and stands for freestanding pieces.
The panel layer also carries the holes: standoff mounts, a pass-through for the power cable, and the small wiring holes at letter endpoints if the shop drills them by machine rather than by hand.
The panel is cut on a CNC router or laser, and shop CAM software almost universally ingests DXF. So a complete deliverable set looks like this:
| Layer | Contents | Format |
|---|---|---|
| Tube paths | Single-stroke centerlines at final scale | SVG / AI / PDF |
| Panel outline | Contour or simple shape, plus holes | DXF, with units confirmed as mm |
| Reference | Full-color mockup for the client | PNG / PDF, marked as non-production |
If your panel outline lives in an SVG, converting it to DXF is a one-step export. The check that matters is that the drawing is at true final size, because DXF carries geometry, and a panel cut at 60% scale is scrap acrylic.
From logo to neon-ready file: the honest workflow
Here is what software can legitimately do for you, and where it stops.
1. Get clean vector artwork from the logo. If all you have is a PNG, a JPG, or a photo of a sketch, run it through the neon sign converter to get sharp vector paths. This removes the ambiguity of a raster trace: the fabricator sees exact curves instead of guessing at pixel edges. A conversion costs 0.20 credits; plans start at $7.99 a month for 25 conversions, and you can test one watermarked preview a day without signing up.
2. Derive the centerlines. In Illustrator, Inkscape, or your CAD package, draw open single-stroke paths down the middle of each stroke of the vectorized artwork, and set the stroke weight to the tube width. For text-heavy signs it is often faster to skip the trace entirely and start from generated lettering, then adjust spacing and connections for the tube.
3. Sanity-check the geometry at final scale. Measure your tightest interior radius and compare it against the flex datasheet, not against a generic figure: as the numbers above show, the honest range runs from 15mm micro flex to 60mm sign-trade product, and only the shop knows which one is on the bench. Fix corners and counters on screen now, rather than during a fabrication call.
4. Build the panel layer. Offset the artwork for a contour panel or draw the simple shape, add the holes, and export DXF. If the sign must fit a fixed space, remember the panel margin: roughly 2cm around the artwork on every side.
5. Hand off, and let the fabricator do their job. What you have produced is accurate artwork and a cuttable panel. What you have not produced, and what no converter produces, is the bend plan: where the tube is cut, how runs are sequenced, where wire jumps go, and whether a marginal radius is achievable with their specific product. That is fabricator judgment. Clean centerline artwork does not replace it; it just means their judgment is spent on fabrication instead of on redrawing your logo.
Free SVG Tools for Crafters
Design Checker · Color Separator · Mat Preview · Offset Generator · Text to SVG
Check Your SVG FreeFAQ
What file format do LED neon fabricators actually want?
Vector artwork at final scale: single-stroke centerline paths for the tube (SVG, AI, PDF, or EPS), a separate panel outline layer, and DXF for anything that touches the CNC. A color mockup helps, but label it as reference only.
Why can't the shop just work from my logo PNG?
They can, and many will, but the PNG is a design reference, not a production file. Someone has to redraw it as centerline paths and judge every bend, and that time appears on your quote. Supplying clean vectors removes the trace ambiguity and usually a full revision round.
How small can LED neon lettering be?
It falls out of the bend radius. An enclosed loop must span at least twice the minimum bend radius plus the tube width, so with a 30mm-radius micro flex an "e" counter is already 6cm across before the tube itself is counted, and with a ~60mm sign-trade side-bend product it is 12cm. Lettering much smaller than that means simplified letterforms, a different flex product, or a bigger sign.
Does VectoSolve generate the centerline paths automatically?
No. Vectorization traces shapes as outline paths, which is exactly right for the panel contour and for accurate artwork, but the tube centerlines are drawn from that artwork, by you or by the fabricator. For text-based signs, starting from generated lettering gets you to single-stroke paths faster than tracing a filled font.
Sources
- ATOM LED — Mini LED Neon Flex — per-profile minimum bend radii for micro and mini flex (15mm to 35mm across 4.5x4.5mm to 10x6mm profiles) and the micro-cracking failure mode of over-bending.
- Tagra Lighting — Micro Horizontal Bend LED Neon Flex 4x10mm — 30mm bend radius and 17mm cut points on a 4x10mm micro profile.
- Environmental Lights — EcoFlex 4-in-1 LED Neon — 40mm minimum vertical bend radius on a 16x16mm vertical-bend profile.
- Principal Sloan — Street Wrap Flex Side-Bend — 2.36in (~60mm) minimum side-bend radius, 3.937in (~100mm) cut interval, and cursive lettering as a named application.
- GLLS — How To Properly Bend LED Neon Flex — side-bend vs top-bend PCB orientation, warranty void on exceeding tested bend minimums, repeated-bending damage, and the 15-degree mounting-channel rule.
- Signs of the Times — Innovation Meets Technology in New Wave of Faux-Neon LED Signage (June 30, 2021) — trade-press confirmation that tight bend radii and long-run sagging are the fabrication constraints of faux-neon flex.
- Signs of the Times — Faux Neon LED Offers a New-School Approach for an Old-School Look (July 7, 2021) — why sign shops specify LED over glass neon, with named shops and products.
- Custom Neon — Rectangle Acrylic Backboards — 5mm standard acrylic backboard (3mm to 8mm available), the ~2cm margin added around the design, and backboard style options.