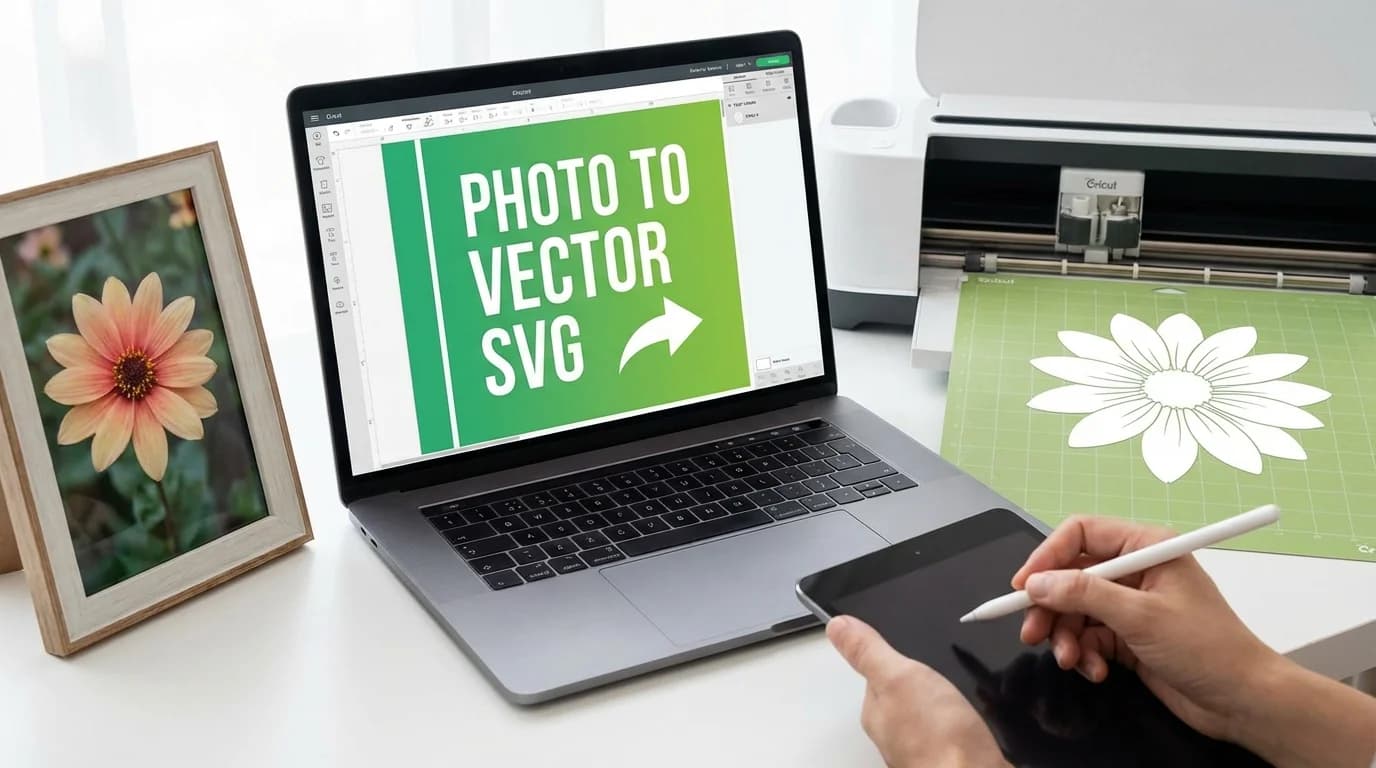
How to Convert Any Image to a Cut-Ready SVG for Cricut (2026 Guide)
Learn how to turn any PNG, JPG, or hand-drawn design into a clean SVG file that works perfectly with Cricut Design Space. Step-by-step guide with tips for clean cuts.
Founder and developer of VectoSolve
Self-taught developer who founded VectoSolve in 2024. He builds the conversion engine and the cutting, embroidery and 3D printing exports, working with the VectoSolve team of graphic designers.
How this article was made: drafted with AI assistance, then edited and fact-checked before publication. About the author
Try it on your own file, in Cricut mode
Free preview, no signup. Drop an image and see the vector before deciding anything.
Why Every Cricut Owner Needs to Master Image-to-SVG Conversion
Here's the first thing every new Cricut owner should know: your Cricut machine is only as powerful as the files you feed it. SVG files are the language your Cricut actually speaks.
Unlike PNG or JPG images, SVG files contain real vector paths — mathematically defined lines and curves your Cricut blade follows to make precise cuts. When you upload a raster image to Design Space, you're asking the software to guess where edges are. An SVG gives it an exact road map.
The problem? Nearly every image you find online — that cute Pinterest quote, the silhouette from Google, your friend's logo she texted you — is a raster file. Converting them to usable SVGs traditionally meant:
- Paying $5–15 on Etsy for a single file
- Wrestling with Inkscape's auto-trace and getting messy results
- Manually tracing in Cricut Design Space one node at a time
- Giving up and buying a pre-made SVG that's close enough
There's now a much faster way — and I'm walking you through every step.
Key Takeaways
- SVG files give your Cricut exact cut paths — raster images do not
- High-contrast, simple-shape images convert to the cleanest SVGs
- Always remove the background before converting for best results
- VectoSolve's AI converts any image to a cut-ready SVG in under 5 seconds
- The resulting SVGs import directly into Cricut Design Space and Silhouette Studio
Which Images Work Best for Cricut Conversion?
This is a common question. High-contrast images win every time. A dark design on a light or transparent background gives the AI clean edges. Think bold silhouettes, solid logos, and crisp text.
Simple shapes produce the cleanest paths. A flower silhouette converts beautifully. A watercolor bouquet with 47 overlapping petals needs extra work.
Image Complexity Scoring Guide
Rate your source image before converting — it'll save you time:
| Score | Level | Examples | Expected Result |
|---|---|---|---|
| 1–2 | Simple | Solid silhouettes, basic text, single-color logos | Perfect cuts, no cleanup |
| 3–4 | Low | Clean clipart, line drawings, bold icons | Excellent, minimal cleanup |
| 5–6 | Medium | Detailed illustrations, hand lettering | Good, may need Contour tweaks |
| 7–8 | High | Complex illustrations, photos with clear subjects | Usable with simplification |
| 9–10 | Very High | Full photographs, watercolor art, busy scenes | Better for Print Then Cut |
For images scoring 7+, use VectoSolve's background remover first to isolate the subject — it can drop complexity by 2–3 points.
Step-by-Step: VectoSolve to Design Space Workflow
Follow every step and you'll have a cut-ready file in under two minutes.
Step 1: Prepare Your Image
Pro Tip: Always run your image through VectoSolve's Remove Background tool before converting to SVG. A transparent background eliminates stray paths and gives dramatically cleaner cut lines. This one step prevents many common cut problems.
- Crop tightly — extra space creates unnecessary paths
- Increase contrast if the image looks washed out
- Save as PNG — sharper edges than JPG compression
- 300+ DPI for scanned hand-drawn designs
Step 2: Upload and Convert
- Go to vectosolve.com
- Drag and drop your image (PNG, JPG, or WebP)
- Click Convert — the AI traces your design in 2–5 seconds
- Preview the result and zoom in to check edges
- Download the SVG
Step 3: Import to Cricut Design Space
- Open Cricut Design Space → new or existing project
- Click Upload → Upload Image → select your SVG
- It appears as a Cut Image automatically — no tracing!
- Click Add to Canvas and resize (hold Shift for proportions)
Step 4: Verify and Adjust
- Check the Layers panel — confirm it's a Cut layer
- Click Contour to hide unwanted paths or interior details
- Use Attach if pieces need to stay in position
- Send to machine and cut!
A Full Year of Conversions for $49
Starter Annual: 25 conversions every month, $49 for the whole year. That is about $4.08 a month · Cancel anytime
Get the Annual DealMaterial-Specific Preparation
Vinyl (Oracle 651, Cricut Premium): Single-layer SVGs work best. Minimum detail size 0.25 inches. Mirror for inside-glass application.
HTV (Siser EasyWeed, Cricut Iron-On): Always mirror before cutting. Text and fine lines need to be 0.3+ inches tall. Simplify complex designs — intricate HTV weeding is a nightmare.
Cardstock & Paper: Handles more intricate designs than vinyl. Add score lines for folds. Use "Intricate Cuts" setting for detailed work.
Sticker Paper: Use Print Then Cut for multi-color. SVG paths work great for die-cut outlines. Offset cut lines slightly larger than the print.
Faux Leather & Felt: Minimum 0.5 inch details. Test cut first. Avoid thin lines and script fonts.
Troubleshooting: Common Cricut SVG Issues
| # | Problem | Cause | Fix |
|---|---|---|---|
| 1 | SVG uploads as Print Then Cut | Embedded raster data | Re-convert — download the vector SVG, not raster-embedded |
| 2 | Hundreds of tiny unwanted paths | Noisy/low-res source | Use higher quality source; remove background first |
| 3 | Jagged or bumpy cut lines | Source under 150 DPI | Use larger, higher-res source — 300 DPI minimum |
| 4 | Letters merging together | Design too small | Scale up in Design Space or simplify interior details |
| 5 | Vinyl tearing during weeding | Paths too close/intricate | Increase spacing; simplify before converting |
| 6 | Rectangle border around design | Background not removed | Use vectosolve.com/remove-bg and re-convert |
| 7 | Colors missing or merged | Multi-color image flattened | Convert each color layer separately |
| 8 | SVG won't upload to Design Space | Corrupted or not true SVG | Re-download; verify .svg extension (not .svg.png) |
| 9 | Cut offset from mat position | Canvas/mat alignment issue | Attach elements to lock position; verify mat selection |
| 10 | Looks good on screen, cuts poorly | Too much detail for blade | Use Contour to hide intricate details |
| 11 | Fonts look different after conversion | Anti-aliased font rendering | Use sharpest source; bold fonts convert better than thin scripts |
| 12 | Pieces shift during cutting | Elements ungrouped | Select all → Attach in Layers panel before cutting |
Warning: About copyrighted images: Converting someone's copyrighted artwork to SVG does not give you commercial rights. This includes Disney characters, sports logos, brand trademarks, and other crafters' original designs. Use VectoSolve for your own work, licensed images, and public domain art. Selling copyrighted designs can mean legal action and Etsy bans. When in doubt, create original work or use VectoSolve's template library which includes commercially licensed designs.
Real Projects You Can Make
Apparel: Custom HTV T-shirts, tote bags, baby onesies, hats
Home Decor: Wall decals, kitchen labels, holiday window clings, welcome signs
Paper Crafts: Greeting cards, cake toppers, party banners, shadow boxes
Stickers & Decals: Tumbler wraps, laptop stickers, car decals, planner stickers
Small Business: Logo stickers for packaging, store window decals, product labels
Browse the VectoSolve template gallery for ready-to-cut starting points.
Free SVG Tools for Crafters
Design Checker · Color Separator · Mat Preview · Offset Generator · Text to SVG
Check Your SVG FreeVectoSolve vs. Other Methods
| Method | Time | Cost | Quality | Skill |
|---|---|---|---|---|
| VectoSolve AI | 5 sec | From $7.99/mo (25 images) | High — clean paths | None |
| Design Space trace | 10–30 min | Free | Variable | Medium |
| Inkscape auto-trace | 5–15 min | Free | Needs cleanup | High |
| Fiverr/Etsy | 1–3 days | $5–15 | Varies | None |
| Adobe Illustrator | 5–10 min | Subscription | Good | High |
FAQ
Can I use VectoSolve SVGs directly in Cricut Design Space?
Yes — standard SVG files that import as cut images. No extra conversion needed.
Does it work with all Cricut machines?
All of them: Maker 3, Maker, Explore 3, Explore Air 2, Joy, and Joy Xtra.
Silhouette machines too?
Yes — works with Silhouette Studio (Business Edition for SVG import) and all Cameo/Portrait machines.
Can I convert hand-drawn designs?
Yes. Scan at 300+ DPI, convert with VectoSolve, and you'll have a clean vector ready to cut.
Start Making Custom Cut Files Today
Stop tracing manually or settling for SVGs that are almost right. Convert any image to a cut-ready SVG in seconds.
Try VectoSolve Free — Preview Your First Conversion, No Signup →
| Image Type | Cricut Cut Quality | Recommended Colors | Best Material |
|---|---|---|---|
| Simple silhouette | Excellent | 1 color | Vinyl, iron-on HTV |
| 2-color logo | Very good | 2–3 layers | Layered vinyl |
| Multi-color illustration | Good (with layering) | 3–6 layers | Layered HTV, infusible ink |
| Detailed photo-style | Poor (too complex) | Simplify first | Print-then-cut sticker |
| Text / monogram | Excellent | 1–2 colors | Vinyl, cardstock |