
How to Convert Handwriting to Vector: Calligraphy & Script Digitization
Transform beautiful handwriting and calligraphy into scalable vector graphics. Perfect for wedding invitations, logos, and personalized designs.
Founder and developer of VectoSolve
Self-taught developer who founded VectoSolve in 2024. He builds the conversion engine and the cutting, embroidery and 3D printing exports, working with the VectoSolve team of graphic designers.
How this article was made: drafted with AI assistance, then edited and fact-checked before publication. About the author
Try it on your own file
Free preview, no signup. Drop an image and see the vector before deciding anything.
Key Takeaways
- Vectorizing handwriting preserves the soul of your craft while unlocking infinite scalability for logos, wedding stationery, custom fonts, and merchandise
- Scan calligraphy at 600 DPI minimum on white unlined paper with high-contrast ink for the cleanest conversion
- The workflow is scan → clean → vectorize → refine — each stage protects the nuance of your strokes
- AI vectorization (like VectoSolve) gets you 90% there in seconds; the final 10% is artisan refinement
Handing your handcraft over to a machine can feel risky. Will the software flatten that gorgeous hairline upstroke? Will the swash on your capital R survive? This guide walks through each step of digitizing calligraphy so your letterforms make the leap from paper to pixel with their spirit intact.
Why Digitizing Handwriting Matters
We live in a world saturated with geometric sans-serifs. That's precisely why handwritten lettering has become so valuable. A hand-drawn logotype tells customers a real human poured care into a brand. A calligraphed wedding invitation makes guests feel the weight of the occasion before they read the words.
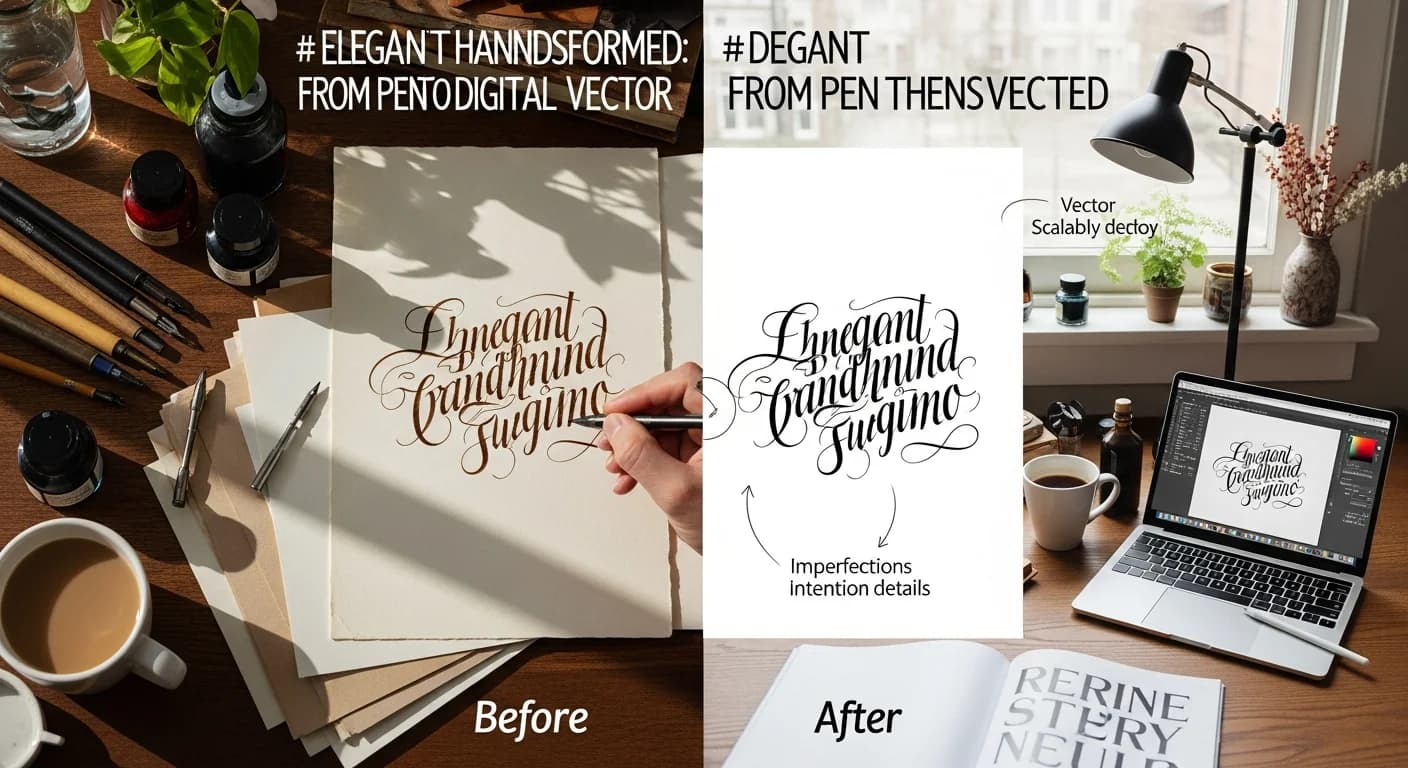
But raw scans are raster images — fixed pixels that blur when scaled and carry paper texture along for the ride. Vector conversion liberates your lettering. That brush-script logo can stretch across a billboard and shrink onto a business card. You can change colors in one click, animate strokes with VectoSolve AI Animate, and embed your work anywhere from Figma to laser cutters.
Where Vectorized Handwriting Shines
- Wedding stationery — invitations, place cards, menus, save-the-dates
- Signature logos & branding — artisan bakeries, boutique studios, personal brands
- Custom font creation — digitize your alphabet and build an OpenType font
- Etsy shops & print-on-demand — SVG lettering for mugs, totes, wall art
- Tattoo designs — clients bring handwritten quotes; vectors let artists scale and position perfectly
"The beauty of calligraphy has always been in the imperfection — the slight tremble, the ink pooling at a pause. True digitization doesn't erase those moments; it enshrines them.
Scanning Best Practices
Before any software touches your lettering, the quality of your source capture determines everything.
Pro Tip: Always scan calligraphy at 600 DPI minimum. Standard 300 DPI works for bold marker lettering, but pointed-pen scripts with hairlines need 600 DPI — or even 1200 DPI for copperplate — to capture every filament of ink.
| Factor | Best Choice | Why It Matters |
|---|---|---|
| Paper | Bright white, unlined, smooth | Maximum contrast; no grid lines to confuse the tracer |
| Ink — broad-edge | Sumi ink or Higgins Eternal | Deep black, no feathering, dries matte |
| Ink — pointed pen | Walnut ink or iron gall | Rich density in hairlines |
| Markers | Tombow Fudenosuke or Pentel Sign Pen | Consistent opacity, bold strokes |
| Avoid | Gel pens, metallic inks, pencil on textured paper | Low contrast, reflections, grainy captures |
Use a flatbed scanner whenever possible. If you must photograph, shoot in bright diffused light directly overhead with the camera parallel to the paper. Set your scanner to grayscale mode and disable auto-sharpening.
Step-by-Step Workflow: Scan → Clean → Vectorize → Refine
Stage 1 — Scan
Capture at 600 DPI grayscale. Save as lossless PNG or TIFF — never JPEG, whose compression artifacts become vector noise.
Stage 2 — Clean
Open in Photoshop, Affinity Photo, or free GIMP:
- Levels adjustment — drag the white point until paper is pure white; drag the black point until ink is solid
- Spot healing — remove dust specks, stray drops, and pencil guidelines
- Crop tightly around the lettering with a small margin
Stage 3 — Vectorize
Upload your cleaned image to VectoSolve. The AI traces the outline of each stroke as smooth curves, so your thick-thin transitions and entry/exit strokes keep their shape.
Stage 4 — Refine
Open the SVG in Illustrator, Inkscape, or Affinity Designer:
- Simplify paths where the AI added unnecessary anchor points
- Rejoin broken strokes — hairlines sometimes split into two paths
- Adjust handles on key curves like the bowl of a g or crossbar of a t
- Check at 25%, 100%, and 400% zoom
Warning: Auto-trace can obliterate fine details. Hairline upstrokes, ink splatter textures, and the delicate thinning where a brush lifts off the page are the first casualties of aggressive tracing. Always compare your vector against the original scan at 100% zoom. If details are lost, try increasing trace fidelity or using a higher-resolution source.
A Full Year of Conversions for $49
Starter Annual: 25 conversions every month, $49 for the whole year. That is about $4.08 a month · Cancel anytime
Get the Annual DealComparing Vectorization Methods
| Method | Speed | Hairline Fidelity | Effort | Best For |
|---|---|---|---|---|
| AI vectorization (VectoSolve) | Seconds | Very Good | Low | Batch work, Etsy shops, fast turnaround |
| Illustrator Image Trace | Seconds | Moderate | Medium | Adobe ecosystem users |
| Inkscape Trace Bitmap | Seconds | Fair | Medium | Free/open-source workflow |
| Manual pen tool | Hours | Perfect | Very High | Premium commissions, font design |
| Hybrid: AI + manual cleanup | Minutes | Excellent | Medium | Professional calligraphy studios |
For most calligraphers, the hybrid approach is the sweet spot: let AI handle the heavy lifting with VectoSolve, then spend a few minutes adjusting the curves that matter most.
Typography Tips: Keeping Your Lettering Alive
Preserve Stroke-Weight Variation
Brush scripts derive beauty from contrast — thick downstrokes dancing with thin upstrokes. Avoid global stroke-width settings that flatten variation, and check that thickest and thinnest parts maintain their ratio.
Guard Your Ligatures
Connected scripts rely on ligatures — the bridges between letters. Aggressive simplification can snap these connections. Zoom into every join and confirm paths flow continuously.
Let Flourishes Breathe
Swashes and decorative extensions need smooth Bezier handles with minimal anchor points. If a flourish looks jagged, use your editor's Smooth or Simplify function until it sings.
Your Handwriting Deserves to Live Forever
Every stroke carries intention, rhythm, and personality no algorithm can generate from scratch. But the right tools translate that humanity into a format the digital world understands. Whether you're building a wedding brand, launching an Etsy shop, or preserving your grandmother's recipe card as a beautiful vector — scan with care, clean with patience, vectorize with VectoSolve, and refine with love.
Then take it further — bring those vectors to life with AI-powered animation that draws each stroke the way your hand originally did.
Ready to start? Upload your calligraphy scan to VectoSolve and watch AI turn your ink into infinitely scalable vectors in seconds. No software to install — just your craft, digitized beautifully.
| Calligraphy Scanning Parameter | Recommended Setting | Why It Matters |
|---|---|---|
| Resolution (DPI) | 600 DPI minimum | Captures fine hairline strokes and ink texture |
| Color Mode | Grayscale or B&W Bitmap | Maximizes contrast for clean edge detection |
| Paper Type | White, unlined, smooth | Eliminates grid lines and texture artifacts |
| Ink Type | High-contrast (black India ink) | Sharp edges for accurate vector tracing |
| File Format | TIFF or PNG (lossless) | No JPEG compression artifacts on letterforms |