
Convert an Image to DST (Tajima) Online
Upload your image to convert to DST
Drag & drop or click — PNG, JPG, WebP up to 25MB
A DST is a list of needle movements, not a picture, so converting a JPG means two jobs in one: rebuild the artwork as clean paths, then decide where every stitch lands. VectoSolve does both in the browser and writes a real Tajima file. It handles flat logos well and does not produce variable-width satin columns, which is the limit worth knowing before you start.
For shops that receive logos as JPG
JPG to DST: a customer picture turned into a Tajima file
Most logos land as a JPG. Here the picture is traced into clean shapes first, then fitted to a 4x4 in field and stitched as a Tajima DST, with the stitched size on screen before you pay.
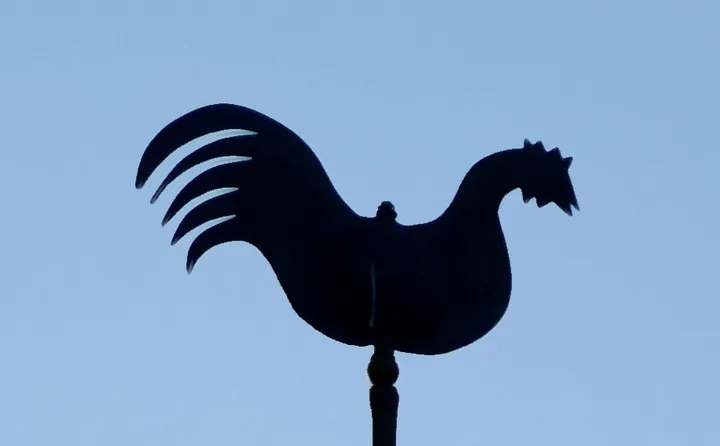
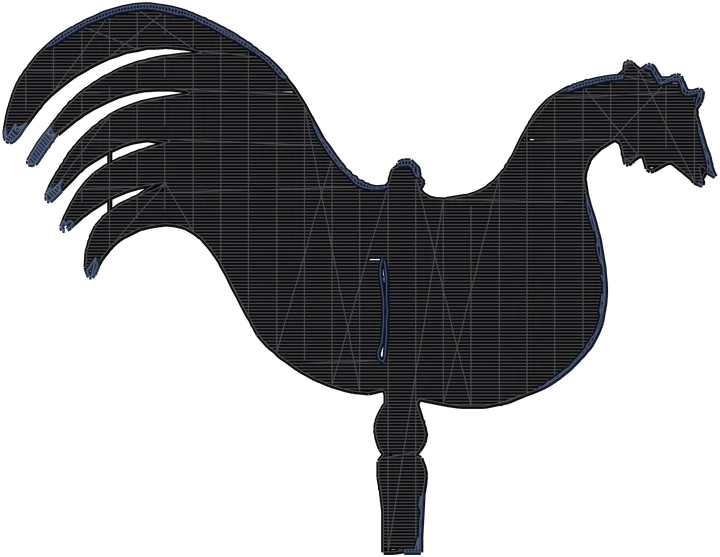
What the JPG becomes
- DST for a commercial machine: colour stops, but no thread colours
- SVG the traced shapes, to rework in digitizing software first
- PNG the traced design, for the customer to approve
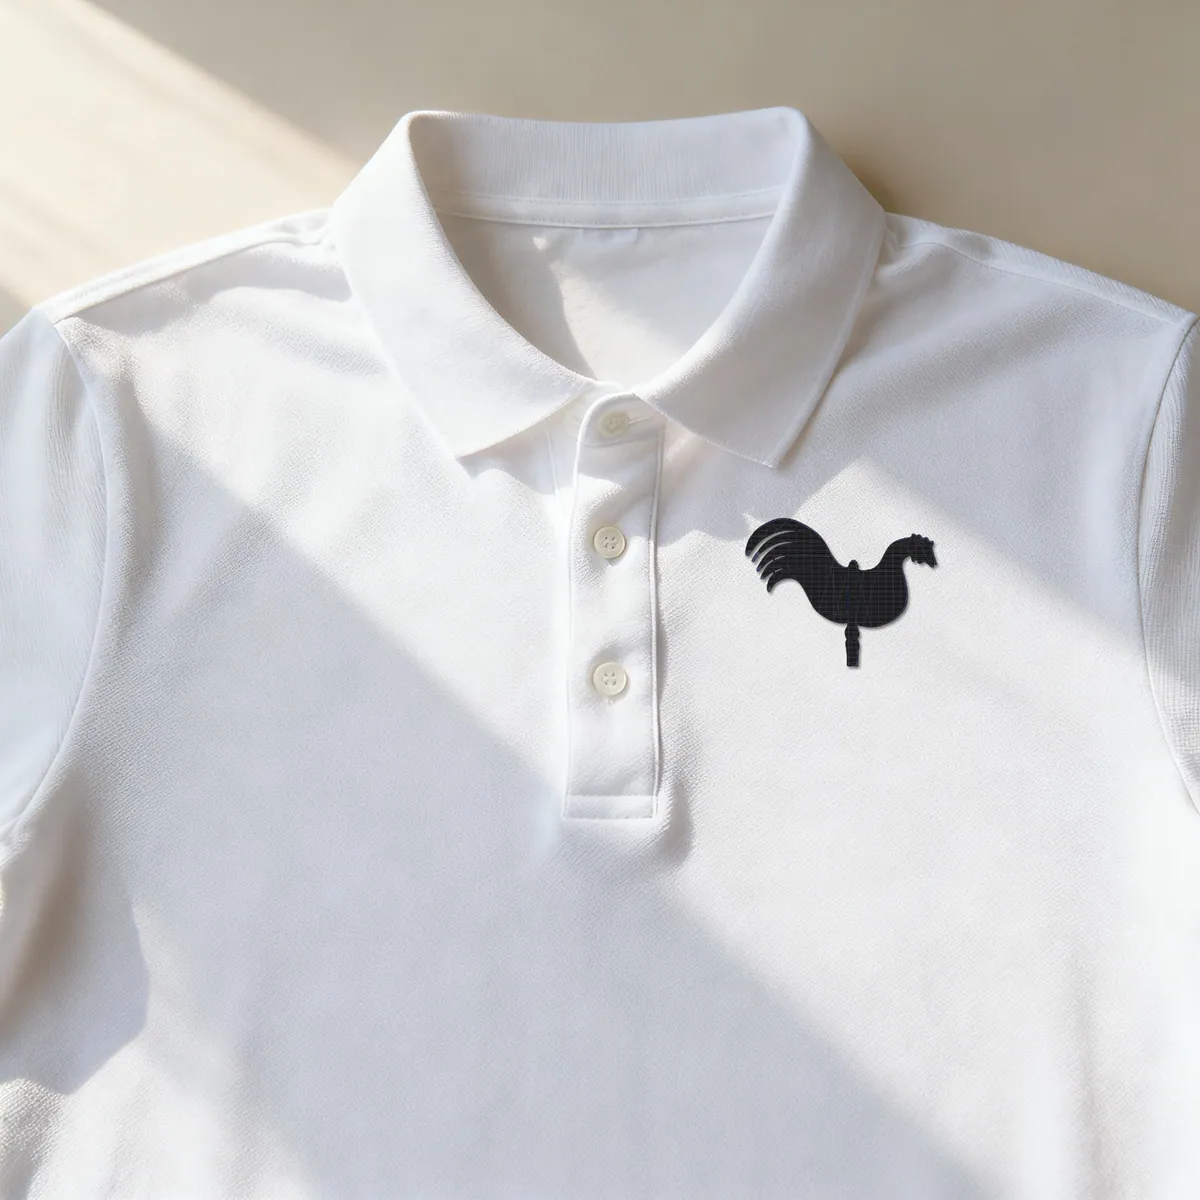
Product photos are mockups: each design is the real VectoSolve file, not retouched. Source photos are public domain or CC0. Photo: Helge Klaus Rieder, Wikimedia Commons, CC0.
Custom · On quote
Top-of-market quality for complex jobs: large-format murals, detailed illustrations, photo to vector, multi-layer print files. Finished by hand by our team and checked before delivery.
Two conversions are happening, and only one of them is yours to control
Going from a customer JPG to a stitch file is not one operation. It is two, and they fail for different reasons.
First the artwork is rebuilt as vector. A JPG contains no shapes, only pixels that look like shapes, so something has to decide where each boundary lies. That decision is where a poor source shows: compression halos around every edge become wobbly outlines, and a logo pulled off a website at 300 pixels has no clean boundary to find.
Then stitches are generated from those paths. Running stitches along strokes, zigzag fills inside closed regions, underlay beneath the fills. This part is deterministic — it does exactly what the geometry says.
Which means the whole outcome is decided in the first step, by the file your customer sent. A clean source stitches well. A screenshot does not, and no stitch setting rescues it.
What arrives from customers, and what to ask for instead
Embroidery shops receive the worst artwork of any decoration trade, because the person sending it is a club secretary, an office manager or a team parent. What lands in the inbox is a photo of last year's cap, a logo lifted from a Facebook page, or a JPG someone cropped out of a PDF.
Before converting anything, one email is worth more than any tool: ask whoever handles their branding for the original file, and say the words vector, EPS or AI. When it exists the job is done before it starts, and it exists far more often than customers realise.
When it genuinely does not, convert — but check the result before you quote the stitch count. The free preview here shows you whether the source can carry the job, which is a much better conversation to have at the quote than at the machine.
What you get, and what you should not expect
Fitted before it is stitched, refused if it cannot sew. The traced artwork is scaled to the 4x4 in field, 100 x 100 mm with 5 mm kept clear on each side, before any stitch is planned, so a small customer JPG and a large one come out at the same true density. If the short side would land under 5 mm, no file is made and nothing is charged. The reasoning is set out on SVG to DST.
Not included: variable-width satin columns, pull compensation and per-region density tuning.
Where this earns its place: a customer sends a flat logo, it is going on a cap or a left chest, and it needs stitching this afternoon rather than tomorrow. Where it does not: a design where the satin work is the job, or lettering under about 4 mm cap height, which closes up in thread whatever the file says.
If the artwork you have is already a vector, skip the trace and go straight to SVG to DST. If you want the vector for other uses too — a screen print, a laser-cut patch border, a supplier quote — take the SVG or DXF export from the same conversion rather than converting twice.
Not sure which stitch format your machine reads?
The image to embroidery converter writes the same design as DST, PES and JEF in one download, with the stitched size shown before you pay, so you do not have to pick the format first.
What Do Users Ask About This Converter?
9 questions about Image to DST conversion
Not directly, and this is the step most people miss. A JPG is a grid of pixels with no shapes in it, and stitch generation needs geometry: closed regions to fill, strokes to run along. The conversion rebuilds the artwork as paths first, then generates stitches from those paths. Which means the quality of the source decides the quality of the stitching, more than any setting does.
Bigger than you would think, because embroidery detail is coarse but the trace is not. A logo under roughly 500 pixels wide produces ragged paths, and ragged paths become ragged stitching. If the customer only has a small file, ask whoever made their signage or business cards for the original vector before converting anything: it exists more often than people expect.
Because DST does not store colours at all. The Tajima format records stitch coordinates and colour-change commands, nothing more. Where the artwork changes colour the file says stop and change thread; which thread depends on what is loaded on the machine. Every DST behaves this way, including files from professional digitising software.
For a flat logo at a reasonable size, often yes. For fine lettering, thin borders, or anything where the stitch quality is the product, no. It generates running stitches, zigzag fills and underlay, but no variable-width satin columns and no pull compensation. Those are exactly what a good digitiser is paid for.
Since 10 September 2026 you do not have to: the design is fitted to the hoop field before any stitch is generated, so the spacing is computed on the final shape and the density is correct whatever the source declared. Default target is the 4x4 in field (100 x 100 mm) with 5 mm of clearance per side. The rule that still holds is the reverse one — never rescale the DST after it is written, because that multiplies stitch length and row spacing together. And if the design cannot be sewn at a readable size, it is refused rather than delivered: no file, no charge.
Use PES for Brother and Babylock, JEF for Janome, Elna and Kenmore. The stitches are generated identically in all three; only the container differs, and PES carries a thread palette so colours show on the machine screen.
When the subject reads as a few flat shapes, yes: the rooster above came from a JPG photo. A portrait or a busy scene turns into patches of thread, and that is work for a digitizer.
It is fitted to the 4x4 in field by default: 100 x 100 mm with 5 mm kept clear on each side, so a large JPG comes out about 90 mm across. The stitched size shows before you pay.
Each flat colour of the trace becomes its own stitched area and a colour stop in the DST. The file does not say which thread to load, so pass the colours to the operator with it.
Where Can You Learn More About Image to DST Conversion?
If embroidery is your business, you are probably paying per file.
An outside art service charges 6 to 26 dollars a logo and comes back the next day. Redrawing it yourself costs half an hour you could bill. A year here is $49 for 25 conversions every month, every machine format included, which works out cheaper than two outsourced logos.
Everything on this page stays free. This is only worth it if you do volume.