
Convert an Image to PES (Brother) Online
Upload your image to convert to PES
Drag & drop or click — PNG, JPG, WebP up to 25MB
PES is the file a Brother or Babylock reads: needle moves, plus the thread colours it lists on its screen. From a customer JPG, VectoSolve first traces the picture into clean shapes, then plans the stitches inside them, all in your browser, and hands you a real Brother PES. Flat logos suit it best; variable-width satin columns are not part of it.
For Brother and Babylock owners
Image to PES converter for a customer JPG on a Brother
A PES keeps its thread colours, so every stop shows on a Brother or Babylock screen. Upload the JPG, read the stitched size, then take the PES along with the DST and JEF of the very same stitches.
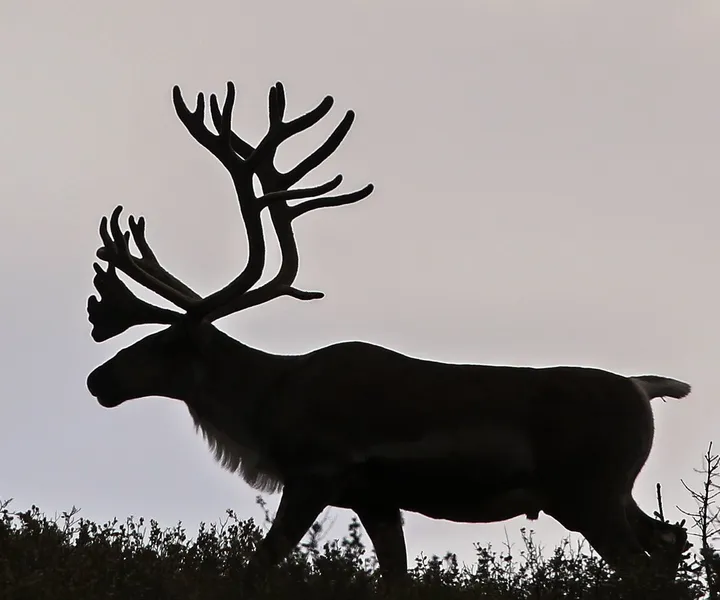
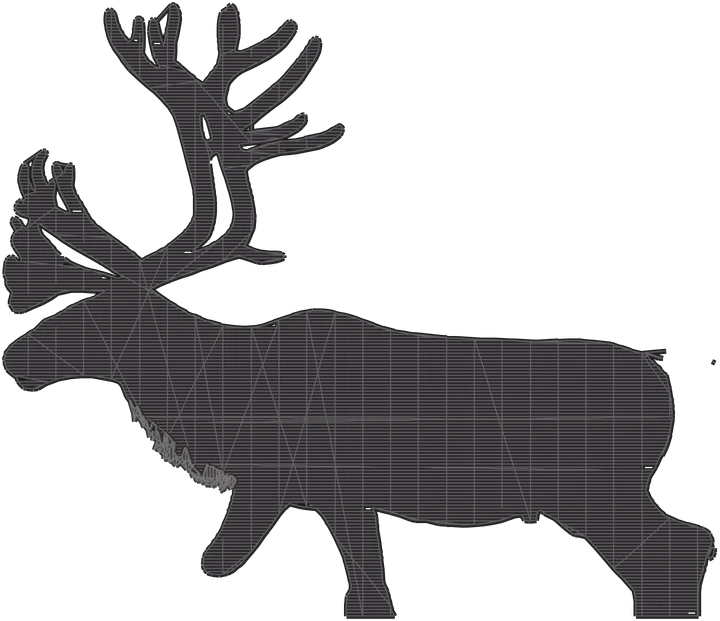
Files that come with the PES
- PES colours shown on Brother and Babylock screens
- DST identical stitches for a contract shop
- JEF identical stitches for a Janome
- SVG the trace, if you would rather digitize it yourself
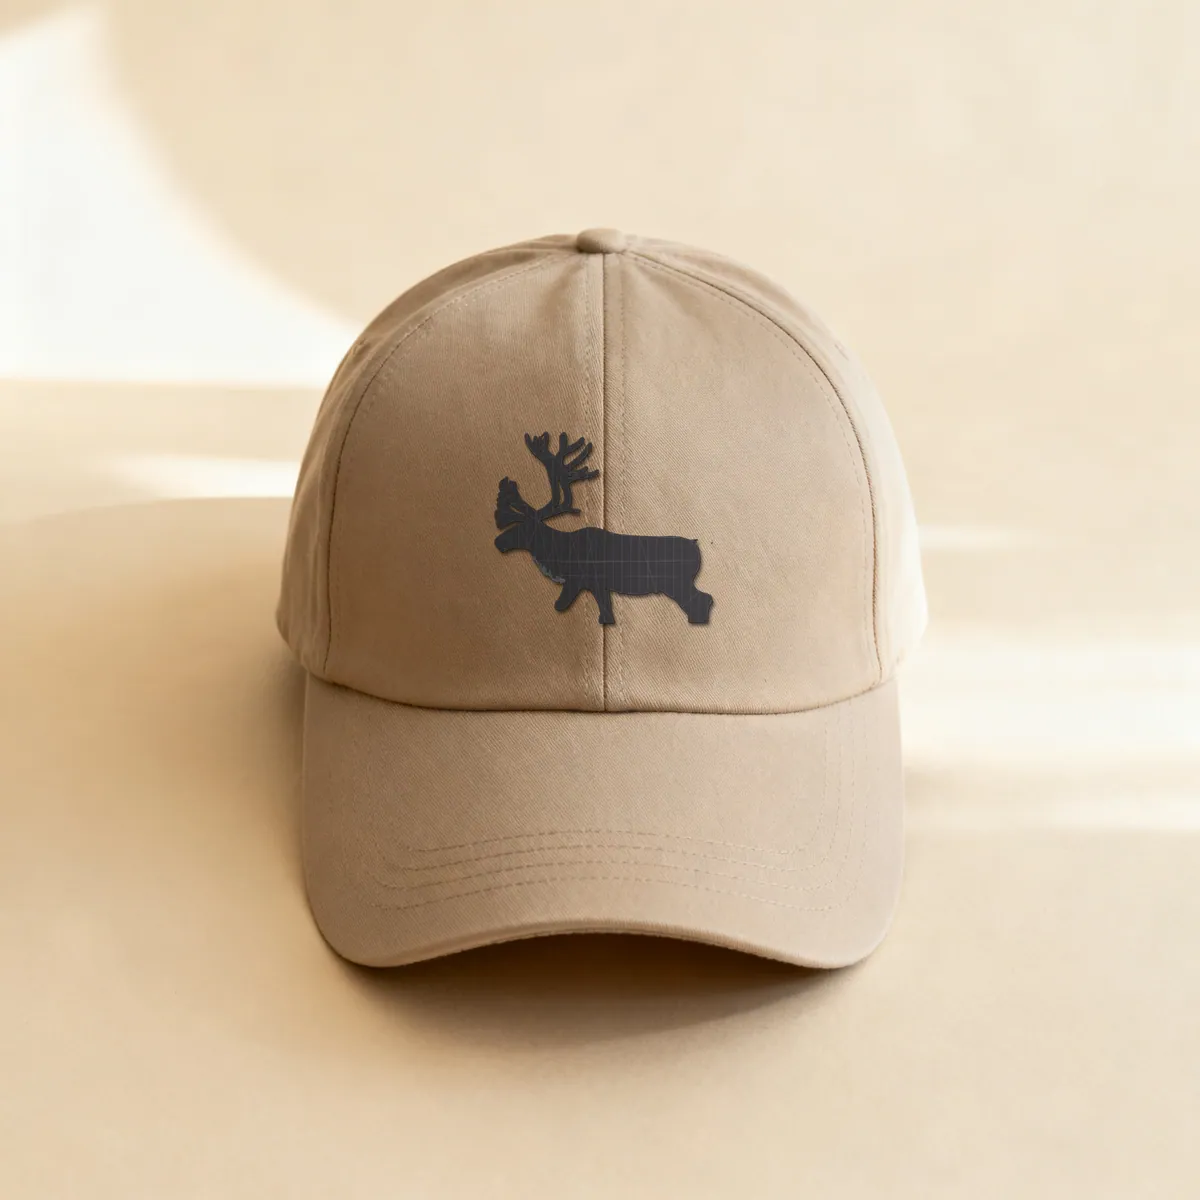
Product photos are mockups: each design is the real VectoSolve file, not retouched. Source photos are public domain or CC0. Photo: Emily Mesner, NPS, public domain.
Custom · On quote
Top-of-market quality for complex jobs: large-format murals, detailed illustrations, photo to vector, multi-layer print files. Finished by hand by our team and checked before delivery.
PES carries colours; DST does not
This is the practical difference between the two formats and it decides which one you want. A Tajima DST stores stitch coordinates and colour-change commands, nothing else: which thread goes where depends entirely on what is loaded on the machine, which is why a DST arriving without colours is normal rather than broken.
A Brother PES carries a thread palette alongside the stitches, so the design shows in colour on the machine screen and the operator sees what was intended. On a shop floor running several jobs, that removes a whole category of mistake.
The stitches themselves are generated identically for DST, PES and JEF. Only the container differs.
What you get, and what you should not expect
Sized for a Brother home hoop first. The photo or logo is traced, then scaled into the 4x4 in field that SE600, SE700 and PE535 owners sew on, keeping 5 mm free on every side, and only then are the stitches laid out. A picture that would stitch with its short side under 5 mm is turned down: no PES is written and you are not charged. The full reasoning is on SVG to DST.
Left to a digitizer: satin columns that change width, pull compensation, density tuned shape by shape.
Good fit: a club or company logo for a polo or a cap, needed on the Brother today. Poor fit: work where the satin itself is what the customer pays for.
If your artwork is already vector, use SVG to PES. If you also need the logo for a screen print or a supplier quote, take the SVG or EPS from the same conversion rather than converting twice.
What Do Users Ask About This Converter?
9 questions about Image to PES conversion
Brother and Babylock, which between them cover most home and small commercial embroidery machines. PES carries a thread palette, so unlike Tajima DST your colours appear on the machine screen instead of anonymous colour stops. For commercial multi-heads use DST; for Janome, Elna and Kenmore use JEF.
Only after a trace. A Brother cannot stitch pixels: it needs outlines to fill and lines to follow, so the JPG is redrawn as shapes before any PES exists. That is why a sharp, high-contrast picture matters more to the result than any option on this page.
Aim for at least 500 pixels across the logo. Smaller pictures trace with wobbly edges, and the stitching copies every wobble onto the shirt. When the customer only has a thumbnail, the original vector often still sits with whoever printed their cards or signs.
For a bold logo on a polo or a cap, it often does the job. When the stitch work itself is what the customer pays for, such as fine script or narrow borders, hire a digitiser: this engine lays running stitches, zigzag fills and underlay, without width-varying satin or pull compensation.
None: the PES is sized inside the conversion. The traced shapes are scaled into the hoop before a single stitch is placed, so stitch length and row spacing are true at the size that sews, whatever size the JPG claimed. The default is the 4x4 in field (100 x 100 mm), the Brother SE600/SE700/PE535 size, with 5 mm of clearance per side. What still applies is the opposite: never rescale the PES afterwards, on the machine or anywhere else, because that changes the density rather than the design.
Below roughly 4 mm of cap height, embroidered letters fill in whatever the file says, because the thread itself has width. That is a physical limit, not a conversion fault. Raise it at the quote rather than at the sample.
Upload the JPG on this page. It is traced into clean shapes, fitted to the 4x4 in field of a Brother SE600, SE700 or PE535, and stitched. Check the free preview and the stitched size, then download the PES.
Yes. The trace and the stitches are made online on this page, with nothing to install. For lettering or satin borders, digitizing software or a digitizer still does better.
The picture is simplified into flat areas before it is stitched: gradients and soft shadows become a few solid shapes, and specks too small for thread are dropped. Compare the free preview with the JPG before you pay.
Where Can You Learn More About Image to PES Conversion?
If embroidery is your business, you are probably paying per file.
An outside art service charges 6 to 26 dollars a logo and comes back the next day. Redrawing it yourself costs half an hour you could bill. A year here is $49 for 25 conversions every month, every machine format included, which works out cheaper than two outsourced logos.
Everything on this page stays free. This is only worth it if you do volume.