
PNG to Laser-Ready Vector: A Beginner's Guide
Brand new to laser cutting? Here's exactly how to turn a PNG image into a vector file your laser can cut. No design experience needed.
Founder of VectoSolve
Self-taught developer, founder and sole developer of VectoSolve since 2024. He builds the conversion engine and the cutting, embroidery and 3D printing exports.
How this article was made: drafted with AI assistance, then edited and fact-checked before publication. About the author
Try it on your own file, in Laser mode
Free preview, no signup. Drop an image and see the vector before deciding anything.
You just got a laser cutter (or you're using one at a makerspace) and you've found a PNG image you want to cut. Maybe a logo, an icon, a design you downloaded from a free SVG site that turned out to be PNG.
Your laser refuses the PNG. Every YouTube tutorial says "you need a vector file." But what does that mean and how do you make one?
This guide is for you. No assumed design knowledge. No software you have to install (everything works in browser). No paid tools required for the first try.
Why your laser needs a vector file (60-second explanation)
A PNG (or JPG) is made of pixels. A 100×100 PNG has 10,000 little colored squares. Your laser cutter has no idea what to "cut" in that — it would have to interpret which pixels form a line and which are background.
A vector file (SVG, DXF) is made of paths. A path says "draw a line from point A to point B, then curve to C." Your laser cutter reads the paths directly: it traces them with the laser beam.
Converting from PNG to vector is called vectorization or tracing. It's the only step you need to learn.
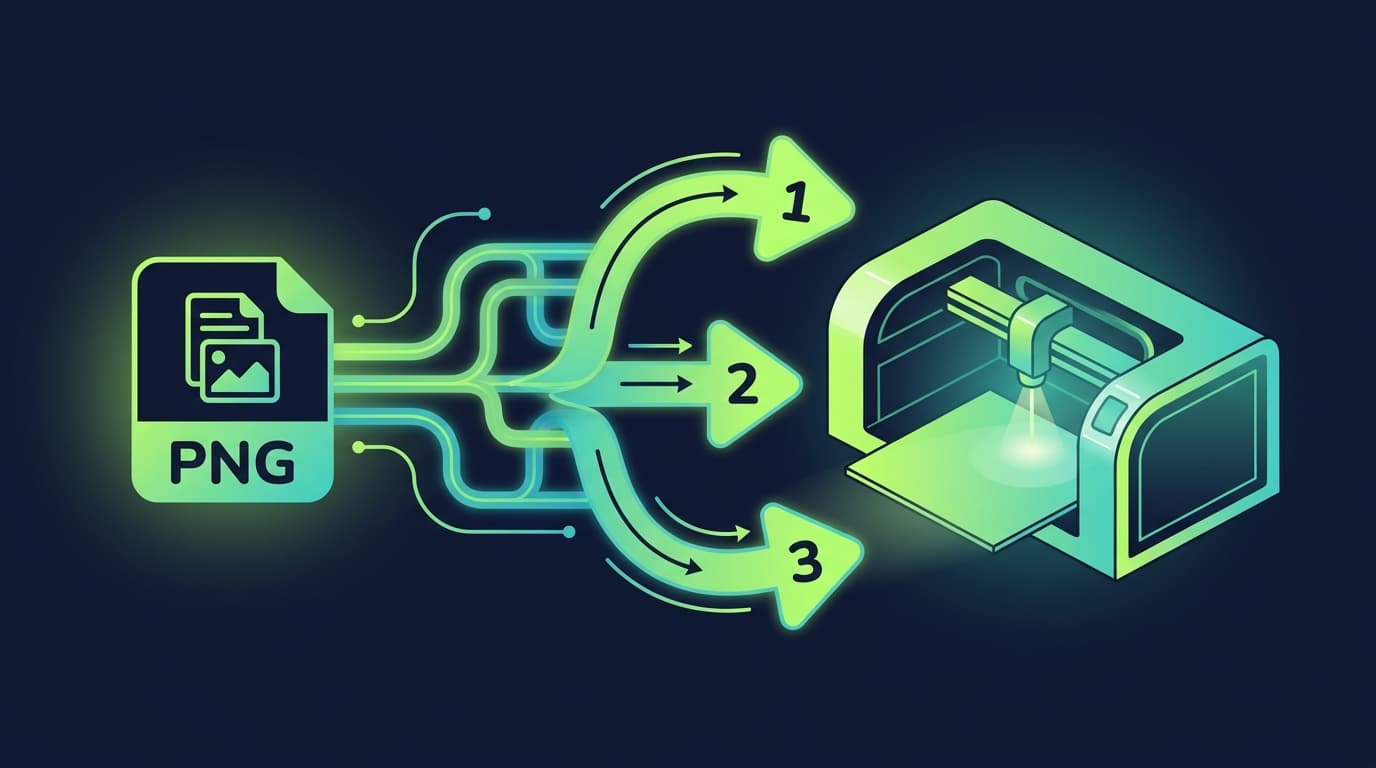
The 3-step workflow
Here it is, end to end:
1. Get a clean PNG (good lighting, plain background)
2. Vectorize it (5 seconds with the right tool)
3. Send the resulting SVG/DXF to your laser
That's the whole thing. Each step has nuances we'll cover, but the core is just three things.
Step 1: prepare your PNG
The quality of your output is determined by the quality of your input. Spend 1 minute getting a good PNG and you'll save hours of cleanup.
A good PNG for laser conversion has:
✅ High contrast — The design is clearly different from the background. Black on white is ideal. Dark gray on light gray is hard.
✅ Sharp edges — No motion blur, no defocus, no JPEG compression artifacts.
✅ Reasonable size — At least 1000 pixels on the long side. Most phone photos are 4000+ pixels which is plenty.
✅ Plain background — White, transparent, or solid color. Busy backgrounds get traced as part of the design.
❌ Avoid: screenshots of low-quality images (tracing the artifacts), photos taken at angles (trapezoidal designs), images with watermarks (they'll get cut too).
If your PNG is bad:
- Re-shoot or re-download a better version
- Crop tightly to just the design
- Remove the background using VectoSolve's free background remover or remove.bg
A Full Year of Conversions for $49
Starter Annual: 25 conversions every month, $49 for the whole year. That is about $4.08 a month · Cancel anytime
Get the Annual DealStep 2: vectorize
Drop your PNG into a vectorization tool. Three options ranked by ease:
Option A: AI vectorizer (recommended for beginners)
VectoSolve's image-to-vector converter is built for this exact use case:
- Drag your PNG to the page
- The "Laser/CNC" preset auto-applies (you'll see "✦ Laser preset" highlighted)
- Wait 5 seconds
- Download the SVG (and DXF, PNG, PDF — all included)
The output is laser-ready by default. No cleanup needed for most designs. The preview is free, no signup.
Option B: Inkscape (free, more control, longer)
- Download Inkscape (free, open-source)
- File → Import → your PNG
- Path → Trace Bitmap → Apply
- Path → Simplify (Ctrl+L) — repeat 3-5 times
- File → Save As → SVG
This works but takes 10-15 minutes for a beginner and produces files with way more nodes than the AI tools. Cleanup is needed for clean cuts.
Option C: Adobe Illustrator (paid, professional)
If you have Illustrator: Object → Image Trace → Make. Adjust sliders. Object → Expand. Save As → SVG. Takes 5 minutes once you know it.
For a beginner, option A is the right choice. Move to B or C later when you want more control.
Step 3: send to your laser
Open your laser cutter's software and import the SVG you just made. The exact menu varies:
| Laser | How to import |
|---|---|
| Glowforge | Drag SVG to the web app |
| xTool D1/M1/S1 | xTool Creative Space → File → Open |
| K40 / OMTech | LightBurn → File → Import |
| Snapmaker | Luban → File → Open |
| Generic GRBL | LaserGRBL or LightBurn → Import |
Then:
- Position the design on the bed (drag in the preview)
- Set the size to your real-world target (e.g., 100×100mm)
- Choose material (Glowforge auto-detects; others manual)
- Set power/speed per material (if not auto)
- Hit "Print" or "Start"
Your laser will trace the vector paths with the beam. For a typical small design (5×5cm), cutting takes 1-3 minutes.
Beginner mistakes to avoid
1. Cutting on the wrong material. Don't cut PVC (toxic fumes). Don't cut vinyl (chlorine gas). Don't cut painted/coated wood without knowing the coating. Stick to plywood, MDF, cardboard, leather, untreated wood, or laser-safe acrylic.
2. Forgetting eye protection. Even closed-bed lasers (Glowforge, xTool M1) leak some IR. Always have laser safety glasses for that wavelength on hand. Open lasers (K40, xTool D1) MANDATE glasses while running.
3. Walking away during a cut. Laser cutters can start fires, especially on cardboard or thin acrylic. Stay in the room. Have a fire extinguisher within reach.
4. Cutting at full power on first try. Always run a 10mm test square at progressively higher power until you find the minimum that cuts cleanly. Wasted material and wasted time if you cut at 100% when 60% would have worked.
5. Skipping focus. If your laser supports auto-focus, use it. If manual, use the focus tool every time you change material thickness. An out-of-focus laser is at 50% effective power.
Free SVG Tools for Crafters
Design Checker · Color Separator · Mat Preview · Offset Generator · Text to SVG
Check Your SVG FreeWhat "laser-ready" really means
When tools (or this guide) say "laser-ready," they mean the SVG/DXF satisfies these criteria:
✅ Single-stroke paths — each line is one path, not two parallel lines forming a "thick" stroke
✅ No overlapping paths — the laser doesn't cut the same line twice
✅ Closed shapes if you want to cut out a piece (not just outlines)
✅ Reasonable node count — under 1,000 for typical designs
✅ Proper colors if your laser uses color-coded operations (Glowforge especially)
The VectoSolve laser preset handles the first three automatically. Color-coding is a manual step in Inkscape if your laser needs it.
Your first cut: a checklist
For your very first laser cut from a PNG:
- ✅ Pick a small, simple design (logo, icon, geometric shape)
- ✅ Use scrap material — cardboard or 2-3mm cheap plywood
- ✅ Vectorize at VectoSolve (laser preset auto-applies)
- ✅ Import to your laser software
- ✅ Set size to 50×50mm (small enough to be quick, big enough to see results)
- ✅ Use conservative power (50% on the first attempt)
- ✅ Stay in the room, eye protection on
- ✅ When done, examine the cut: clean edge or burnt? Test different power/speed if needed.
- ✅ Once dialed in, cut your real design on real material
Total time for your first cut from PNG to physical object: 30-45 minutes including learning. After that, repeat cuts of similar designs take 5-10 minutes.
TL;DR
PNG → laser cut in 3 steps:
- Get a clean PNG (high contrast, sharp, plain background)
- Vectorize at vectosolve.com/svg-for-laser-cutting — 5 seconds, laser preset auto-applies
- Import the SVG to your laser software, set size and power, cut
No design skills needed. No software install. The preview is free.
Related: