
SVG Files for Cricut & Silhouette: Cut-Ready in Minutes (2026)
Master SVG file creation for Cricut and Silhouette. Learn how to convert any image to a clean cut file — works with Design Space and Silhouette Studio.
Founder and developer of VectoSolve
Self-taught developer who founded VectoSolve in 2024. He builds the conversion engine and the cutting, embroidery and 3D printing exports, working with the VectoSolve team of graphic designers.
How this article was made: drafted with AI assistance, then edited and fact-checked before publication. About the author
Try it on your own file, in Cricut mode
Free preview, no signup. Drop an image and see the vector before deciding anything.
Key Takeaways
- Silhouette Studio Basic does NOT open SVG files — you need the paid Designer Edition upgrade. Design Space handles SVG natively for free.
- SVG paths must be closed, ungrouped, and color-separated for reliable cuts on both machines.
- Always test your SVG in both platforms before selling — what works in one may break in the other.
- VectoSolve generates cut-ready SVGs with clean closed paths that import into both platforms.
Making a gift this week? See how to turn a photo of Dad into a Cricut gift in 10 minutes before Father's Day.
Cricut and Silhouette: What to Know About SVGs
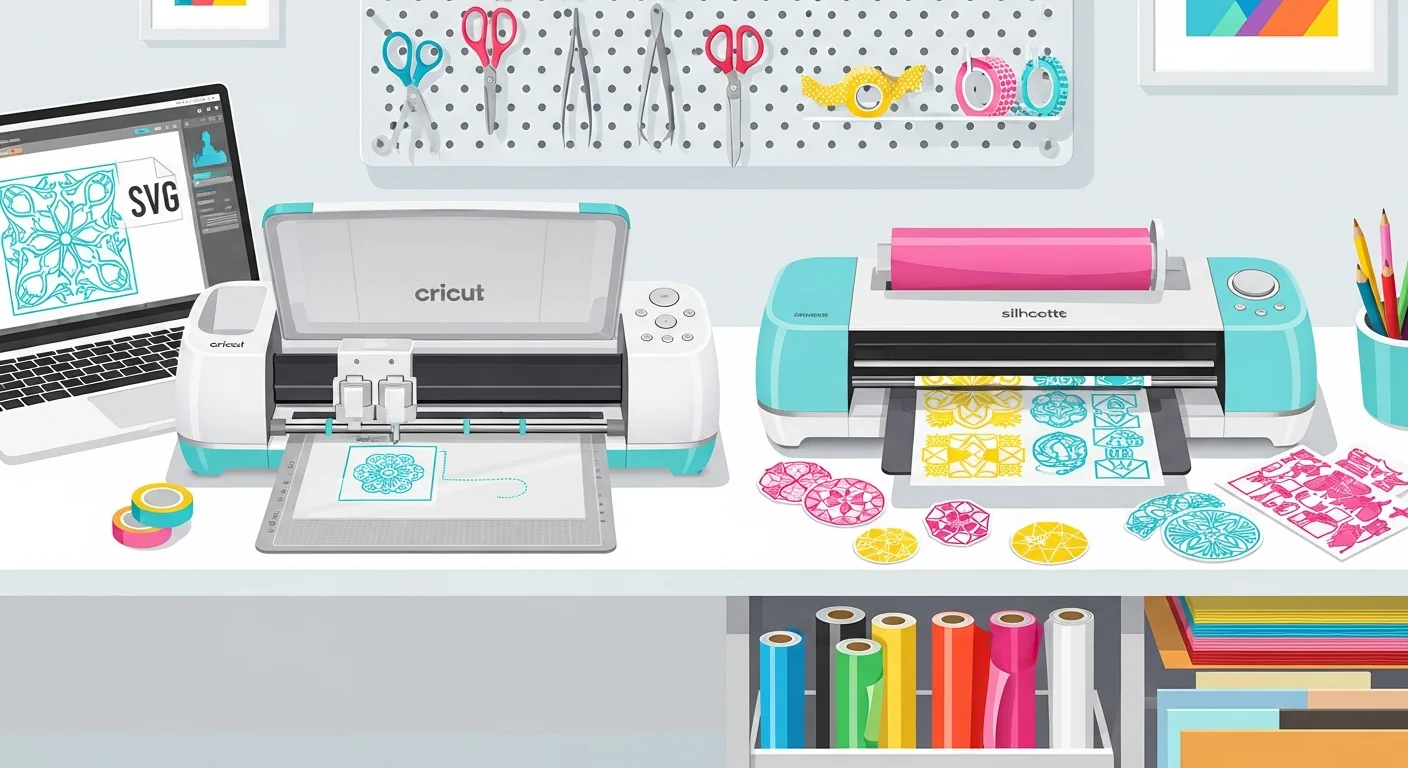
This guide covers how Cricut machines (such as the Maker 3) and Silhouette machines (such as the Cameo 4) handle SVG files differently, and what that means for your workflow whether you're crafting for fun or selling designs on Etsy.
Design Space vs Silhouette Studio: SVG Handling Compared
Here is how the two programs handle SVG files.
| Feature | Cricut Design Space | Silhouette Studio |
|---|---|---|
| SVG support | Free, built-in | Requires Designer Edition (paid upgrade) |
| Import method | Upload > Upload Image > SVG | File > Open or File > Import |
| Auto-layer detection | Groups by color automatically | Keeps original layer structure |
| Path handling | Converts strokes to fills on import | Preserves strokes as cut lines |
| Text in SVG | Must be outlined to paths | Must be outlined to paths |
| Compound paths | Handles well | Occasionally splits them |
| Max file size | ~3 MB recommended | No hard limit, complex files lag |
| Offline editing | No (cloud-based) | Yes (fully offline) |
| Boolean operations | Weld, Slice, Flatten, Attach | Weld, Subtract, Intersect, Divide, Crop |
Design Space is cloud-based — your SVG is re-processed on Cricut's servers every upload. Silhouette Studio keeps everything local, making it noticeably faster for test-edit-test cycles.
SVG Requirements for Each Machine
Cricut Design Space
- Closed paths only — open paths show as score lines or get ignored
- No strokes — convert strokes to filled paths before export (Design Space auto-converts them, often badly)
- Colors = layers — each unique fill color becomes a separate cutting mat
- Text must be outlined — live text won't render; convert to paths in your editor
- Include a proper
viewBoxattribute or sizing will be unpredictable
Silhouette Studio
- Closed paths for cutting — open paths become cut lines (useful or disastrous depending on intent)
- Strokes are preserved — a stroke becomes a cut line, a fill becomes a shape
- Grouping is respected — Studio keeps your SVG's group hierarchy intact
- No embedded rasters — Studio imports them but can't generate cut lines from pixels
- Simple path data preferred — paths with thousands of nodes slow the software significantly
Warning: Silhouette Studio Basic Edition does NOT support SVG import. You need Designer Edition ($49.99 one-time in January 2026) at minimum. This catches many new owners off guard. If you sell SVGs, always include a DXF version for Basic Edition users.
A Full Year of Conversions for $49
Starter Annual: 25 conversions every month, $49 for the whole year. That is about $4.08 a month · Cancel anytime
Get the Annual DealStep-by-Step: Importing SVGs into Both Platforms
Cricut Design Space
- Start a New Project, click Upload > Upload Image, select your SVG
- Preview — verify all elements are visible and colors look correct
- Choose Cut Image, click Upload, then Add to Canvas
- Ungroup to access individual layers, assign colors with the color picker
- Attach elements that must cut together on the same mat
- Click Make It, verify mat previews, and send to your machine
Silhouette Studio
- Go to File > Open, select your SVG (Designer Edition required)
- Check the Cut Settings panel to verify cut lines are on the correct paths
- Ungroup via Object > Ungroup to access individual elements
- Assign line colors for cut-by-color workflow
- Open the Send panel, choose your material preset, adjust blade/speed/force
- Load your mat and click Send to begin cutting
Material Settings Cross-Reference
These are common starting settings for both machines:
| Material | Cricut Setting / Pressure | Silhouette Blade / Speed / Force |
|---|---|---|
| Adhesive Vinyl (Oracal 651) | Vinyl / Default | Blade 1 / Speed 5 / Force 5 |
| HTV (Siser EasyWeed) | Iron-On / Default | Blade 1 / Speed 5 / Force 5 |
| Cardstock (65 lb) | Medium Cardstock / Default | Blade 3 / Speed 3 / Force 10 |
| Cardstock (110 lb) | Heavy Cardstock / More | Blade 5 / Speed 2 / Force 15 |
| Sticker Paper | Sticker Paper / Less | Blade 1 / Speed 5 / Force 3 |
| Glitter Vinyl | Glitter Vinyl / Default | Blade 2 / Speed 4 / Force 8 |
| Faux Leather | Faux Leather / More (Maker) | Deep Cut, 10 / Speed 2 / Force 33 |
Pro Tip: Always mirror HTV on BOTH machines. Toggle Mirror on Design Space's mat preview. Check Mirror in Studio's Send panel. Forgetting this is the most common and most expensive mistake with iron-on vinyl.
Common Problems and Fixes — By Machine
Cricut Issues
| Problem | Fix |
|---|---|
| SVG uploads blank | Close all open paths and add fills — use VectoSolve SVG Editor |
| Colors merged into one layer | Assign distinct fill colors to each element before export |
| "Processing" spinner never stops | Simplify paths, reduce node count in your vector editor |
| Cut lines don't match preview | Remove all strokes, use only filled paths |
| Print Then Cut won't work | Resize to fit within 6.75 x 9.25 in limit |
Silhouette Issues
| Problem | Fix |
|---|---|
| SVG won't open at all | Upgrade to Designer Edition (one-time paid upgrade) |
| Unexpected cut lines on fills | Set fills to "No Cut" in cut settings panel |
| Compound paths split apart | Re-weld affected paths in Studio after import |
| Software freezes on complex file | Simplify paths, reduce node count before import |
| Blade cuts offset from design | Run blade calibration from the Send panel |
Free SVG Tools for Crafters
Design Checker · Color Separator · Mat Preview · Offset Generator · Text to SVG
Check Your SVG FreeConverting Your Own Images with VectoSolve
You don't need to buy SVG files for every project. If you can sketch it, photograph it, or find a PNG, you can convert it to a cut-ready SVG.
- Upload your image to VectoSolve — PNG, JPG, or a photo of a hand-drawn sketch
- AI-powered tracing converts raster to clean vector paths with optimized node counts — intelligent path optimization, not simple auto-trace
- Download your SVG with closed paths, clean color separation, and no embedded raster data
- Import into either platform and cut immediately — no cleanup needed
Customize converted SVGs with the VectoSolve SVG Editor before cutting. Browse the Templates Gallery for ready-to-cut designs you can customize instantly.
Pro Tip: Selling SVGs? Test every file in BOTH Design Space and Silhouette Studio before listing. This single habit prevents many customer support issues. Include SVG, DXF, PNG, and EPS in every download to cover all software versions.
"Crafters are the most creative problem-solvers I've ever met. Give them a cutting machine, some vinyl, and a deadline, and they'll build something nobody thought was possible.
The Bottom Line
Design Space prioritizes simplicity — great for beginners, limiting for power users. Silhouette Studio prioritizes control — more options and settings, but a steeper learning curve. Your SVGs need to work for both: clean closed paths, proper color separation, outlined text, and no hidden elements.
Starting from raster images? VectoSolve gets you to a cut-ready SVG without manual tracing. The SVG editor and templates gallery keep the whole workflow in the browser and off your craft desk.
Now go cut something beautiful.
| Feature | Cricut Design Space | Silhouette Studio (Basic) | Silhouette Studio (Designer Edition) |
|---|---|---|---|
| SVG import | Yes (free) | No | Yes (paid upgrade) |
| Max mat size | 11.5" x 23.5" | 12" x 12" | 12" x 12" (or 24" with Cameo) |
| Print-then-cut | Yes | Yes | Yes |
| Offset / outline tool | Yes | No | Yes |
| Weld / boolean tools | Yes | Basic only | Full set |