
Laser Cutting File Optimization: Paths, Layers, Kerf Compensation
Stop wasting time and material on bad files. The 7 optimizations every laser-ready file needs: node count, path direction, kerf, layer separation, and more.
Founder and developer of VectoSolve
Self-taught developer who founded VectoSolve in 2024. He builds the conversion engine and the cutting, embroidery and 3D printing exports, working with the VectoSolve team of graphic designers.
How this article was made: drafted with AI assistance, then edited and fact-checked before publication. About the author
Try it on your own file, in Laser mode
Free preview, no signup. Drop an image and see the vector before deciding anything.
A "good enough" SVG is the difference between a 5-minute cut and a 25-minute cut. Between a perfect interlocking joint and pieces that don't fit. Between one passage and three.
Most users never think about file optimization — they just send what comes out of their vector tool and hope it works. That's why their projects take longer, waste material, and produce inconsistent results.
This guide covers the 7 optimizations that matter, from biggest impact to smallest. Apply the first 3 and you'll see a measurable speed-up on every cut.
Choosing software for the final step? Compare the 10 best image to G-code converters of 2026.
The 7 optimizations, ranked by impact
1. Reduce node count (biggest cut-time saver)
Your laser cuts as a sequence of straight-line moves between nodes. More nodes = more direction changes = slower cut. A circle drawn with 8 nodes vs 80 nodes cuts in roughly the same time, but a circle with 800 nodes takes 3× longer because the laser stops to recalculate direction at each node.
Target node counts for typical designs:
- Simple logo (2-color, geometric): under 200 nodes
- Detailed illustration: under 1,000 nodes
- Complex pattern or large engraving: under 5,000 nodes
How to reduce:
- In Inkscape: select all paths → Path → Simplify (Ctrl+L). Repeat 3-5 times until you can see node count decrease without visible quality loss.
- In Illustrator: Object → Path → Simplify, slider around 80%.
- Best: use a vectorizer that produces clean output upfront. AI-based tools like VectoSolve's laser preset cap node density automatically.
Visual check: open the SVG in Inkscape, select a path, press F2 to see all nodes. If they're crowded together (less than 1mm apart on a 100mm shape), you have too many.
2. Eliminate overlapping paths (quality + safety)
When two paths overlap, the laser cuts the same line twice. Best case: minor burn marks. Worst case: through-cut on material you wanted scored, or fire risk on flammable materials.
Common sources of overlapping paths:
- Auto-trace tools that produce inner + outer outlines for thick shapes
- Manual tracing where you closed a path but left the original open path underneath
- Imported designs from non-vector sources (DXF from CAD that include hidden geometry)
- Multiple "Save As" cycles in different formats
How to detect:
- LightBurn: Tools → Find Duplicates → Optimize / Remove
- Inkscape: select all → Edit → Find/Replace → look for paths with same coordinates
- Visual: zoom in 200%, look for places where lines appear "thicker" or have weird shadows
How to prevent:
- Use a vectorizer that explicitly outputs single-stroke (not double-edge) paths — the laser preset on AI-based tools does this by default
- After any auto-trace, run "Path → Stroke to Path" then "Edit → Combine" to merge duplicates
3. Set up cut/engrave layer separation BEFORE importing to laser software
Reassigning operations per-path in your laser software is tedious. Set up colors in your vector tool first.
Convention by software:
| Laser software | Cut color | Score color | Engrave |
|---|---|---|---|
| Glowforge | #000000 black | Any other solid color | Filled shapes |
| LightBurn | Layer 1 (default red) | Layer 2 (green) etc. | Black filled |
| xTool XCS | Per-element manual | Same | Same |
| RDWorks | Layer-based color | Same | Same |
How to set up in Inkscape:
- Open your SVG
- Select all paths that will CUT → set stroke to your cut color (#000000 for Glowforge), stroke width = hairline (0.001mm), no fill
- Select all paths that will SCORE → set stroke to red (#FF0000), no fill
- Select shapes that will ENGRAVE → set fill to black, no stroke
- Save As → Plain SVG
5 minutes of setup saves you 5 minutes per use of the file. Worth it for any file you'll cut more than once.
4. Apply kerf compensation for interlocking joints
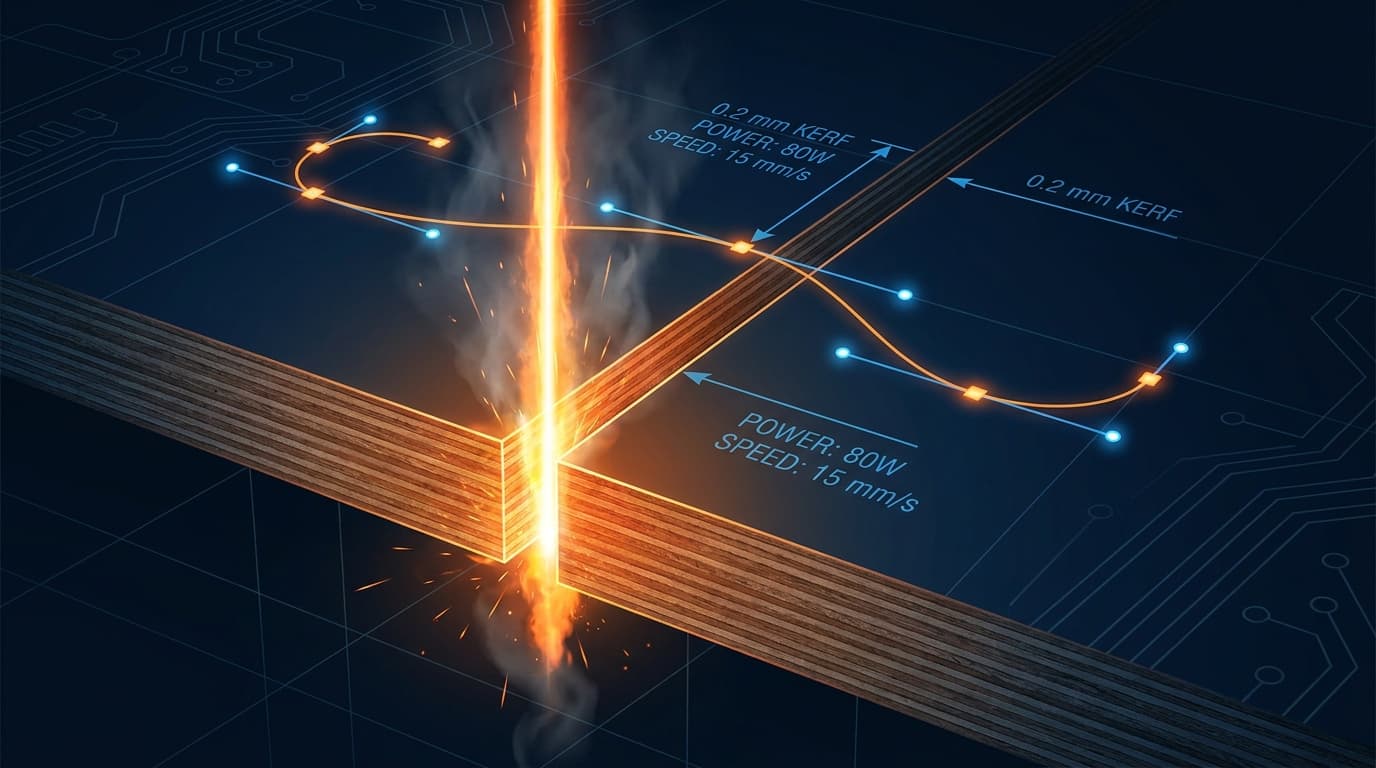
Your laser doesn't cut a hairline — it cuts a slot 0.1-0.3mm wide depending on focus, material, and laser type. If you design a 10mm × 10mm slot to fit a 10mm × 10mm tab, the tab will fall through because the slot is actually ~10.2mm × 10.2mm after cutting.
Typical kerf widths:
- Diode laser (xTool D1, OMTech Polar) on plywood: 0.10-0.15mm
- CO2 laser (Glowforge, OMTech 60W) on acrylic: 0.20-0.30mm
- CO2 laser on plywood: 0.15-0.25mm
How to compensate:
- Inner shapes (slots, female parts): expand by half the kerf
- Outer shapes (tabs, male parts): shrink by half the kerf
- For 0.2mm kerf: tabs become 9.9mm to fit 10mm slots
In Inkscape: Path → Inset / Outset (controls in Object Properties → Stroke). The amount is in your document units.
In LightBurn: built-in kerf offset per layer (Layers panel → "Kerf Offset" field). Lets you keep the design true-size and apply compensation at cut time.
For VectoSolve files: kerf compensation isn't applied automatically — your design stays true to the source. Apply compensation in your laser software at cut time.
5. Optimize cut order (LightBurn / RDWorks)
The default cut order is "as imported," which often zig-zags across the bed pointlessly, wasting time on travel moves.
LightBurn: Optimize Cut Path settings (Window → Optimize) lets you set:
- "Inner shapes first" (cuts holes before outer borders so material doesn't shift)
- "Reduce travel" (groups nearby paths)
- "Order by layer color"
For typical files, "Inner first → Reduce travel" gives a 20-40% time saving on travel.
RDWorks: similar options under Config → Path Optimization.
Glowforge / XCS: cut order is automatic and not user-controllable. Workaround: split your design into multiple jobs to control the order yourself.
6. Match design size to material before cutting
The "obvious" mistake but the most common: importing a design at the wrong scale.
SVG without explicit units imports at 1 unit = 1 pixel = 0.265mm (96dpi). Your 1000px-wide design becomes 265mm = bigger than most laser beds.
Always check size in import dialog:
- Glowforge: design appears in real-world size on the bed preview
- LightBurn: shape Properties panel shows W/H in mm or inches
- XCS: dimension box in top-right after import
Best practice in vector tool: set document units to mm before exporting. In Inkscape: File → Document Properties → Units → mm.
For VectoSolve outputs: SVG dimensions are explicit (mm/px in the SVG header). LightBurn and Glowforge handle them correctly. XCS sometimes needs manual resize.
7. Remove hidden objects, off-canvas elements, and metadata
Hidden bloat in your SVG can confuse laser software:
- Hidden layers (Inkscape: Layer → Show/Hide all → make sure all visible)
- Off-canvas shapes (you moved a working draft outside the page boundary, forgot to delete)
- SVG metadata, Inkscape extensions, embedded thumbnails
Quick cleanup:
- Inkscape: File → Save As → Plain SVG (strips most metadata)
- Better: File → Clean Up Document (removes unused defs)
- Best: open the SVG in a text editor, delete
<metadata>,<sodipodi:*>, and<inkscape:*>tags manually for the smallest file
For most workflows the size of the file doesn't matter, but Glowforge has a 25MB upload limit and complex SVGs with embedded data can hit it.
Quick checklist before every cut
Run through this in 30 seconds before sending to your laser:
- Node count under target? (Use Inkscape's status bar: select all paths, see node count)
- No overlapping paths? (LightBurn: Find Duplicates)
- Correct stroke colors for cut/score/engrave? (Glowforge users especially)
- Stroke widths set to hairline? (Default thick strokes confuse some software)
- Design size matches what you'll cut? (Real-world dimensions)
- No hidden layers or off-canvas shapes? (Clean SVG)
- Test cut on scrap planned? (Always)
What VectoSolve does automatically
The laser preset on VectoSolve handles 4 of these 7 optimizations by default:
- ✅ Node count capped (target: 1 node per 2-5mm of curve)
- ✅ No overlapping paths (single-stroke output guaranteed)
- ✅ Hidden objects removed (clean SVG output)
- ✅ Pure black strokes (Glowforge-compatible)
- ❌ Layer separation (still manual in Inkscape after download)
- ❌ Kerf compensation (still manual in your laser software)
- ❌ Cut order optimization (handled by laser software at runtime)
So you save the 5-15 minutes of node cleanup and overlap removal, but you still own the layer setup and kerf compensation if your project needs them.
A Full Year of Conversions for $49
Starter Annual: 25 conversions every month, $49 for the whole year. That is about $4.08 a month · Cancel anytime
Get the Annual DealTL;DR
The 3 highest-impact optimizations:
- Reduce node count to under 1,000 for a typical design (faster cuts)
- Eliminate overlapping paths (quality + safety)
- Set up cut/score/engrave layer colors in your vector tool before importing
The other 4 (kerf, cut order, size, cleanup) matter for specific cases but aren't universal. Apply them when needed.
VectoSolve's laser preset handles the first 3 automatically — drop in any image, get a laser-ready SVG/DXF in 5 seconds with optimized nodes, no overlaps, clean colors.
Related: