
Guide for makerspaces, libraries and classrooms
From a Picture to a Machine File: A Reference for Makerspaces
Last checked on November 4, 2026
A patron walks in with a logo on a phone, a child's drawing or a photo of a dog, and wants it cut in vinyl, engraved on wood or stitched on a tote bag. The picture is made of pixels; the machine needs lines, toolpaths or stitches. This page lists what each machine reads, the free way to get there, when the free way is not enough, and five real conversions with the numbers read from the files.
Which file each machine reads
| Machine | Software | File it needs |
|---|---|---|
| Cricut | Design Space | SVG or DXF for cut linesA PNG or JPG can be uploaded too, but Design Space then traces it itself, one layer only. |
| Silhouette | Silhouette Studio | DXF in the Basic edition, SVG from the Designer editionThe most common "my SVG will not open" question: the free edition does not read SVG. |
| Laser (Glowforge, xTool, OMTech) | Glowforge app, xTool Creative Space, LightBurn | SVG or DXF for cut and score linesA JPG or PNG is fine for a photo engrave; cut lines need a vector. |
| CNC router | VCarve, Carbide Create, Easel, Fusion | DXF or SVG, then G-codeThe CAM program turns the vector into toolpaths; the machine runs the G-code. |
| Embroidery machine | Brother, Janome, Tajima | Stitch files: PES, JEF, DSTA vector is not a stitch file: it has to be digitized (Ink/Stitch does it in Inkscape). |
| 3D printer | Bambu Studio, PrusaSlicer | SVG to extrude, 3MF for several colorsA 3MF keeps one part per filament color. |
More formats, machine by machine: file formats by machine.
The free route: trace the picture in Inkscape
Inkscape is free and open source, and it is what most lab guides already teach. For a clean picture with few colors, it is all you need.
- File > Import the PNG or JPG, and click it to select it.
- Path > Trace Bitmap (Shift+Alt+B).
- Choose Single scan with Brightness cutoff for a one-color cut, or Multiple scans with Colors for a layered design, then click Apply.
- Move the traced result aside and delete the original picture underneath it.
- If the shape has thousands of nodes, Path > Simplify (Ctrl+L) once. Too many nodes is what makes cutting software slow or refuse a file.
- File > Save As > Plain SVG, or DXF for Silhouette Studio Basic.
Embroidery: a vector is not a stitch file
An embroidery machine reads stitches, not shapes. Ink/Stitch, a free extension for Inkscape, turns the traced shapes into fill and running stitches and saves PES, JEF or DST. Expect fills and outlines, not the satin columns a professional digitizer sets by hand: fine for a patch, a tea towel or a cap, not for a dense logo on a polo.
When the free trace is not enough
Trace Bitmap follows pixels, including the noise. It struggles with the pictures people actually bring: a blurry screenshot, a logo copied from a website at 200 pixels wide, a phone photo with a background, JPEG blocks around every edge. That is where an AI vectorizer helps: it redraws the shapes instead of following each pixel, and removes the background.
VectoSolve is one of these tools, and the one this page is written by. It shows a watermarked preview of your own picture without an account; downloading the file needs a plan. In our logs, from 5 October to 3 November 2026, a conversion took 7 to 11 seconds at the median on each of our 7 machine converter pages, and 95% of them finished within 32 seconds. It writes SVG, DXF, G-code, PES, DST, JEF and 3MF from the same upload. If your picture is clean, Inkscape will do the job for free.
Five real conversions, measured
Each example below is a real conversion made with the settings of one of our pages. The picture on the right is drawn from the output file itself, not retouched, and the numbers are read from that file. Each one says what the file does not do.
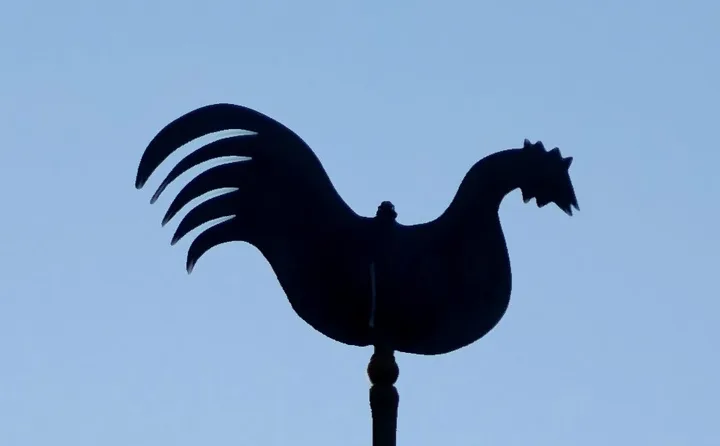
The photo
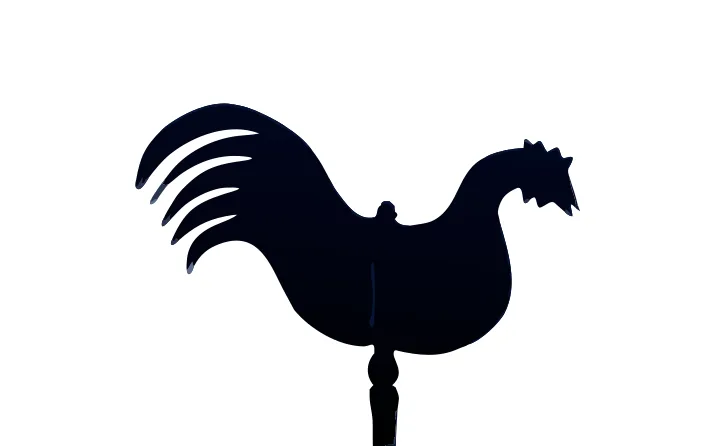
The SVG, sky removed
A real photo, and the cut file this page made from it
- The sky is removed, only the rooster is left
- 17 shapes in 4 shades of navy
- Opens in Cricut Design Space and Silhouette Studio
Limit: Design Space shows each shade as its own layer: select them all and Weld to cut the rooster from one sheet of vinyl.
Converted on 2 Oct 2026 with the settings of the Cricut and Silhouette page. Photo: Helge Klaus Rieder, Wikimedia Commons, CC0.
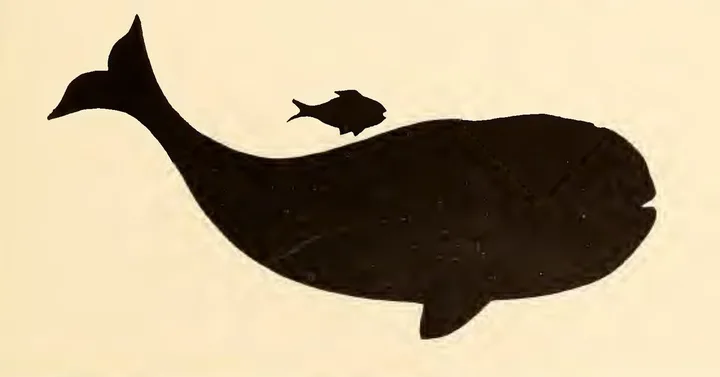
A scan from a 1914 book
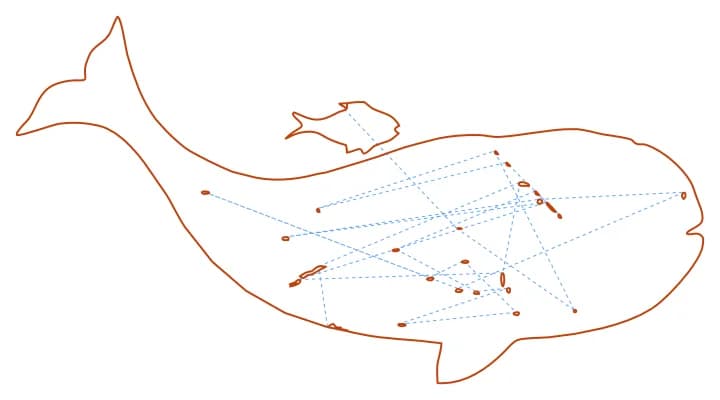
The G-code, move by move
A scan from a 1914 book, and the G-code this page wrote
- 28 closed cut paths, 946 mm of cutting
- 26 of those paths are specks of the old paper, under 10 mm
- 245.9 x 131.3 mm before you scale it
- GRBL G-code: LightBurn, LaserGRBL, UGS, Candle
Limit: The converter traces what is printed, specks included: delete the small loops in LightBurn before you cut, or start from a cleaner picture.
Converted on 2 Oct 2026 with the settings of the Laser G-code page. Scan: "Silhouettes to Cut in School", 1914, public domain.
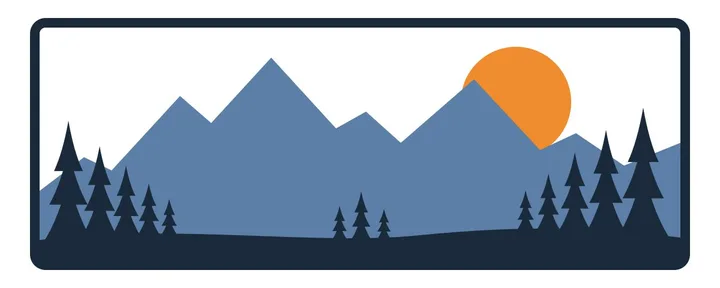
A JPG design
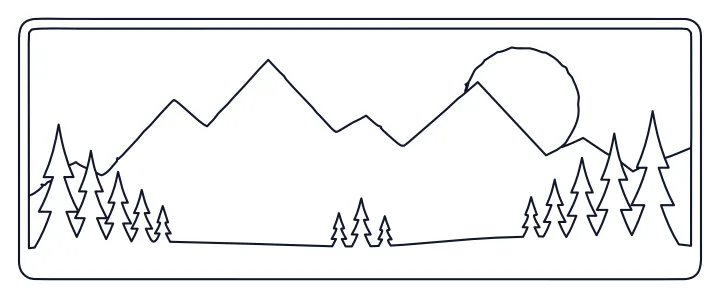
The DXF, line by line
A JPG design, and the DXF this page wrote
- 9 closed outlines on 3 layers, one per colour
- Units in millimetres: 291 x 111.2 mm
- R12 DXF: LightBurn, Inkscape, Fusion 360, AutoCAD
Limit: The size comes from the pixels of your picture: set the real width in your software before you cut.
Converted on 28 Sep 2026 with the settings of the DXF page. Design drawn by VectoSolve for this example.
The photo
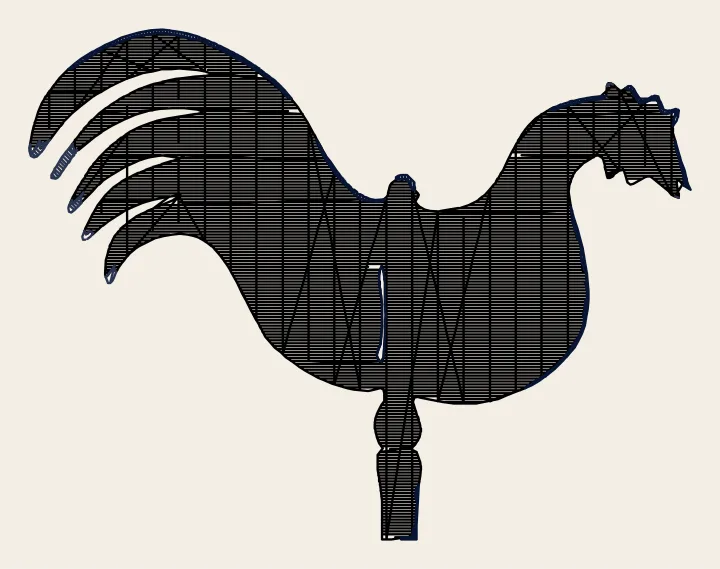
The DST file, stitch by stitch
A real photo, and the stitch file this page made from it
- 5,940 stitches, 3 thread colours
- 90 x 69.3 mm, fitted to a 4x4 in hoop
- About 8 minutes on a home machine
Limit: Running stitches and zigzag fills, not hand-made satin columns: right for a patch, a tea towel or a cap, not a professional digitizing job.
Converted on 2 Oct 2026 with the settings of the Embroidery page. Photo: Helge Klaus Rieder, Wikimedia Commons, CC0.
The photo
The 3MF, seen from above
A real photo, and the 3MF this page made from it
- 4 parts, one per colour, numbered for your AMS
- Closest Bambu PLA Basic: Beige, Turquoise, Black
- 100 x 105.8 mm, about 23.2 g of PLA
- Opens in Bambu Studio and OrcaSlicer
Limit: Bambu Studio does not pick the filaments for you: match parts 1 to 4 to your AMS slots before you print.
Converted on 1 Oct 2026 with the settings of the 3D printing page. Photo: Peter Cooper Jr., Wikimedia Commons, CC0.
Two free checks before you cut
- Is my SVG cut-ready? Finds an embedded picture where there should be paths, open paths, missing units and live text, in the browser, before they waste a sheet of vinyl.
- DXF unit and size checker. The usual reason a laser or CNC part comes out 25.4 times too big or too small: the file does not say its units, and the software read millimeters as inches, or the other way round.
For lab staff and teachers
You are welcome to link this page from your lab guides, print it, or show it in a class. The example pictures are public domain or CC0, or were drawn by us; the credit is under each one. If something here is wrong for your machine, tell us through the contact page and we will correct it. Schools and student plans: VectoSolve for education.
How the numbers were measured: conversion times come from our own event logs (5 October to 3 November 2026, bots excluded), from the click on Convert to the result on screen. The stitch, path, size and color counts are read from the output files and checked by an automated test each time the converter changes. Broader usage data: image-to-vector report.