
Print Then Cut Files for Cricut, Sharp at Any Size
Blurry stickers usually start with a small image stretched to fit. Convert the picture into a vector, flatten it in Design Space, and print it sharp at the largest Print Then Cut size.
- A vector SVG, sharp at any print size
- A high-res PNG with a transparent background
- Ready to flatten in Design Space
Works with Cricut Design Space on the Explore, Maker and Joy Xtra machines.
How to make a Print Then Cut image that stays sharp
- 1
Upload the picture
Drop a PNG, JPG, a Canva export or a phone photo. The free preview shows the result before you pay.
- 2
Pick the preset
Max Detail for photos and painted art, Bold for simple graphics and text.
- 3
Download SVG and PNG
The SVG stays sharp when you resize it; the PNG has a transparent background.
- 4
Flatten and print in Design Space
Upload the SVG, select all its layers and click Flatten, size it within 9.25 x 6.75 in, then print with bleed on, load the mat and cut.
Print Then Cut limits and settings
Maximum size
On Letter or A4 paper, a Print Then Cut image can be up to 9.25 x 6.75 in (23.5 x 17 cm). Design Space shows a warning when it is larger.
Flatten
Flatten turns the selected layers into one printable image with a single cut line around it.
Bleed
Leave bleed on: Design Space prints the colors slightly past the cut line, so small offsets do not leave white edges.
Print from Design Space
The black box around the image is the registration mark the machine scans. Print it from Design Space; a PDF printed elsewhere can shift the marks.
Common Print Then Cut problems
The image prints blurry
The source is too small for the print size. Convert it to a vector here, or enlarge it first with the image upscaler.
Design Space says the image is too large
Resize it to fit 9.25 x 6.75 in on Letter or A4, or split it into two images.
The cut is off the printed edge
Run the Print Then Cut calibration in Design Space, print from Design Space, and keep the paper flat on the mat.
White edges around each sticker
Turn bleed on before printing, so the colors run under the cut line.
For sticker and label sellers
Sticker artwork that prints sharp and cuts true
Selling sticker sheets? Every design needs a crisp edge before it reaches Design Space. Convert your art here, or send a batch of designs for a quote.
Free preview of the print image, no signup. The quote prices every design before work starts.
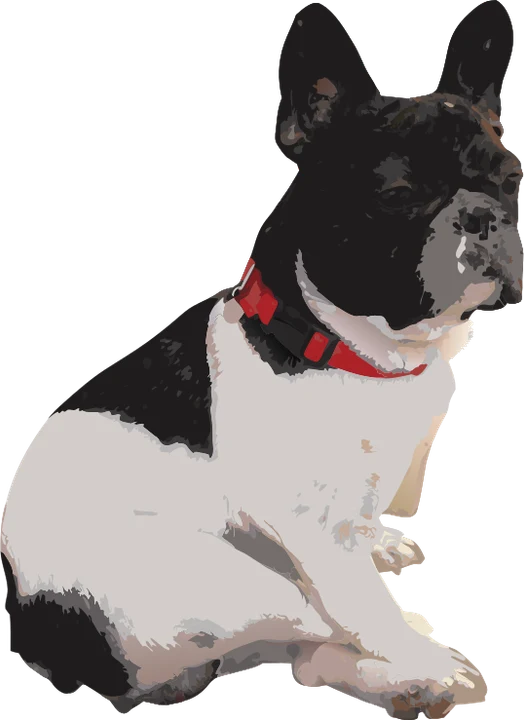
What Design Space does with each file
- SVG upload, select all layers and Flatten for Print Then Cut
- PNG upload as a print image with a transparent background
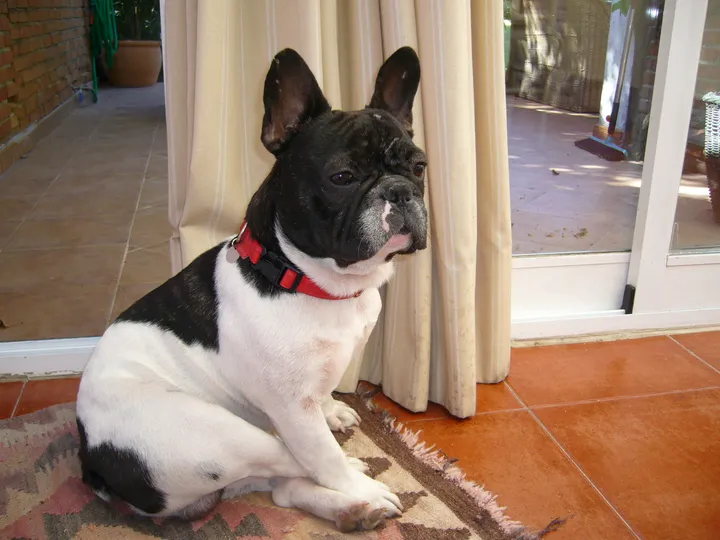
Product photos are mockups: each design is the real VectoSolve file, not retouched. Source photos are public domain or CC0. Photos: Raponchini, Doggoswoofwoof, Alex Chan and a Bulgarian Posts label, Wikimedia Commons, public domain or CC0.
Custom · On quote
Top-of-market quality for complex jobs: large-format murals, detailed illustrations, photo to vector, multi-layer print files. Finished by hand by our team and checked before delivery.
Artwork for a screen, a print or a vinyl cutter starts the same way: the image to SVG converter for any picture, the PNG to SVG converter when the shapes will be cut.
Cricut Print Then Cut FAQ
What is the maximum Print Then Cut size?
On Letter or A4 paper, 9.25 x 6.75 in (23.5 x 17 cm). Design Space offers larger page sizes on some machines; its size warning tells you when an image is too big.
Why is my Print Then Cut image blurry?
A small image stretched to sticker size shows its pixels. A vector SVG stays sharp at any size, and the PNG made from it prints clean.
Should I upload a PNG or an SVG for Print Then Cut?
Either works. The PNG prints at its own resolution; the SVG stays sharp when you resize it, and Flatten turns it into one print image.
How do I Print Then Cut a Canva design?
Download it from Canva as a PNG at the largest size, convert it here if the edges look soft, then upload the SVG or PNG to Design Space.
Which Cricut machines can Print Then Cut?
The Explore, Maker and Joy Xtra families. The original Cricut Joy does not support Print Then Cut.
More machine guides: all VectoSolve tools