
For PrusaSlicer, Cura, Creality Print and any slicer that opens STL
Image to STL, One File per Color
Upload a logo, a badge or a drawing. Get one STL per color, all lined up on a base, each numbered with its filament slot. Load them together, give each part its filament, print.
A real photo, and the STL files this page made from it
A real conversion made with this page's own settings on 5 Nov 2026. The picture on the right is drawn from the file itself, nothing retouched.
- 4 STL files, one per colour, all in the same position
- 100 x 105.8 mm, 28,576 triangles in all
- Every file is watertight: no open edge for the slicer to repair
- Load them together in PrusaSlicer, Cura, Creality Print or Bambu Studio
Flat colour regions on a base, not a sculpted model: the colours stand 0.6 mm proud of a 2 mm base by default.
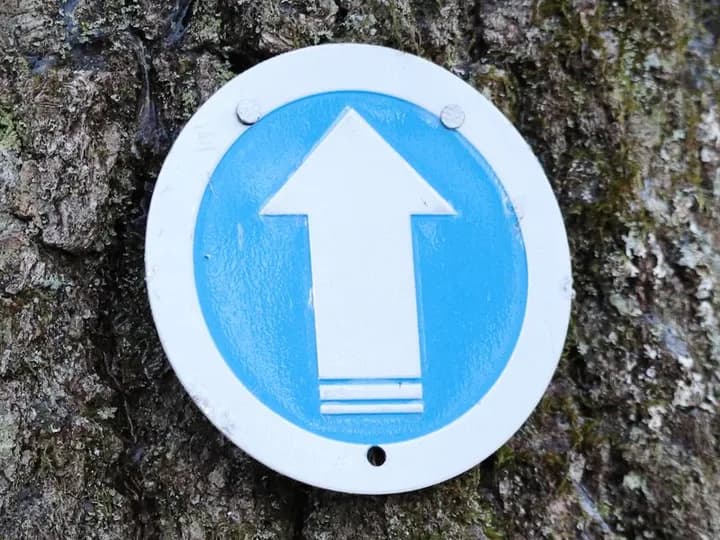
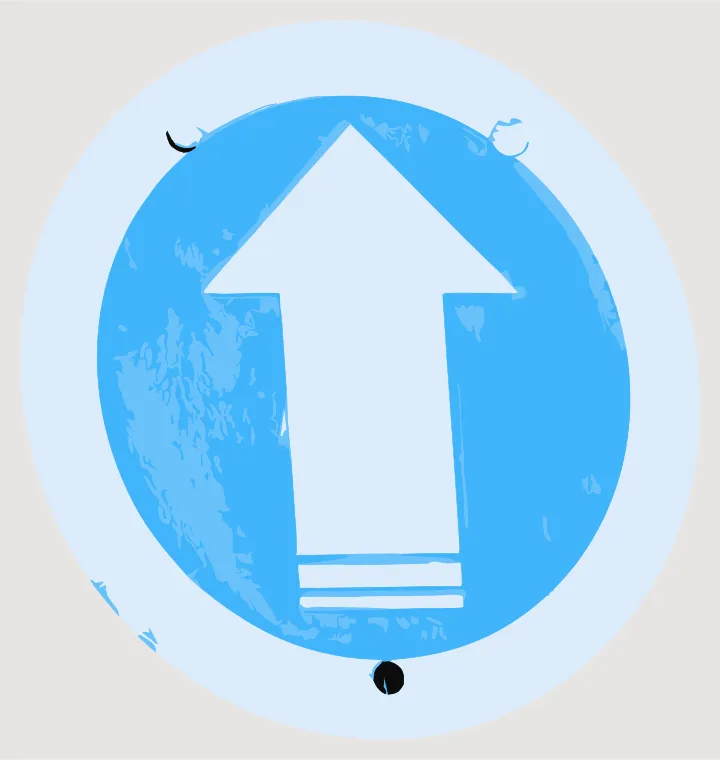
Photo: Peter Cooper Jr., Wikimedia Commons, CC0
What Is in the Download
A ZIP with one binary STL per color. All the files share the same coordinates, so they land exactly on top of each other when you load them together. Each name starts with its filament slot: 01-...stl, 02-...stl, and so on.
The same unlock gives you a 3MF for Bambu Studio and OrcaSlicer, where each color is already its own numbered part (see image to 3MF), and the clean SVG to engrave, cut or edit.
Loading the Files in Your Slicer
PrusaSlicer and Creality Print
Select all the STL files and load them at the same time. When the slicer offers to treat them as one object with several parts, accept. Then set the filament or extruder of each part from the number in its file name.
Cura
Load all the files, select them all, then use Merge Models so they stay lined up as one model. Assign each part to an extruder using the number at the start of its file name.
Bambu Studio and OrcaSlicer
You can load the STL files the same way, but the 3MF from the same download is quicker: each color is already a part numbered with its filament. Sync your AMS before slicing.
Which Images Work, and Which Do Not
The converter traces flat color areas. It does not turn shades into depth.
Good candidates
- Logos and wordmarks
- Badges, patches and signs
- Drawings and clip art with flat colors
- Name plates and keychain shapes
Not what this does
- Not a lithophane: shades do not become thickness
- Not a 3D model of an object from a photo
- Not soft gradients: they become a few flat colors
- No keychain hole in the file yet: add it in the slicer
See it before you pay
The full preview is free. You only pay once the file looks right.
Failed conversion? Credit back
If a paid conversion fails, the credit returns to your balance automatically.
Cancel in two clicks
Plans stop from your account page, no email, no phone call.
Support by email
A question about a file or a plan? Write to contact@vectosolve.com.
Image to STL Questions
What do I download?
A ZIP with one binary STL per color, all in the same coordinates, plus a short README. Each file name starts with a number, 01, 02, 03..., which is the filament slot for that part. The same unlock also gives you a 3MF for Bambu Studio and OrcaSlicer, and the clean SVG.
How do I load the STL files in my slicer?
Load all the files at once and keep them together as one object with several parts: PrusaSlicer and Creality Print offer this when you load them, and in Cura you select them all and use Merge Models. Then give each part its filament or extruder, using the number at the start of each file name.
I have a single-extruder printer. Can I still print in two colors?
Yes, as base plus relief. With the default Raised style the colors stand 0.6 mm above a 2 mm base, so you can print the base in one filament and add a filament change at the first layer above 2 mm in your slicer. Every raised color then comes out in the second filament. For more than two colors you need a multi-material printer.
Is this a lithophane or a height map?
No. A lithophane turns the shades of a photo into thickness, and this does the opposite job: it traces the image into a few flat colors and gives each color its own part. Logos, badges, drawings and clip art work best. A photo comes out simplified into flat color areas, not shades of depth. For a lithophane of a photo, use the free lithophane maker on this site: it builds the STL in your browser.
I already have an SVG. Do I need to convert it again?
No. If your design is already a clean SVG, the free SVG to STL tool on this site builds the same STL files and 3MF from it, in your browser, without tracing anything. This page is for pictures: PNG, JPG or WebP.
How many colors and what size?
You choose 2, 3, 4, 6 or 8 colors before converting, 4 by default; the closest colors are merged beyond that. You set the width in millimeters, from 40 to 200 mm, and the height follows the shape of your image. Details thinner than your nozzle can print are cleaned up, so at 40 mm wide, thin lines and small letters may disappear.
Can the colors be flush instead of raised?
Yes. The Flat face-down style puts the colors on the build plate for a smooth front, and mirrors the design in the file so it reads the right way once flipped. You can also pick the base: the outline of the shape, a rectangle, a circle, or no base at all.
How much does it cost?
The preview is free and needs no signup. The STL files and the 3MF come with the unlocked file, with no separate charge: they are built in your browser from your unlocked SVG. Current plans and prices are on the pricing page.
Current plans and prices: pricing.
Try it on your own logo
The preview is free and needs no signup.
Related guides and tools: