
Vector Conversion for Embroidery Digitizing
Digitizing starts from clean art. Upload the logo a customer sent, a small JPG, a screenshot or a photo of a shirt, and get vector art with flat colors and smooth edges, ready to import into your digitizing software or to send to your digitizer.
- Flat fill colors instead of gradients and specks
- Smooth curves with fewer nodes to stitch over
- An SVG for vector import, a PNG for auto-digitizing
Works with Ink/Stitch, Embrilliance StitchArtist and Hatch, and with any digitizer who asks for vector art.
From a customer logo to vector art for embroidery
- 1
Upload the logo or picture
Drop the PNG, JPG or WebP you were sent, even a small screenshot or a photo of an embroidered shirt. The free preview shows the traced shapes before you pay.
- 2
Compare the presets
Try Fine Detail, Balanced or Bold Fill in the free preview. The file you download is then simplified for stitching, with close shades merged and fewer nodes.
- 3
Download SVG and PNG
The SVG holds each color as filled shapes for software that imports vectors. The PNG of the same design suits auto-digitizing tools that start from a picture.
- 4
Digitize the design
Open the SVG in Inkscape with Ink/Stitch or import it into Embrilliance StitchArtist, or open the PNG in Hatch. Then set the stitch types, underlay and stitch order before you save the machine file.
What a digitizer needs from vector art
One flat color per thread
Each fill color becomes a thread in the digitizing software, and gradients or soft shadows have no stitch equivalent. This converter merges close shades into flat colors in the file you download.
Closed, filled shapes
Fill stitches need closed shapes. Ink/Stitch, for one, turns a closed path with a fill color into a fill stitch and a plain outline into a running stitch.
Stitch order follows the file
In Ink/Stitch the order of the objects in the SVG is the stitch order. Put the background shapes first and the small details last before you save the machine file.
What each program opens
Hatch Composer and Digitizer open PNG, JPG, BMP, EPS and CDR, and SVG or AI through the CorelDRAW add-on; Hatch 4 also imports DXF. Embrilliance StitchArtist imports SVG from Level 2.
Art that arrives wrong, and the fix
A tiny logo copied from a website
Enlarging it only enlarges the blur. Trace it here: the vector keeps smooth edges at any hoop size, so the digitizer works from shapes, not pixels.
Too many colors for the thread count
Gradients and photos trace into many shades. The download merges close ones; recolor the rest to your thread chart in the SVG, or match them with the thread color mapper.
Specks and stray dots around the design
Each speck would become an extra jump and tie-off. The file you download drops tiny fragments, so only shapes worth stitching reach the digitizer.
Lettering too small to stitch
Thread has a width, so hairline strokes and tiny letters do not survive at cap or left-chest size. Keep them in the vector and let the digitizer enlarge, thicken or retype them.
For embroidery shops and digitizing services
Customer logos as vector art, before the digitizing starts
Most embroidery orders start from a blurry JPG or a photo of an old shirt. Convert each logo here in seconds, or send a batch for a quote and get clean vector files, checked before delivery. We deliver the vector; your digitizer makes the stitches.
Free preview of the vector, no signup. A batch quote comes back within one business day.
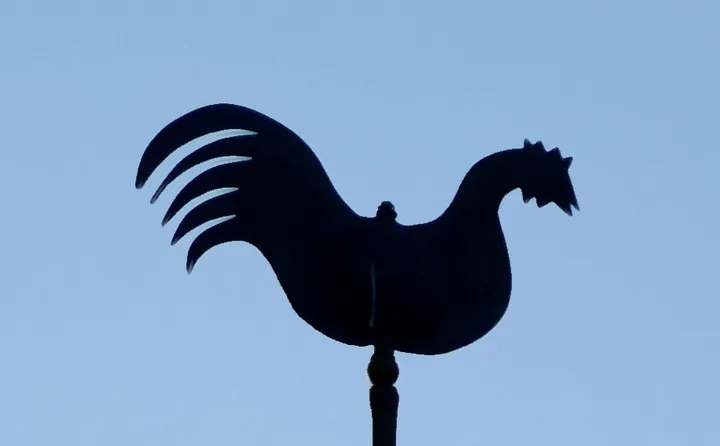
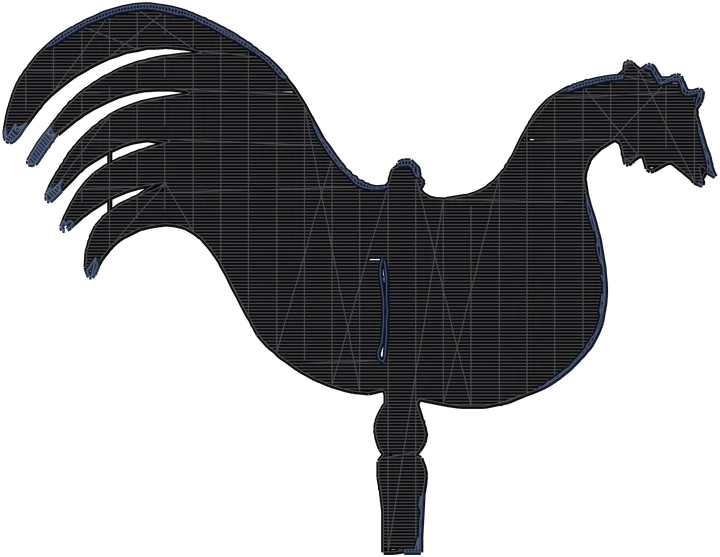
Where each file goes in the shop
- SVG Ink/Stitch, StitchArtist Level 2 and up, Hatch with CorelDRAW
- PNG auto-digitizing in Hatch and other picture-based tools
- DST Tajima machines, from the embroidery file converter on a plan
Product photos are mockups: each design is the real VectoSolve file, not retouched. Source photos are public domain or CC0. Photo: Helge Klaus Rieder, Wikimedia Commons, CC0.
Custom · On quote
Top-of-market quality for complex jobs: large-format murals, detailed illustrations, photo to vector, multi-layer print files. Finished by hand by our team and checked before delivery.
Artwork for a screen, a print or a vinyl cutter starts the same way: the AI vectorizer for any picture, the PNG to SVG converter for Cricut and Silhouette when the shapes will be cut.
Vector conversion for embroidery FAQ
What vector file format is best for embroidery?
The one your digitizing software imports. SVG suits Ink/Stitch and Embrilliance StitchArtist; Hatch reads EPS and CDR directly, SVG or AI through CorelDRAW, and Hatch 4 also imports DXF. When in doubt, send the SVG and the PNG together.
Do I need a vector file for embroidery?
The machine sews a stitch file such as DST or PES, not a vector. Vector art is the clean starting point: the digitizer places stitches over sharp shapes instead of guessing edges in a blurry JPG.
Is vector conversion the same as digitizing?
No. Vector conversion redraws the art as clean shapes. Digitizing turns those shapes into stitches, with stitch types, density, underlay and order. This page does the first job; the embroidery file converter writes DST, PES and JEF on a plan.
Can I convert a photo of an embroidered logo?
Yes, if the photo is sharp and evenly lit. The free preview shows how much of the thread texture turns into specks before you pay; a flat copy of the logo always traces cleaner.
How many colors will my embroidery vector have?
As many as the art really uses, once close shades are merged. Recolor or delete shapes in any vector editor to match the thread count of the job.
More machine guides: all VectoSolve tools